Taming the Tiny Treasures: A Guide to Propagating Erodium sibthorpianum
Erodium sibthorpianum, with its petite charm and delicate blooms, might seem like a horticultural challenge. But fear not! Propagating these delightful plants is surprisingly straightforward, offering even the novice gardener a chance to cultivate their own miniature meadow.
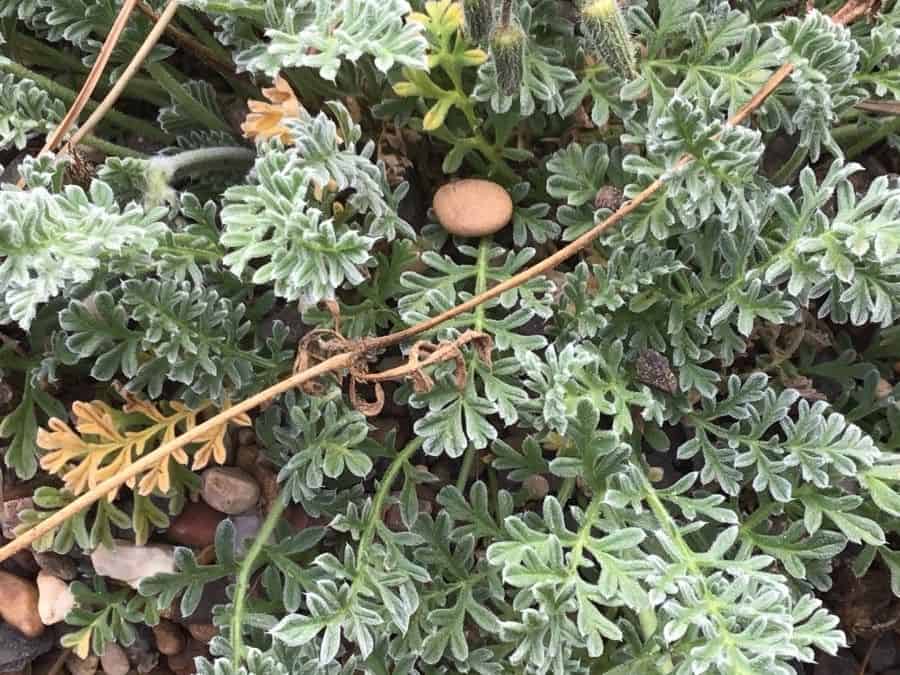
Seeding the Dream: Growing Erodium sibthorpianum from Seed
For those who enjoy the magic of watching life unfold, seed propagation is the way to go. Here’s a step-by-step guide:
- Source your seeds: Erodium sibthorpianum seeds can be purchased online or from specialist nurseries.
- Time it right: Sow seeds in spring or early autumn. These periods offer optimal temperatures for germination.
- Prepare the soil: Use a well-draining seed compost, moistening it before sowing.
- Sow with care: Sprinkle the seeds thinly over the compost surface, lightly pressing them down. No need for deep burying!
- Light and warmth: Place the seed tray in a bright spot, but avoiding direct sunlight, which can be too harsh for delicate seedlings.
- Maintain moisture: Keep the compost consistently moist but not waterlogged. A spray bottle can offer gentle watering without disturbing the seeds.
- Be patient: Germination can take anywhere from a few weeks to a couple of months.
- Thinning out: Once the seedlings develop a couple of true leaves, thin them out to give the strongest ones room to thrive.
- Transplanting time: When the seedlings are large enough to handle, transplant them into individual pots or directly into your garden.
The Cutting Edge: Propagating Erodium sibthorpianum from Cuttings
For a quicker and slightly more hands-on approach, propagating from cuttings is a great alternative. This method generally yields faster results and ensures the new plants retain the parent plant’s characteristics.
- Choose your cutting: In late spring or early summer, select healthy, non-flowering stems about 3-4 inches (7-10 cm) long.
- Make a clean cut: Use a sharp, sterilized knife or pair of scissors to make a cut just below a leaf node.
- Prepare the cutting: Remove the lower leaves, leaving just a couple at the top.
- Encourage rooting: Dip the cut end in rooting hormone (optional but helpful).
- Plant the cutting: Choose a well-draining potting mix and insert the cutting, ensuring the leaf nodes are below the soil surface.
- Provide humidity: Cover the pot with a plastic bag or use a propagator to create a humid environment.
- Wait and watch: Place the pot in a bright spot, out of direct sunlight. Roots should develop within a few weeks.
- Signs of success: New growth indicates successful rooting. You can gently tug on the cutting – resistance means roots have taken hold!
- Transplant carefully: Once the cutting is well-rooted, transplant it to a larger pot or your garden.
Caring for Your New Erodium Sibthorpianum Plants
Regardless of your chosen propagation method, these charming plants are relatively low maintenance:
- Sunny disposition: They thrive in full sun to partial shade.
- Well-drained soil: Ensure good drainage to prevent root rot.
- Water wisely: Water regularly during dry spells but avoid overwatering.
- Deadheading delights: Deadhead spent blooms to encourage more flowers.
With a little care and attention, you can propagate Erodium sibthorpianum with confidence, adding these dainty blooms to your garden tapestry year after year.