Unlocking the Secrets of Stewartia Propagation: A Guide to Growing this Majestic Tree
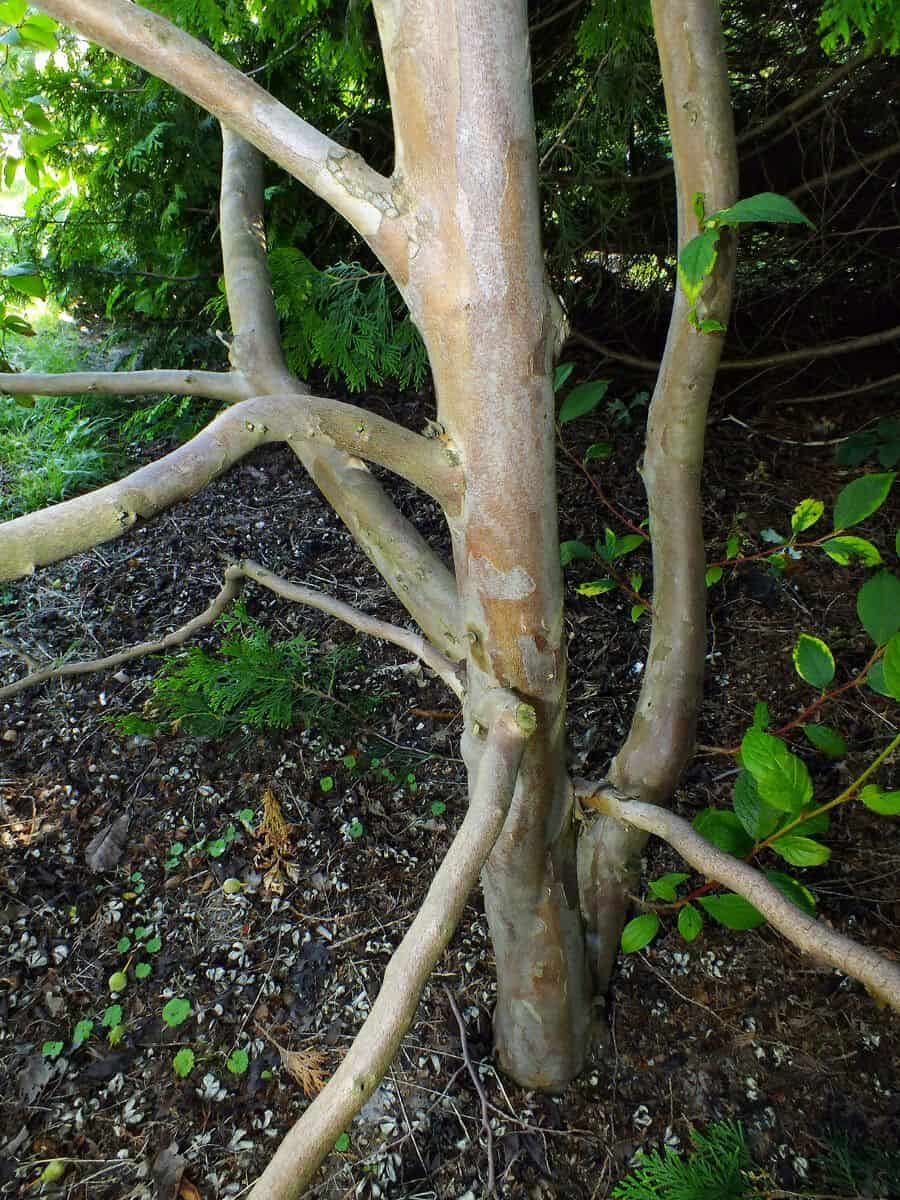
The Stewartia pseudocamellia, commonly known as the Japanese Stewartia, is a true garden treasure. With its stunning display of camellia-like blooms in summer, vibrant fall foliage, and beautiful, exfoliating bark, it’s no wonder gardeners are captivated by this majestic tree. However, propagating Stewartia can seem a bit mystical. Don’t worry; we’re here to demystify the process and equip you with the knowledge to grow your own Stewartia.
The Why and How: Why Propagate and Which Method to Choose?
Propagating your own Stewartia offers a rewarding experience and a chance to expand your garden with this captivating species. While purchasing a sapling is always an option, successfully producing a tree from seed or cuttings brings a sense of accomplishment few things can match.
Seed Propagation: A Test of Patience
Stewartia can be grown from seed, although it requires patience and a touch of green thumb magic. Here’s how:
- Seed Collection and Stratification: Collect seeds in the fall and simulate winter conditions through a process called cold stratification. Store the seeds in a moist medium like vermiculite or sand in your refrigerator for about 3 months.
- Sowing: In spring, sow the stratified seeds in a well-draining seed starting mix, barely covering them.
- Patience is Key: Germination can be erratic, and some seeds might sprout the following year.
Cutting Propagation: A Faster Route to Success
For a quicker and often more successful method, consider taking semi-hardwood cuttings:
- Timing is Everything: The ideal time is late summer when the new growth is mature but still slightly pliable.
- Taking the Cutting: Select a healthy stem about 4-6 inches long. Make a clean cut just below a leaf node, and remove the lower leaves.
- Promoting Root Development: Dip the cut end in rooting hormone to encourage root development.
- Planting the Cutting: Place the cutting in a well-draining potting mix. Keep the medium consistently moist but not waterlogged.
- Creating a Humid Environment: Cover the cutting with a clear plastic bag or use a propagation dome to create a warm, humid environment essential for rooting.
Nurturing Your Stewartia Progeny
Whether you choose seed or cuttings, providing the right care is crucial for success:
- Light: Place your seedlings or cuttings in a location with bright, indirect light.
- Water: Maintain consistent moisture, allowing the soil to dry slightly between waterings.
- Patience: Remember that Stewartia are slow growers. It might take a couple of years for your propagated plant to be ready for transplanting.
Reaping the Rewards: Witness the Majesty Unfold
There’s a special satisfaction in watching your propagated Stewartia flourish. The effort and patience will reward you with the beauty of this remarkable tree gracing your garden for years to come. Remember, even if your first attempts aren’t successful, don’t be discouraged. Keep refining your technique, and soon, you’ll be sharing your very own propagated Stewartia with fellow gardening enthusiasts!