Taming the Tasmanian Tree Pea: A Guide to Propagating Daviesia arborea
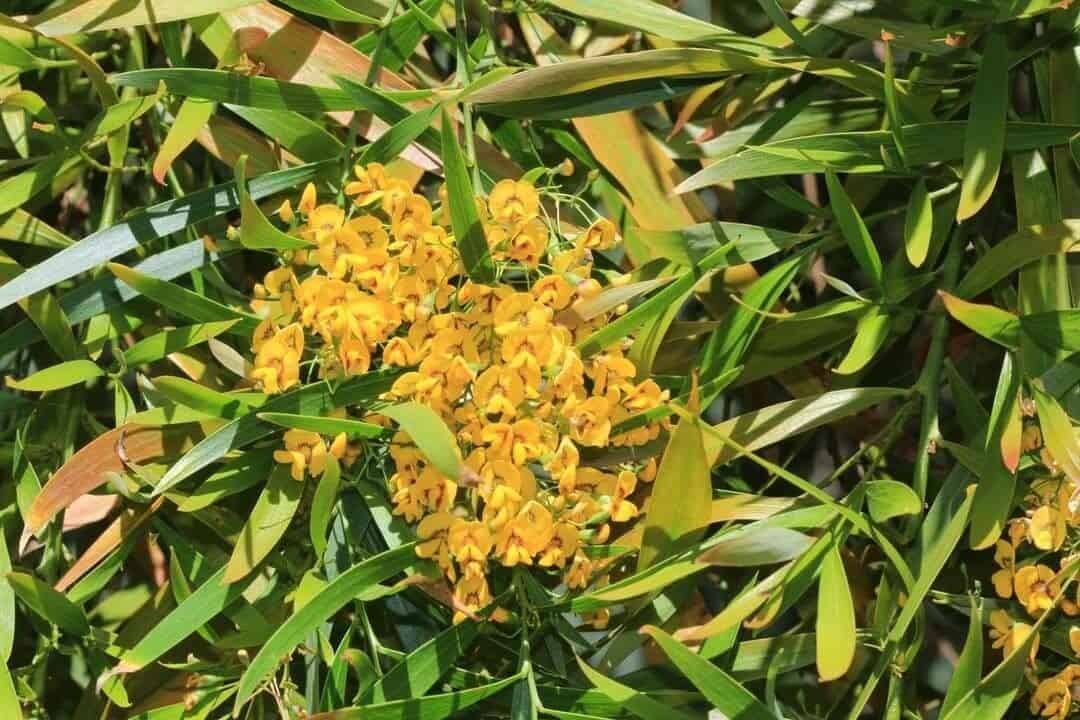
The Daviesia arborea, known affectionately as the Tasmanian Tree Pea, is a captivating plant with its elegant, weeping foliage and vibrant yellow-orange pea flowers. Native to the moist forests of Tasmania, this evergreen shrub is a showstopper in any garden. But bringing this beauty home isn’t always as simple as buying a seedling. If you’re up for a horticultural challenge, then propagating your own Daviesia arborea might be just the adventure you need!
Navigating the Seed Route:
Propagating Daviesia arborea from seed is considered the most common method, albeit with its own set of quirks. Here’s a step-by-step guide to maximize your chances of success:
Seed Collection and Preparation: Harvest mature seed pods directly from the plant in late summer or autumn. These pods are flat and should be brown before collecting. Extract the seeds and, for optimal results, consider scarification. This involves lightly nicking the seed coat with a sharp knife to break dormancy.
Sowing the Seeds: Plant your scarified seeds in a well-draining seed-raising mix. A mix containing peat moss and perlite works well. Keep the soil consistently moist but not waterlogged.
Providing the Right Environment: Choose a bright location for your seed tray, but avoid direct sunlight which can scorch delicate seedlings. Patience is crucial during this stage, as germination can be erratic, taking anywhere from a few weeks to several months.
- Transplanting Seedlings: Once seedlings develop a strong root system and several sets of true leaves, transplant them into individual pots using a well-draining potting mix.
Taking the Cutting Edge:
While less common, propagating Daviesia arborea from cuttings is another viable option:
Timing is Key: Take semi-hardwood cuttings in late spring or early summer. Choose healthy stems that are still somewhat flexible but starting to mature.
Cutting Technique: Using clean, sharp shears, make a clean cut below a leaf node. Remove lower leaves and dip the cut end in rooting hormone to encourage root development.
Planting the Cuttings: Plant your prepared cuttings in a well-draining medium, like a mix of peat moss and perlite. Keep the medium consistently moist and provide indirect light.
- Rooting and Growth: Rooting can take several weeks. Once your cuttings show signs of new growth, you can gradually acclimate them to outdoor conditions before transplanting.
Nurturing Your New Plant:
Whether you choose the seed or cutting route, remember Daviesia arborea prefers a well-drained, slightly acidic soil and a spot that receives morning sun and afternoon shade. Regular watering is crucial, especially during the establishment phase, but avoid waterlogging the soil.
Propagating Daviesia arborea might require patience and a gentle touch, but the reward is well worth the effort. With careful attention and the right conditions, you can enjoy the stunning display of this unique Tasmanian native in your own backyard for years to come.