Taming the Sea Holly: A Guide to Propagating Eryngium serra
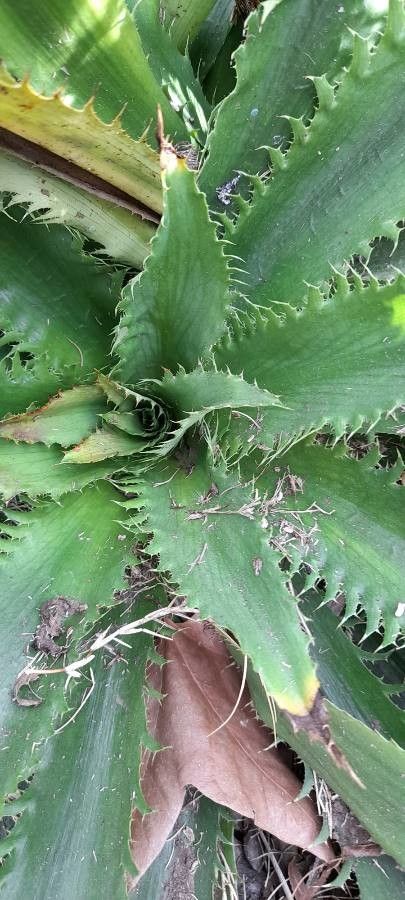
Eryngium serra, with its spiky metallic-blue blooms and architectural foliage, brings a touch of wild beauty and drama to any garden. Often called “Sea Holly”, this hardy perennial thrives in sunny locations and adds unique texture and color from mid-summer to fall. Intrigued? Let’s delve into the rewarding world of propagating Eryngium serra and multiply these beauties in your own backyard.
Two Paths to Propagation:
While Eryngium serra isn’t the easiest plant to propagate, success lies in understanding its preferences and following the right techniques. There are two main methods:
- Seed Starting: Embracing the Element of Surprise
- Timing is Key: Sow fresh seeds in late fall or early winter. Eryngium serra seeds require a period of cold stratification (exposure to cold temperatures) to break dormancy and germinate.
- Sowing the Seeds: Use a seed starting mix that drains well. Sprinkle the seeds on the surface and lightly press them in. Don’t bury them deep!
- Patience is a Virtue: Place the seed tray in a cold frame or an unheated greenhouse. Germination can be erratic and might take anywhere from a few weeks to a couple of months.
- Planting Out: Once the seedlings are large enough to handle, transplant them into individual pots. Harden them off gradually before planting out in their final location in late spring or early summer.
Benefits:
- Seed starting is cost-effective, especially if you want to produce many plants.
- Growing from seed allows you to experience the plant’s full life cycle.
Challenges:
- Eryngium serra can be slow to germinate from seed.
- Seed-grown plants might not be identical to the parent plant, offering exciting variations!
- Basal Cuttings: A More Predictable Approach
- The Right Time: Take basal cuttings in spring when new growth emerges.
- Taking the Cuttings: Choose healthy, non-flowering shoots. Using a sharp knife, cut the shoots as close to the base of the plant as possible. Each cutting should be about 3-4 inches long.
- Potting Up: Remove the lower leaves to expose the nodes. Dip the cut end in rooting hormone (optional but helpful). Plant the cuttings in a well-draining potting mix.
- Creating a Humid Environment: Cover the pot with a plastic bag or place it in a propagator to create a warm, humid environment.
- Rooting and Beyond: Keep the cuttings consistently moist. They should root in about 4-6 weeks. Once rooted, begin hardening them off gradually before planting them out in the garden.
Benefits:
- Basal cuttings offer a higher success rate compared to seeds.
- You’ll get plants that are genetically identical to the parent plant.
Challenges:
- Requires more hands-on involvement compared to seed starting.
Important Tips for Success:
- Well-Drained Soil: Eryngium serra detests waterlogged soil. Amend heavy clay soil with grit or choose a well-drained location.
- Sun Lovers: Plant your Eryngium serra in a sunny spot that receives at least 6 hours of direct sunlight daily.
- Minimal Watering: Once established, Eryngium serra is quite drought tolerant. Water sparingly.
Beyond the Blooms:
Propagating Eryngium serra isn’t just about increasing your plant stock; it’s about nurturing a deeper connection with these captivating plants. By understanding their rhythms and preferences, you’ll be rewarded with their unique beauty year after year. So, put on your gardening gloves, choose your propagation method, and get ready to welcome the striking presence of Eryngium serra to your garden.