Unlocking the Secrets of Blue Ginger Propagation: Grow Your Own Exotic Paradise
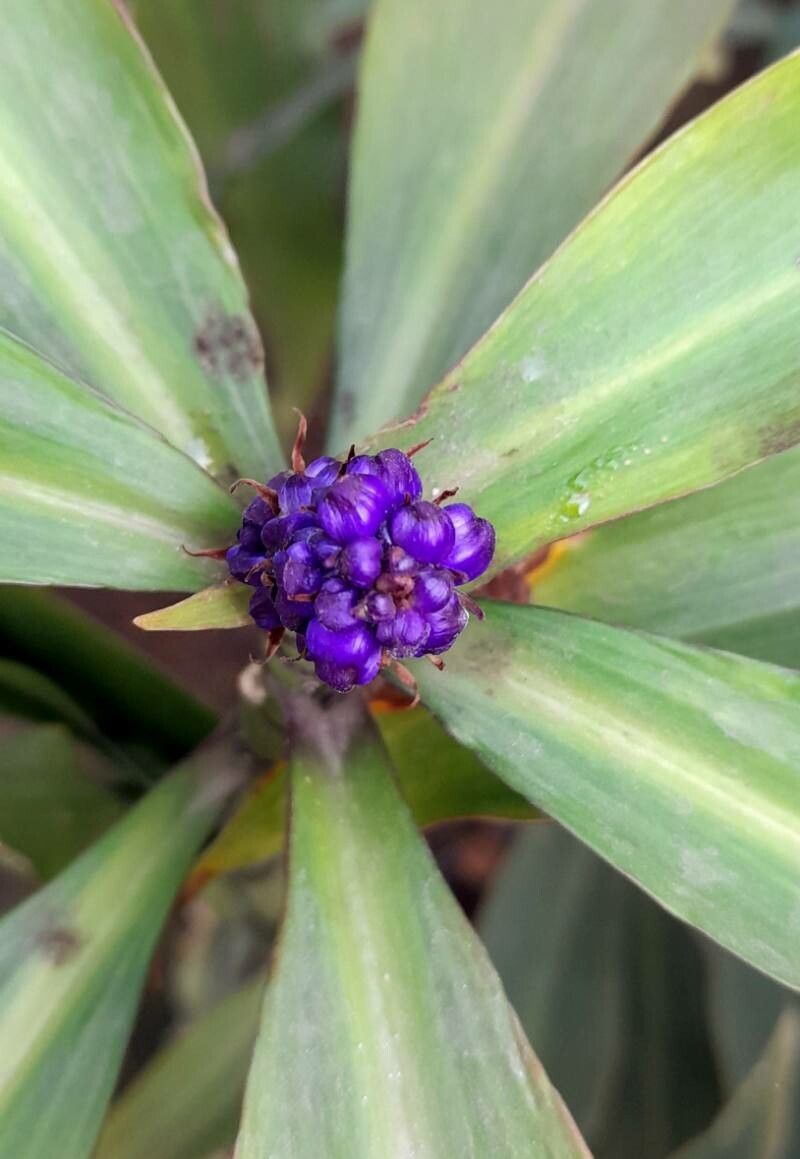
Dichorisandra thyrsiflora, better known as Blue Ginger (though not a true ginger), is a sight to behold. Imagine captivating clusters of vibrant blue flowers emerging from striking cone-shaped bracts, all set against a backdrop of lush, lance-shaped leaves. This tropical beauty, native to Brazil, is a showstopper in any garden, adding an exotic touch that’s hard to resist. But the good news doesn’t stop there! Propagating Blue Ginger is an attainable adventure, even for beginner gardeners. Let’s delve into the secrets of multiplying your Blue Ginger and watch your exotic paradise flourish.
Method 1: The Power of Division
Division is the easiest and most successful method for propagating Blue Ginger, especially for established plants. Here’s how you can do it:
- Timing is Key: Spring, just before the new growth starts, is the ideal time for division.
- Unearth and Divide: Carefully dig up the plant, ensuring you dig wide to avoid damaging the roots. Shake off excess soil and you’ll notice natural divisions forming at the base. Using a sharp, clean knife or spade, separate the plant into sections, each containing a healthy portion of roots and shoots.
- Repotting: Prepare pots slightly larger than the divided sections with well-draining potting mix. Plant your divisions at the same depth they were originally growing and water them thoroughly.
Method 2: The Adventure of Cuttings
For a more hands-on approach, propagating Blue Ginger from stem cuttings can be quite rewarding. Here’s how:
- Select Your Cuttings: In spring or early summer, choose healthy, non-flowering stems. Each cutting should be approximately 4-6 inches long and include at least two leaf nodes.
- Prepare for Rooting: Remove the lower leaves of the cutting, leaving only a couple at the top. Dip the cut end in rooting hormone (optional but recommended) to encourage faster root development.
- Potting and Patience: Plant the cuttings in a well-draining potting mix, burying at least one leaf node. Water gently and ensure the soil remains consistently moist. Place the pot in a warm, brightly lit area (avoid direct sun), and be patient; rooting can take several weeks.
Method 3: The Thrill of Seeds
While less common, propagating Blue Ginger from seeds offers a unique challenge. Fresh seeds germinate best, so if you’re up for the task:
- Sow Soon: Sow the seeds in a seed-starting mix, barely covering them. Maintain a warm, humid environment – a propagator can be beneficial.
- Light and Patience: Provide bright, indirect light and keep the soil consistently moist (not soggy). Germination can be erratic and may take several weeks to a few months.
Unlocking Success: Essential Care Tips
No matter your chosen propagation method, follow these tips to ensure success:
- Well-Draining Soil: Blue Ginger thrives in well-draining soil. A mixture of peat moss, perlite, and potting soil works well.
- Light and Location: Choose a location with bright, indirect sunlight. Avoid harsh, direct sunlight, which can scorch the leaves.
- Watering Wisdom: Keep the soil consistently moist, but not waterlogged. Water deeply when the top inch of soil feels dry.
- Temperature and Humidity: Blue Ginger enjoys warm temperatures (65°F-85°F or 18°C-29°C) and moderate humidity. Consider misting your plants or using a humidifier during dry spells.
With a little patience and these simple steps, you’ll be well on your way to multiplying your Blue Ginger collection. Soon, your garden will be an enchanting and vibrant haven teeming with the exotic beauty of these captivating blue blooms.