Demystifying Pleurothallis Ruscifolia Propagation: A Beginner’s Guide to Multiplying Your Miniature Orchid
Pleurothallis ruscifolia, with its charming, button-like blooms and compact growth habit, is a delightful miniature orchid that can bring joy to any plant enthusiast. And while caring for this unique orchid might seem daunting at first, propagating it doesn’t have to be! This guide will equip you with the knowledge and confidence to multiply your Pleurothallis ruscifolia, expanding your collection and sharing the joy with others.
Understanding the Basics
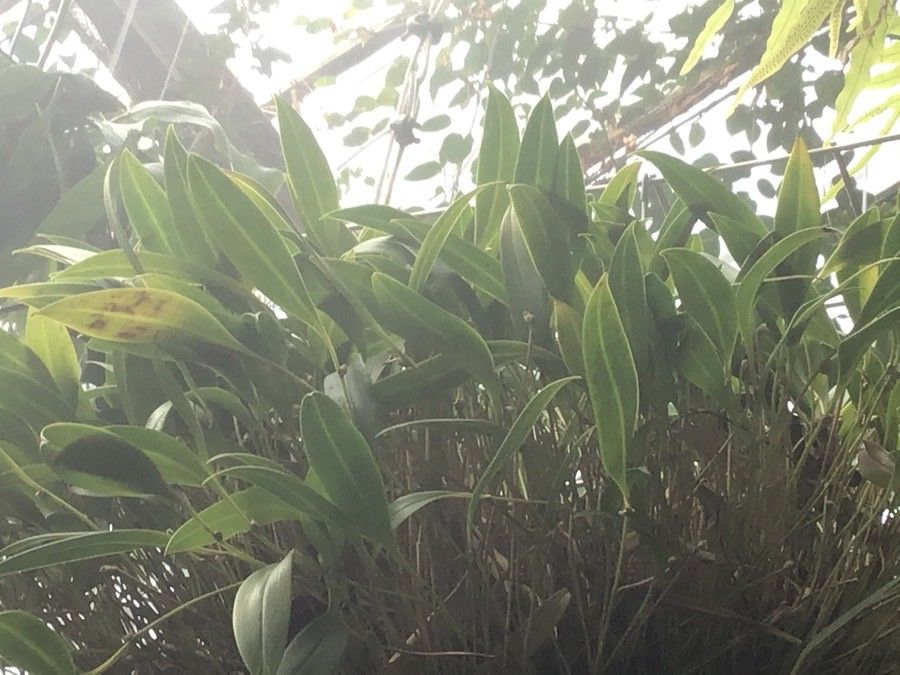
Before we delve into the techniques, it’s helpful to grasp the basics. Pleurothallis ruscifolia, unlike some orchids that grow from pseudobulbs, spreads through rhizomes. These rhizomes, essentially horizontal stems, creep along the surface of the potting mix, producing new shoots and roots along the way. This characteristic makes division the most effective and common method for propagation.
Method 1: Division – The Simplest Approach
Division is best undertaken in spring, just as the plant begins its active growth phase. Here’s how:
- Preparing for Success: Gather a clean, sharp knife or pruning shears, sterilized with rubbing alcohol, a fresh batch of well-draining orchid potting mix, and appropriately sized pots (slightly larger than the divisions).
- Unpotting and Examination: Gently remove your Pleurothallis ruscifolia from its pot. Examine the rhizome and identify sections with at least 3-4 healthy growths and a robust root system.
- The Big Divide: Carefully cut the rhizome with your sterilized knife or shears, making sure each division retains those crucial growth points and roots.
- Potting Your Divisions: Plant each division in the prepared pots, ensuring the base of the plant sits slightly above the rim of the pot, allowing for air circulation and preventing crown rot.
- Post-Division Care: Water thoroughly after potting, but then allow the potting mix to dry slightly between subsequent waterings. Place your divisions in a warm, humid location with bright, indirect light, and avoid direct sunlight that can scorch the delicate leaves.
Method 2: Back Bulbs – For a Long-Term Approach
While division offers immediate gratification, you can also propagate using “back bulbs”. Back bulbs are older, leafless growths along the rhizome. While they may seem dormant, they hold the potential for new life. Here’s how to use them:
- Identification and Removal: Identify plump, healthy back bulbs and carefully detach them from the main plant using a clean, sharp tool.
- Creating the Ideal Environment: Place the back bulbs on a bed of moist sphagnum moss in a shallow tray or container. Cover the container with a humidity dome or plastic wrap to maintain moisture and warmth.
- Patience is Key: This method requires patience, as back bulbs can take several months to sprout. Keep the moss consistently moist, misting regularly, and provide bright, indirect light.
Signs of Successful Propagation
New growth is the most reassuring sign that your propagation efforts are successful! After several weeks, you should start to see new shoots emerging from the base of your divisions or back bulbs. This fresh growth indicates healthy root development and signals that your new plants are thriving.
Propagating Pleurothallis ruscifolia might seem like a complex undertaking, but with a little patience and these straightforward techniques, you can enjoy the rewarding experience of multiplying these charming miniature orchids and sharing the joy they bring with others. So, roll up your sleeves, gather your gardening tools, and embark on this exciting horticultural adventure!