
Unveiling the Secrets: Propagating the Dazzling Satyria warszewiczii
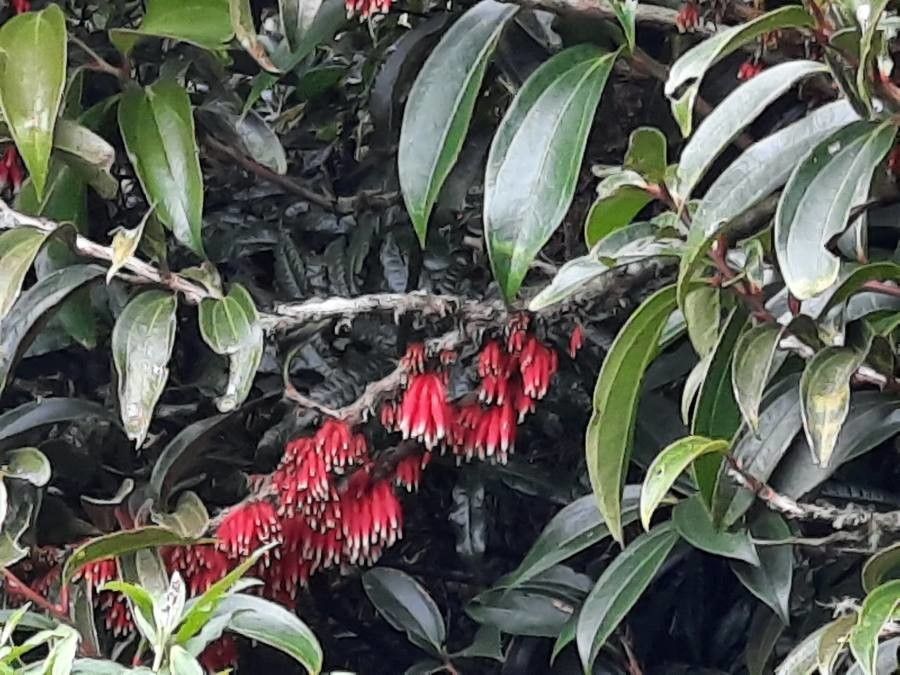
The Satyria warszewiczii, with its fiery orange blooms and lush green foliage, is a sight to behold. Native to the rainforests of Central and South America, this exotic epiphyte (a plant that grows on other plants for support) captivates plant enthusiasts with its vibrant beauty. But don’t let its delicate appearance fool you – with the right knowledge, propagating Satyria warszewiczii can be a rewarding experience for even novice gardeners.
Demystifying Propagation: Two Paths to Choose From
While Satyria warszewiczii can be cultivated from seeds, this method is notoriously slow and often challenging. The more successful and commonly practiced method is propagation through cuttings:
1. Cuttings: A Step-by-Step Guide
- Timing is Key: Spring or early summer, when the plant is actively growing, offers the highest chance of success.
- Choosing the Right Cut: Select a healthy, mature stem, ideally with at least two nodes (small bumps on the stem where leaves emerge).
- Making the Cut: Using sterilized shears or a sharp knife, cut just below a node at a 45-degree angle. Aim for a cutting around 4-6 inches long.
- Prepping the Cutting: Remove the leaves from the lower third of the stem to prevent them from rotting in the growing medium. You can also dip the cut end in rooting hormone powder to encourage faster root development, although this is optional.
- Potting Mix Matters: Satyria warszewiczii thrives in a well-draining, airy medium that mimics its natural epiphytic environment. A mix of sphagnum moss and perlite or orchid bark works well.
- Creating a Humid Haven: Place the cutting in a humid environment. You can achieve this by covering the pot with a plastic bag or using a propagation box with a humidity dome. Ensure proper air circulation to prevent fungal growth.
- Patience is a Virtue: Place the cutting in a warm, bright location, out of direct sunlight. Keep the soil consistently moist, but not waterlogged. Root development typically takes 4-8 weeks, sometimes longer.
2. Seed Propagation: A Test of Patience
- Satyria warszewiczii seeds are tiny and delicate, requiring specific conditions for germination.
- Sowing the Seeds: Scatter the seeds on top of a moist, sterile seed-starting mix. Do not bury them, as they need light to germinate.
- Creating a Greenhouse Effect: Cover the container with a clear lid or plastic wrap to maintain humidity.
- Light and Warmth: Provide bright, indirect light and maintain temperatures between 75-80°F (24-27°C).
- Germination Time: Be prepared to wait, as seed germination can take several weeks to months.
Nurturing Your New Satyria
Once your cuttings have rooted or your seedlings have developed a couple of sets of leaves, it’s time to transition them into individual pots. Use the same well-draining potting mix recommended for cuttings.
Remember, Satyria warszewiczii prefers:
- Bright, indirect light: Avoid harsh, direct sunlight.
- High humidity: Regular misting or placing the pot on a humidity tray will benefit the plant.
- Consistent moisture: Water thoroughly when the top inch of the soil feels dry.
- Warm temperatures: Keep them away from cold drafts and temperatures below 60°F (15°C).
Propagating your own Satyria warszewiczii is a rewarding endeavor, allowing you to share the joy of this stunning plant with friends and family. With a little patience, care, and the right knowledge, you can successfully grow new plants and add a touch of tropical elegance to your home.