Unveiling the Secrets of Sticherus montaguei Propagation: A Fern Fancier’s Guide
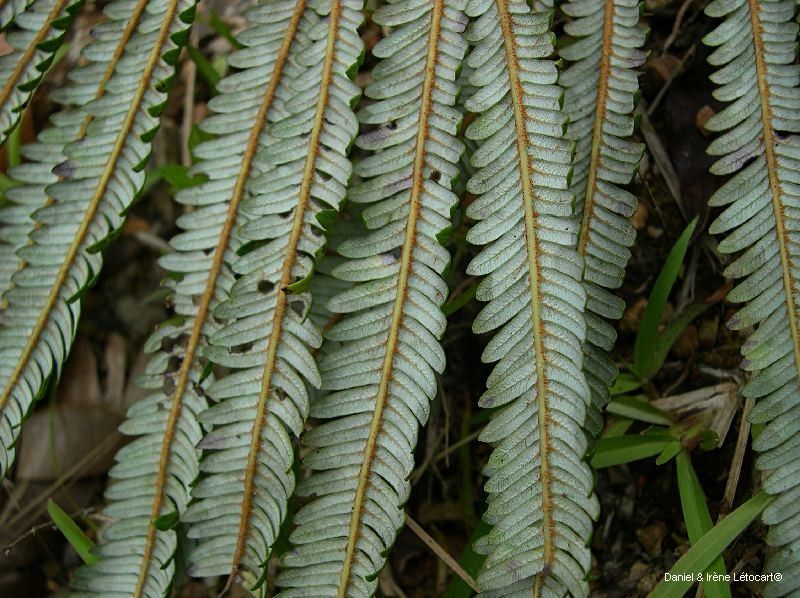
The Sticherus montaguei, also known as the Triangle Fern thanks to its uniquely-shaped fronds, is a stunning addition to any fern enthusiast’s collection. This New Zealand native, with its delicate, lacy foliage and vibrant green hues, brings a touch of primeval elegance to gardens and indoor spaces alike. But unlike some ferns that readily spread through spores, propagating Sticherus montaguei requires a slightly more specialized approach. Fear not, fellow fern fanatics, for we’re about to delve into the secrets of successfully propagating this captivating plant!
Method 1: Division – The Simplest Route
For Sticherus montaguei, division is the most straightforward propagation method. Here’s how it’s done:
- Timing is Key: Spring, with its warm temperatures and burgeoning growth, offers the ideal conditions for dividing your fern.
- Gently Unearth: Carefully lift the fern from its pot or the ground, ensuring minimal damage to the root system.
- Identify Growth Points: Look for sections of the rhizome (the fern’s underground stem) with healthy roots and at least two to three fronds emerging. These are your divisions.
- Sharp Division: Using a clean, sharp knife or pruning shears, carefully separate the chosen sections. Ensure each division has sufficient roots to sustain itself.
- Repotting Time: Plant your divisions in well-draining potting mix specifically designed for ferns. Ensure the crown of the rhizome (where the fronds emerge) sits slightly above the soil level to prevent rotting.
- Patience is a Virtue: Water thoroughly and place the newly potted divisions in a warm, humid location with indirect sunlight. Avoid overwatering, allowing the top inch of soil to dry out between waterings.
Method 2: Spores – A Test of Patience
Propagating ferns through spores is like enacting a miniature, botanical time machine. It’s a more challenging process, requiring patience and a touch of luck, but immensely rewarding for dedicated plant enthusiasts.
- Spore Collection: When the underside of mature fronds develop brown, dust-like patches, the spores are ripe. Gently scrape them onto a clean sheet of paper.
- Preparing the Spore Bed: Use a sterile, well-draining seed starting mix and moisten it thoroughly.
- Sowing the Spores: Dust the spores lightly onto the surface of the moist mix. Don’t bury them, as they need light to germinate.
- Creating a Humid Environment: Cover the container with a clear plastic lid or wrap to maintain high humidity, mimicking the damp conditions ferns adore. Place it in a warm location with indirect light.
- The Waiting Game: Germination can take anywhere from a few weeks to several months. During this time, ensure adequate moisture by misting the surface regularly with a spray bottle.
- Transplanting Success: Once the fern seedlings (prothalli) are large enough to handle, carefully transplant them into individual pots filled with well-draining potting mix and continue to provide the same care as mature ferns.
Whether you choose the quick gratification of division or the rewarding challenge of spore propagation, bringing new Sticherus montaguei ferns into the world is a fulfilling endeavor. With a little patience and these tips, you’ll soon be enjoying the graceful elegance of these living fossils in your own green haven!