Unlocking the Secrets of Chrysochlamys Glauca Propagation: A Guide to Growing This Tropical Gem
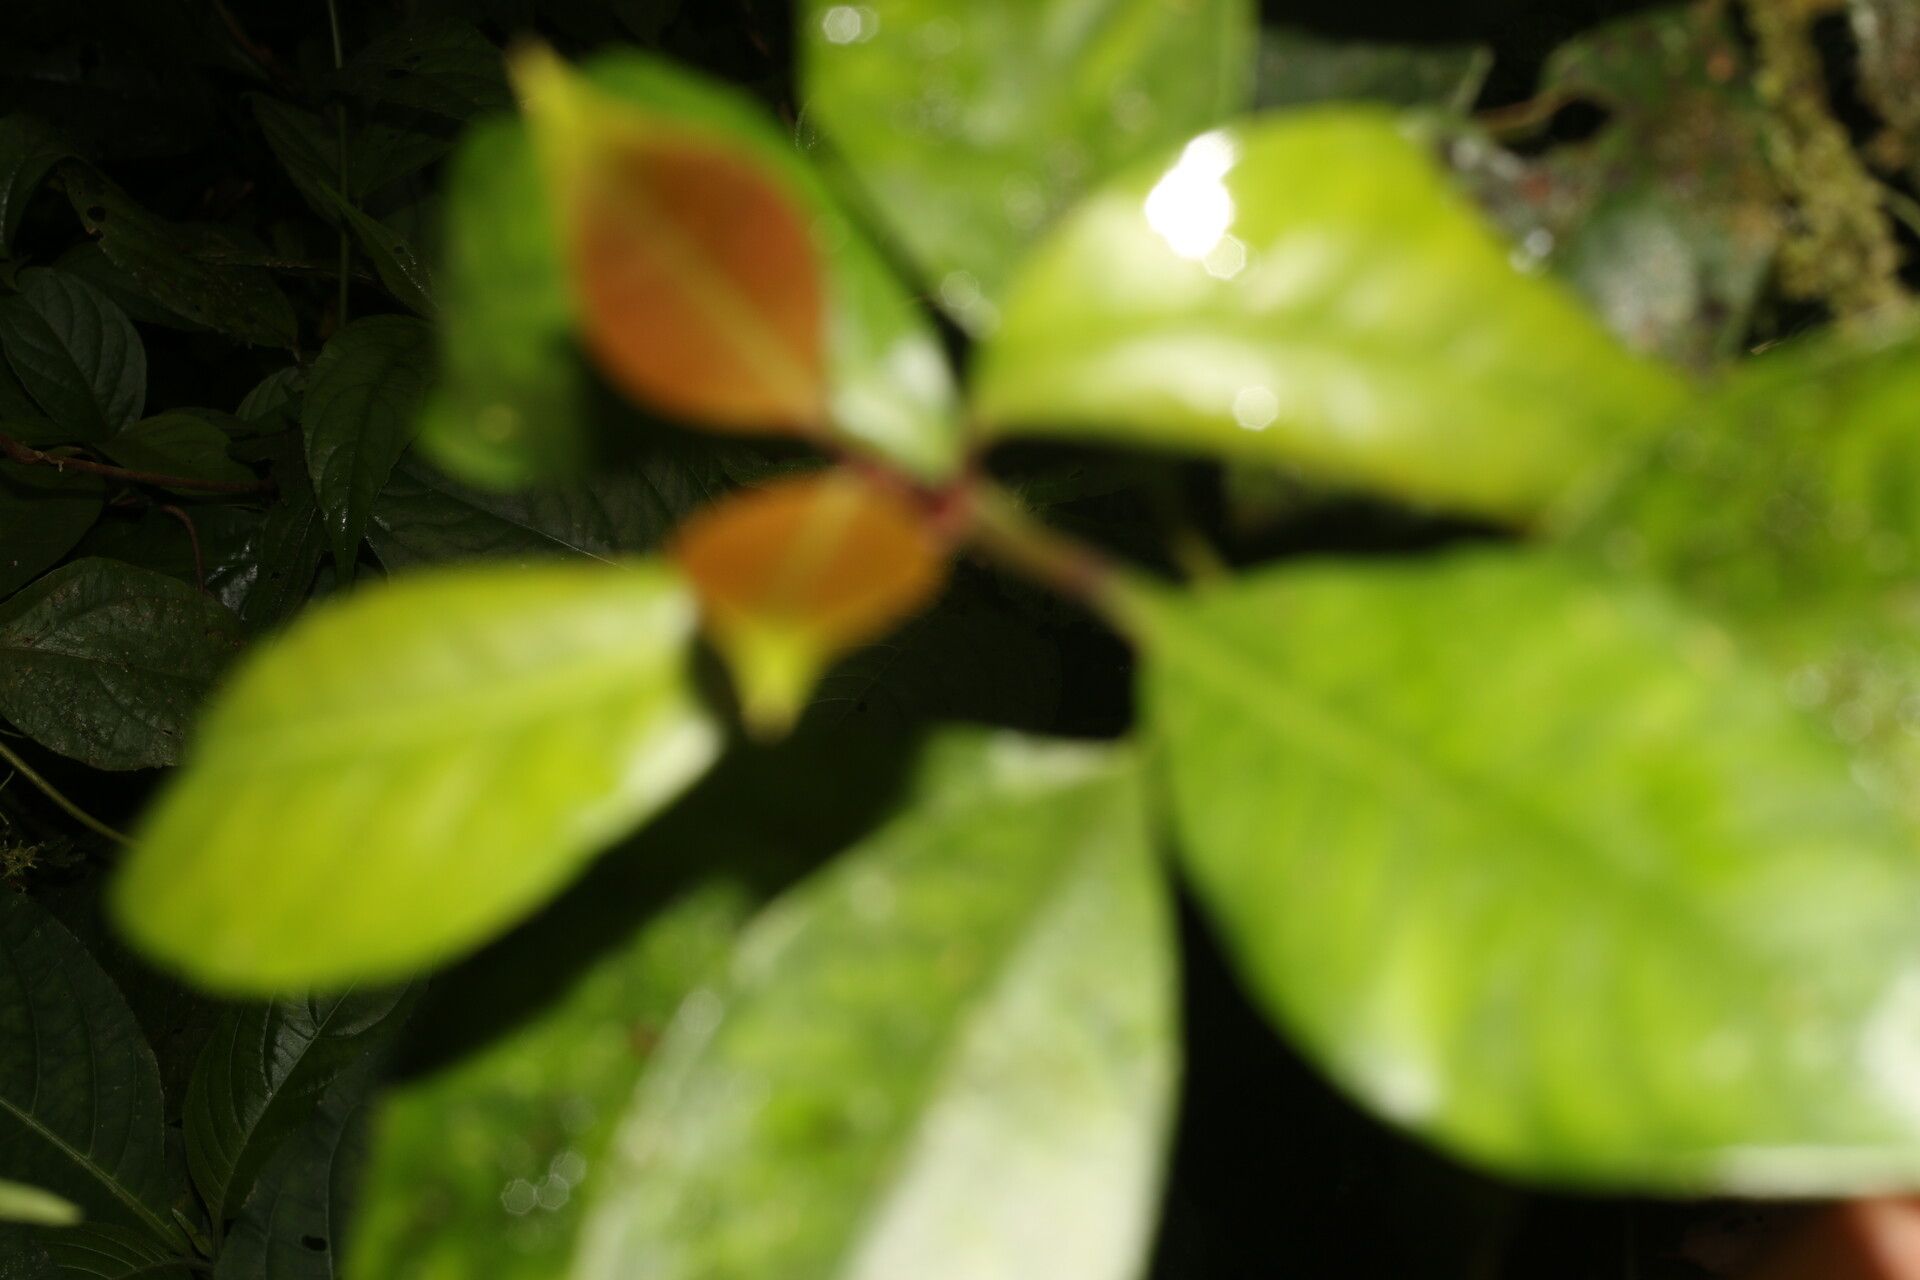
Chrysochlamys glauca, also known as the Golden Leatherleaf or the Tropical Apricot, is a stunning evergreen tree native to the rainforests of Central and South America. It’s gaining popularity among plant enthusiasts for its glossy, vibrant foliage and intriguing edible fruit. But propagating this tropical marvel can seem like a daunting task. Fear not! This guide will delve into the techniques for successfully growing Chrysochlamys glauca, allowing you to enjoy this exotic beauty in your own space.
Understanding the Basics
Before diving into the methods, let’s equip ourselves with some fundamental knowledge. Chrysochlamys glauca can be propagated through two primary methods:
- Seeds: The most common and natural method, offering a rewarding experience but requiring patience.
- Cuttings: A quicker method, ideal for replicating the characteristics of a specific parent plant.
Method 1: Propagating from Seeds
- Sourcing Seeds: The first hurdle is obtaining viable seeds. Look for reputable online vendors specializing in exotic plants. If you’re fortunate enough to have access to a mature fruiting tree, collect ripe fruits and carefully extract the seeds.
- Seed Preparation: Chrysochlamys glauca seeds benefit from pre-sowing treatment. Soak them in warm water for 24 hours to soften the outer shell and encourage germination.
- Sowing: Choose a well-draining seed starting mix. Sow the seeds about an inch deep in individual pots or seed trays. Keep the soil consistently moist but not waterlogged.
- Environment: These tropical seeds thrive in warmth and humidity. Place the pots in a warm location (around 75-85°F or 24-29°C) with indirect sunlight. Consider using a humidity dome or a plastic bag to create a greenhouse-like environment.
- Patience is Key: Germination can take anywhere from a few weeks to several months. Be patient and consistent with watering, and don’t lose hope if you don’t see sprouts immediately.
Method 2: Propagating from Cuttings
- Taking the Cutting: Select a healthy, non-flowering branch from the parent plant. Use a sterilized knife or pruning shears to make a clean cut just below a leaf node. The cutting should be about 4-6 inches long.
- Preparing the Cutting: Remove the lower leaves from the cutting, leaving 2-3 leaves at the top. You can dip the cut end in rooting hormone powder to encourage root development, although it’s not always necessary.
- Planting: Choose a well-draining potting mix, similar to the one used for seeds. Make a small hole in the mix and carefully insert the cutting, ensuring the leaf nodes are buried.
- Creating Humidity: Maintaining high humidity around the cutting is crucial. Cover the pot with a clear plastic bag or a humidity dome to trap moisture. Place it in a warm, brightly lit area with indirect sunlight.
- Rooting: The cutting should develop roots within 4-8 weeks. Regularly check the soil moisture and provide adequate ventilation to prevent fungal growth.
Post-Propagation Care
Once your Chrysochlamys glauca seedlings or cuttings have established a strong root system and show signs of new growth, you can gradually acclimate them to regular outdoor conditions. Ensure they receive bright, indirect sunlight, well-draining soil, and regular watering to thrive.
Conclusion
Propagating Chrysochlamys glauca might require a touch of patience and dedication, but the rewards are well worth the effort. Whether you choose to start from seed or cutting, witnessing the growth of this captivating tropical beauty is a fulfilling experience. So roll up your sleeves, follow these tips, and soon you’ll have your own flourishing Chrysochlamys glauca to admire for years to come!