Multiply Your Sunshine: Propagating the Hardy Ice Plant (Delosperma lineare)
The Hardy Ice Plant (Delosperma lineare), with its vibrant yellow blooms and succulent foliage, is a drought-tolerant groundcover that thrives in sunny, well-drained locations. Whether you’re looking to fill a rock garden, cascade it over a retaining wall, or simply multiply your stock of this cheerful plant, propagation is surprisingly straightforward. Let’s dive into the two most effective methods: cuttings and seeds.
Method 1: Cuttings – The Faster Route to New Plants
Propagating Delosperma lineare from cuttings offers quick results and high success rates. Here’s how:
1. Timing is Everything: The ideal time for taking cuttings is during the plant’s active growing season, from late spring to early fall.
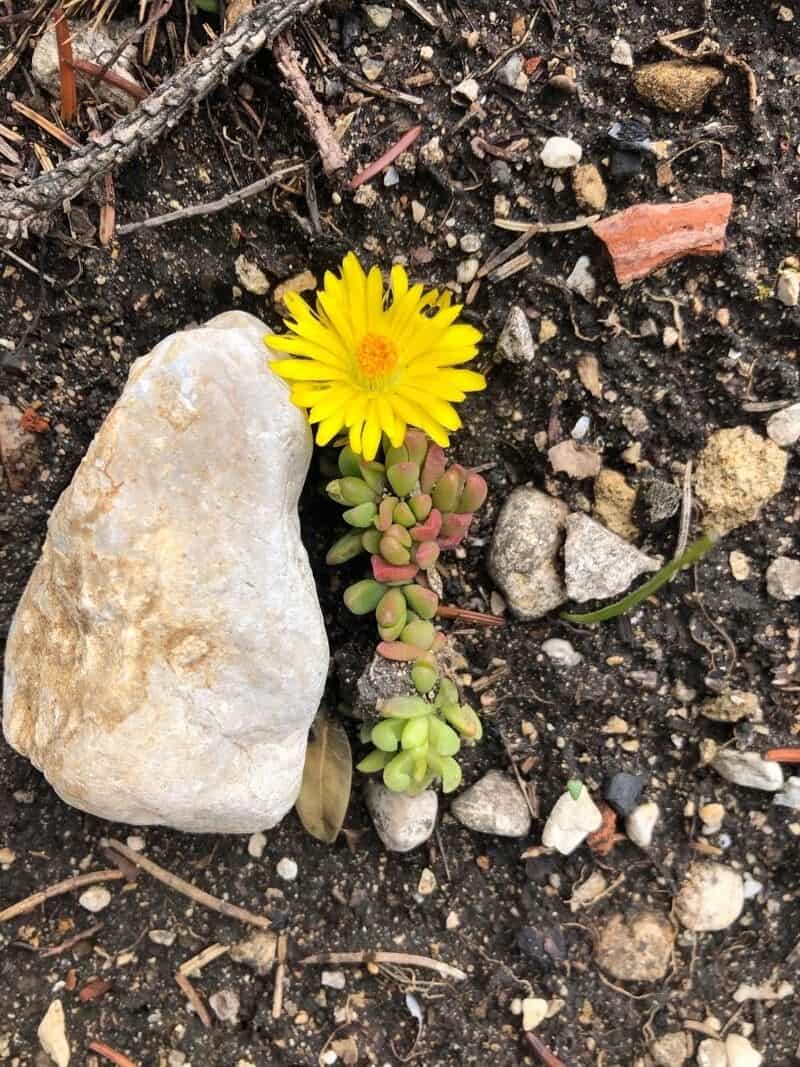
2. Selecting the Right Cuttings: Look for healthy, non-flowering stems that are about 3-4 inches long. Using clean, sharp shears, make a cut just below a leaf node (the point where leaves grow from the stem).
3. Prepare the Cuttings: Remove the lower leaves from the cutting, leaving 2-3 leaves at the top. Allow the cut end to callus over for a day or two in a cool, dry place.
4. Planting the Cuttings: Fill small pots with a well-draining potting mix formulated for succulents or cacti. Create a small hole in the center of each pot and gently insert the callused end of the cutting. Firm the soil around the base and water lightly.
5. Patience is Key: Place the pots in a bright location, but out of direct sunlight. Keep the soil consistently moist but avoid overwatering. Roots should develop within a few weeks, and you’ll notice new growth at the top of the cutting. Once established, transplant the rooted cuttings into larger pots or directly into your garden.
Method 2: Seeds – A Slower but Rewarding Option
Starting Delosperma lineare from seed takes longer but allows you to grow a larger quantity of plants.
1. Harvesting Seeds: After the flowers fade, small seed pods will form. Allow these pods to dry completely on the plant before collecting them. Break open the pods to release the tiny, black seeds inside.
2. Sowing the Seeds: Fill seed trays or small pots with a well-draining seed starting mix. Sprinkle the seeds evenly over the surface of the soil and lightly press them in, but don’t bury them. Mist the soil with water, being careful not to dislodge the seeds.
3. Providing the Right Conditions: Cover the trays or pots with a plastic dome or wrap to create a humid environment. Place them in a bright location out of direct sunlight. Keep the soil consistently moist.
4. Transplanting Seedlings: Germination can take anywhere from a few weeks to a couple of months. Once the seedlings have developed a couple of sets of true leaves, they can be carefully transplanted into individual pots or outdoors after the last frost.
A Few Final Tips:
- Delosperma lineare is relatively pest and disease-free, making it an ideal plant for beginner gardeners.
- Overwatering is the biggest threat to this hardy plant. Ensure the soil drains well and allow it to dry out slightly between waterings.
- These plants are light feeders. A light fertilization in the spring is all they need.
By following these simple steps, you can easily propagate your own Delosperma lineare plants and enjoy a vibrant display of these cheerful succulents in your garden for years to come!