Unveiling the Secrets of Phlox Aculeata Propagation: A Guide to Multiplying this Mountain Beauty
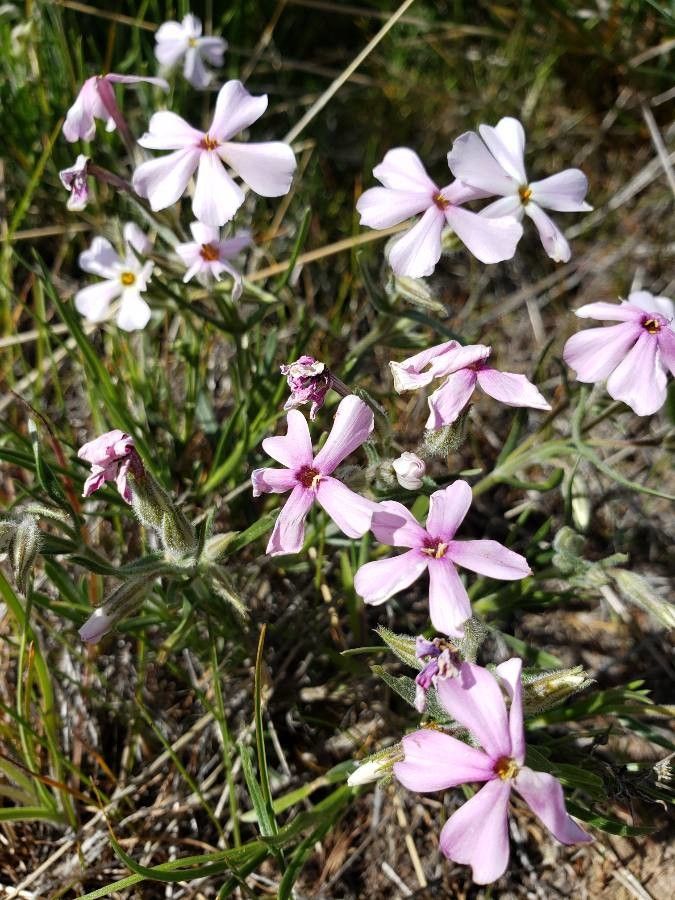
Phlox aculeata, also known as the moss phlox or prickly phlox, is a captivating groundcover prized for its vibrant blooms and hardy nature. This North American native thrives in rocky, well-drained soils, making it a perfect choice for rock gardens, slopes, or even container gardens. But did you know that propagating this beauty is surprisingly straightforward? Whether you’re looking to expand your existing patch or share the joy with fellow gardeners, this guide delves into the secrets of successfully multiplying your Phlox aculeata.
Understanding the Methods
There are two main methods for propagating Phlox aculeata:
Seed Propagation: This method offers the advantage of producing multiple plants, making it ideal for larger propagation efforts. However, it’s important to note that plants grown from seeds may not retain the exact characteristics of the parent plant.
- Cuttings: This method is generally preferred for its reliability and ability to replicate the parent plant’s traits. By taking cuttings, you ensure that your new plants will exhibit the same flower color, growth habit, and hardiness.
The Seed Route
Seed Collection: Collect ripe seed capsules in late summer or early fall when they turn brown and begin to split open.
Seed Preparation: Gently crush the capsules to release the small, dark seeds. No need for extensive cleaning – a light winnowing will suffice.
Sowing Time: Start seeds indoors in late winter (6-8 weeks before the last frost) or sow directly outdoors after the danger of frost has passed.
Sowing Technique: Scatter seeds on the surface of a well-draining seed starting mix and lightly press them in, ensuring they receive good light.
- Moisture and Care: Keep the soil consistently moist but not waterlogged. Thin seedlings to provide adequate spacing once they have developed a few sets of true leaves.
Taking the Cutting Path
Timing is Key: The ideal time to take cuttings is in late spring or early summer when the plants are actively growing.
Choose Wisely: Select healthy, non-flowering stems about 3-4 inches long.
Prepare the Cuttings: Using a sharp, clean knife or pruning shears, make a clean cut just below a leaf node. Remove the lower leaves, leaving 2-3 pairs at the top.
Encourage Rooting: Dip the cut end in rooting hormone (optional but beneficial). Insert the cuttings into a well-draining rooting medium like perlite or vermiculite, burying the bottom node.
Create a Humid Environment: Cover the cuttings with a plastic bag or humidity dome to maintain moisture and promote root development. Place them in a bright location but out of direct sunlight.
- Patience is Key: It typically takes 4-6 weeks for cuttings to root. Once roots have developed, carefully transplant them into individual pots or desired locations in your garden.
Nurturing Your New Phlox Aculeata
Whether you choose seeds or cuttings, providing optimal growing conditions is key to success. Plant your Phlox aculeata in a sunny location with well-drained soil. Water deeply but infrequently, allowing the soil to dry slightly between waterings. Adding a layer of mulch will help retain moisture and suppress weeds.
By following these simple steps, you can easily propagate your Phlox aculeata and enjoy a stunning display of these resilient, vibrant blooms for years to come. So, embrace your inner gardener and let the propagation journey begin!