Unlocking the Secrets of Lobelia oligophylla: A Propagation Primer
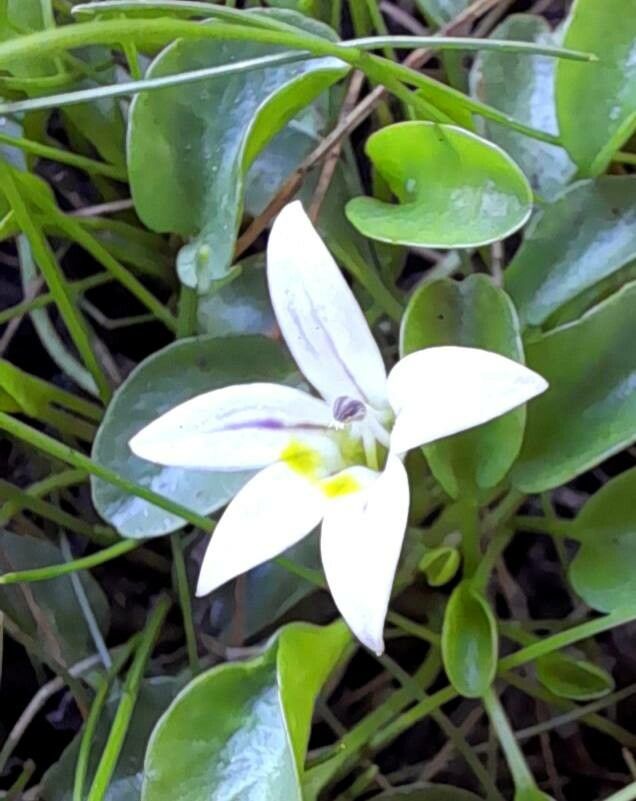
Lobelia oligophylla, also known as the few-leaved lobelia, is a charming little plant with a delicate beauty. Native to Australia, this low-growing species enchants gardeners with its petite green foliage and a profusion of dainty blue, lilac, or white flowers that bloom from spring to fall. Eager to introduce this captivating groundcover to your garden? Let’s delve into the world of propagating Lobelia oligophylla.
Two Roads to Propagation
Thankfully, growing more Lobelia oligophylla isn’t a gardener’s enigma. You have two effective options at your disposal:
1. Seed Starting: Sowing the Seeds of Success
Timing is Key: Begin your seed-starting journey in late winter or early spring. This allows the seedlings ample time to establish themselves before the summer heat arrives.
Sowing the Seeds: Use a well-draining seed starting mix and sprinkle the tiny seeds on the surface. Don’t bury them! Lobelia oligophylla seeds need light to germinate.
Moisture and Warmth: Mist the soil surface gently to avoid dislodging the seeds, and maintain a warm environment around 70-75°F (21-24°C). A seedling heat mat can be beneficial.
Light Show: Once the seedlings emerge (usually within a couple of weeks), provide them with bright, indirect light. A sunny windowsill or grow lights work well.
- Transplanting Time: When your Lobelia oligophylla seedlings have developed a few sets of true leaves, they are ready to be transplanted into individual pots or directly into your garden after the last frost.
2. Cuttings: Cloning Your Garden Gem
Prime Time for Cuttings: Take cuttings in spring or early summer when the plant is actively growing.
Selecting the Right Cuttings: Choose healthy, non-flowering stems that are about 3-4 inches long. Make a clean cut just below a leaf node.
Preparing the Cuttings: Remove the lower leaves from the cutting, leaving a couple of leaves at the top.
Rooting Hormone (Optional): While not essential, dipping the cut end in rooting hormone can encourage faster root development.
Planting the Cuttings: Plant the cuttings in a moist, well-draining potting mix. You can create a humidity dome by covering the pot with a plastic bag to help retain moisture.
Roots Take Hold: Within a few weeks, your cuttings should develop roots. You can gently tug on the cuttings to check for resistance, indicating root formation.
- Transplanting Success: Once rooted, your new Lobelia oligophylla plants can be transplanted into larger pots or into your garden.
Nurturing Your New Lobelia Oligophylla
Regardless of your chosen propagation method, providing the right care will result in thriving plants:
Well-Drained Soil: Lobelia oligophylla dislikes soggy roots, so choose a light and well-draining soil.
Sun or Shade? While this plant enjoys a sunny location, it can tolerate partial shade, especially in warmer climates.
Watering Wisdom: Keep the soil evenly moist, but avoid overwatering. Allow the top inch of soil to dry out between watering.
- Fertilizer Boost: A light feeding with a balanced fertilizer during the growing season can promote healthy growth and abundant blooms.
Propagating Lobelia oligophylla is a rewarding endeavor that’s easier than you might think. By following these tips, you’ll soon have a beautiful tapestry of this charming groundcover gracing your garden.