Unlocking the Secrets of the Forest Olive: A Guide to Propagating Olea Woodiana
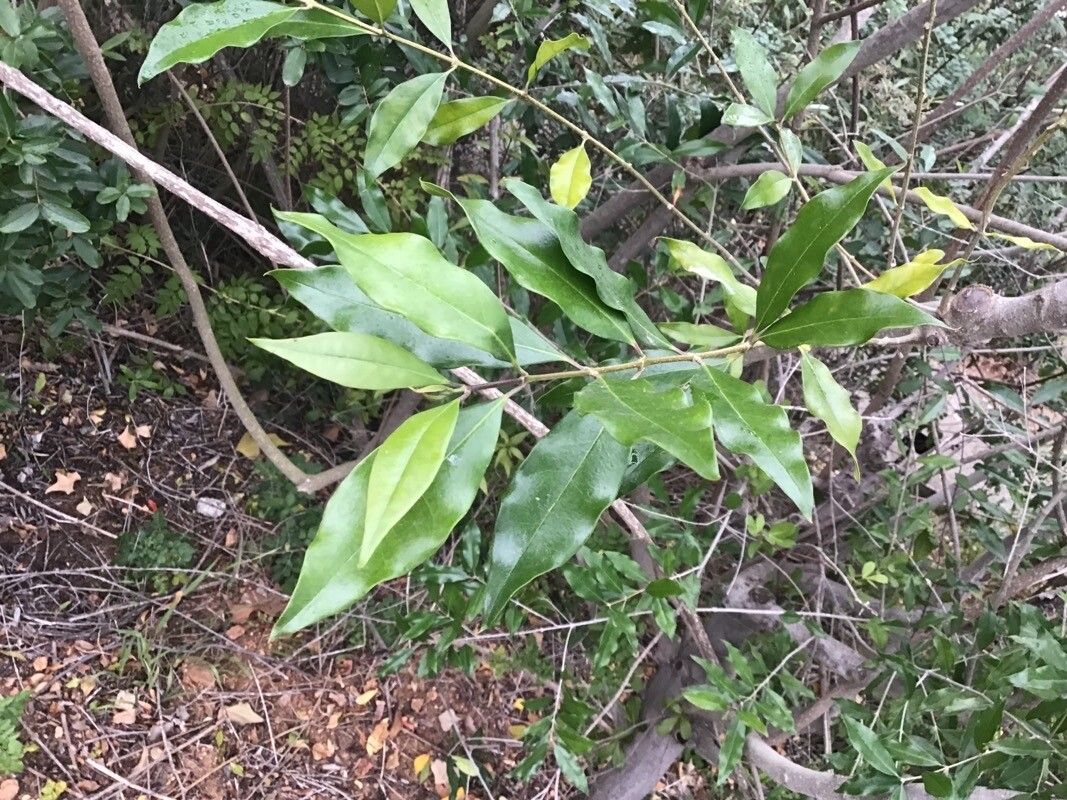
The Olea woodiana, more commonly known as the Forest Olive or Black Ironwood, is a South African native prized for its dense, evergreen foliage and resilience. This small tree, often found gracing gardens with its elegant, dark green leaves and attractive bark, is a wonderful addition to any landscape, especially those seeking low-maintenance beauty. While relatively easy to care for once established, successfully propagating the Forest Olive requires a bit of know-how. Let’s delve into the techniques that will give you the best chance of success:
1. Seed Propagation: A Test of Patience
While possible, propagating Olea woodiana from seed is a lengthy process with no guarantee of success. Forest Olive seeds have a naturally low germination rate and can take several months to sprout. If you’re feeling adventurous and patient, proceed as follows:
- Harvest: Collect ripe fruit from a healthy tree in autumn. The fruit should be dark purple or black when ripe.
- Clean and Soak: Remove the fleshy outer layer and soak the seeds in lukewarm water for 24 hours.
- Plant and Wait: Sow seeds in a well-drained seed-raising mix, barely covering them with soil. Keep the mixture consistently moist but not waterlogged. Place the container in a warm, bright spot, out of direct sunlight.
- Be Patient: Germination is erratic and can take anywhere from a few weeks to several months.
2. Cutting Edge Success: Propagating from Cuttings
Propagating from cuttings offers a much higher success rate and a faster route to a mature plant. Here’s how to do it:
- Timing is Key: The best time to take cuttings is during the active growing season, ideally in late spring or early summer.
- Select Healthy Shoots: Choose semi-hardwood cuttings from the current year’s growth. These are slightly flexible but not overly soft. The cuttings should be around 4-6 inches long.
- Prepare the Cuttings: Remove the leaves from the lower third of the cutting. Make a clean cut just below a leaf node. Dip the cut end in rooting hormone powder to encourage root development.
- Potting Mix and Planting: Plant the cuttings in a well-draining rooting mix, ensuring at least one leaf node is buried. A mix of peat moss and perlite works well.
- Create Humidity and Warmth: Cover the pot with a clear plastic bag or use a propagator to maintain high humidity and warmth. Place in a bright spot, out of direct sunlight.
- Keep an Eye Out for Roots: New growth indicates successful rooting, usually within 6-8 weeks. Once established, gradually acclimate the cuttings to outdoor conditions before transplanting.
3. Air Layering: An Advanced Technique
Air layering is a more advanced propagation method suitable for larger branches. It involves encouraging root development on a stem while it’s still attached to the parent plant. Though slightly more complex, it can be rewarding for propagating specific varieties or achieving a larger plant more quickly.
Final Tips for Success:
- Hygiene is Crucial: Use sterilized tools and clean pots to prevent fungal infections.
- Light and Water: Provide bright, indirect light and keep the rooting medium consistently moist but not waterlogged.
- Patience is a Virtue: Remember that propagation takes time. Don’t be disheartened if it takes a while for roots to develop.
With patience and the right techniques, you can successfully propagate your own Forest Olive trees and enjoy the beauty of this resilient and attractive species in your own backyard for years to come. Happy propagating!