Unlocking the Secrets of Pterolepis Glomerata Propagation: A Guide for Enthusiasts
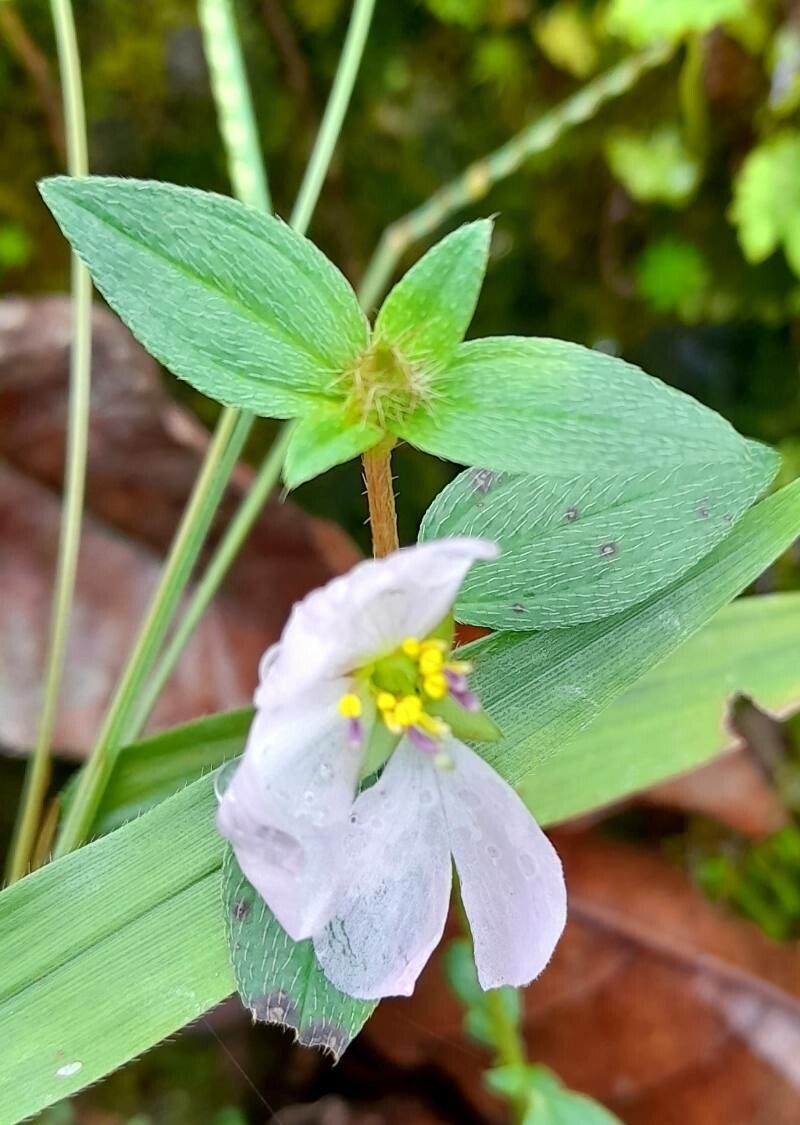
Pterolepis glomerata, also known as the Queensland bottlebrush, is a stunning Australian native renowned for its vibrant red flower spikes resembling, you guessed it, bottle brushes! If you’re lucky enough to have one gracing your garden or are considering adding this beauty to your collection, you might be wondering about the best ways to propagate it. Fear not, fellow plant lovers, for we’re diving deep into the world of Pterolepis glomerata propagation.
Two Main Avenues: Seeds vs. Cuttings
Like many plants, Pterolepis glomerata can be propagated through two primary methods: seeds and cuttings. Each has its pros and cons, so choosing the one that best suits your resources and patience is key.
1. Starting from Seed: A Test of Patience
Propagating from seed is like embarking on a botanical adventure. It’s incredibly rewarding to witness a plant’s entire life cycle, but be warned, it requires patience – a virtue highly valued in the gardening world.
- Gathering the Goods: Pterolepis glomerata produces small, woody seed capsules after flowering. Allow these capsules to dry completely on the plant, then collect and gently crush them to release the seeds within.
- Sowing the Seeds: Use a well-draining seed raising mix and sprinkle the seeds on the surface. Don’t bury them; they need light to germinate.
- Creating a Greenhouse Effect: Mist the soil surface and cover the tray with a plastic dome or cling wrap to retain moisture and warmth.
- Patience, Young Padawan: Germination can be erratic and may take anywhere from a few weeks to a few months. Keep the soil consistently moist but not waterlogged.
2. The Cutting Edge: A Faster Approach
For those who prefer a quicker and often more reliable method, cuttings are your best bet. This technique involves encouraging a piece of the parent plant to develop its own roots.
- Timing is Everything: Take cuttings in late spring or early summer when the plant is actively growing.
- Selecting the Perfect Cuttings: Look for healthy, semi-hardwood stems that are not flowering. Cuttings should be around 4-6 inches long.
- Prepping Your Cuttings: Remove the lower leaves, leaving 2-3 pairs at the top. Dip the cut end in rooting hormone powder (optional but recommended).
- Planting the Cuttings: Insert the cuttings into a well-draining potting mix specifically designed for cuttings.
- Creating a Humid Environment: Cover the pot with a plastic bag or use a propagation dome to maintain humidity and warmth.
Nurturing Your New Propagations
Regardless of your chosen method, proper care is essential for successful propagation:
- Light: Provide bright, indirect light for both seedlings and cuttings. Avoid direct sunlight, which can scorch delicate new growth.
- Water: Keep the soil consistently moist but avoid overwatering, which can lead to root rot.
- Fertilizer: Once your propagations are established and showing new growth, fertilize them lightly with a balanced liquid fertilizer every 4-6 weeks .
Propagating Pterolepis glomerata may require some effort, but the reward of seeing these stunning plants flourish under your care is well worth the journey. So, choose your preferred method and embark on this exciting botanical adventure!