
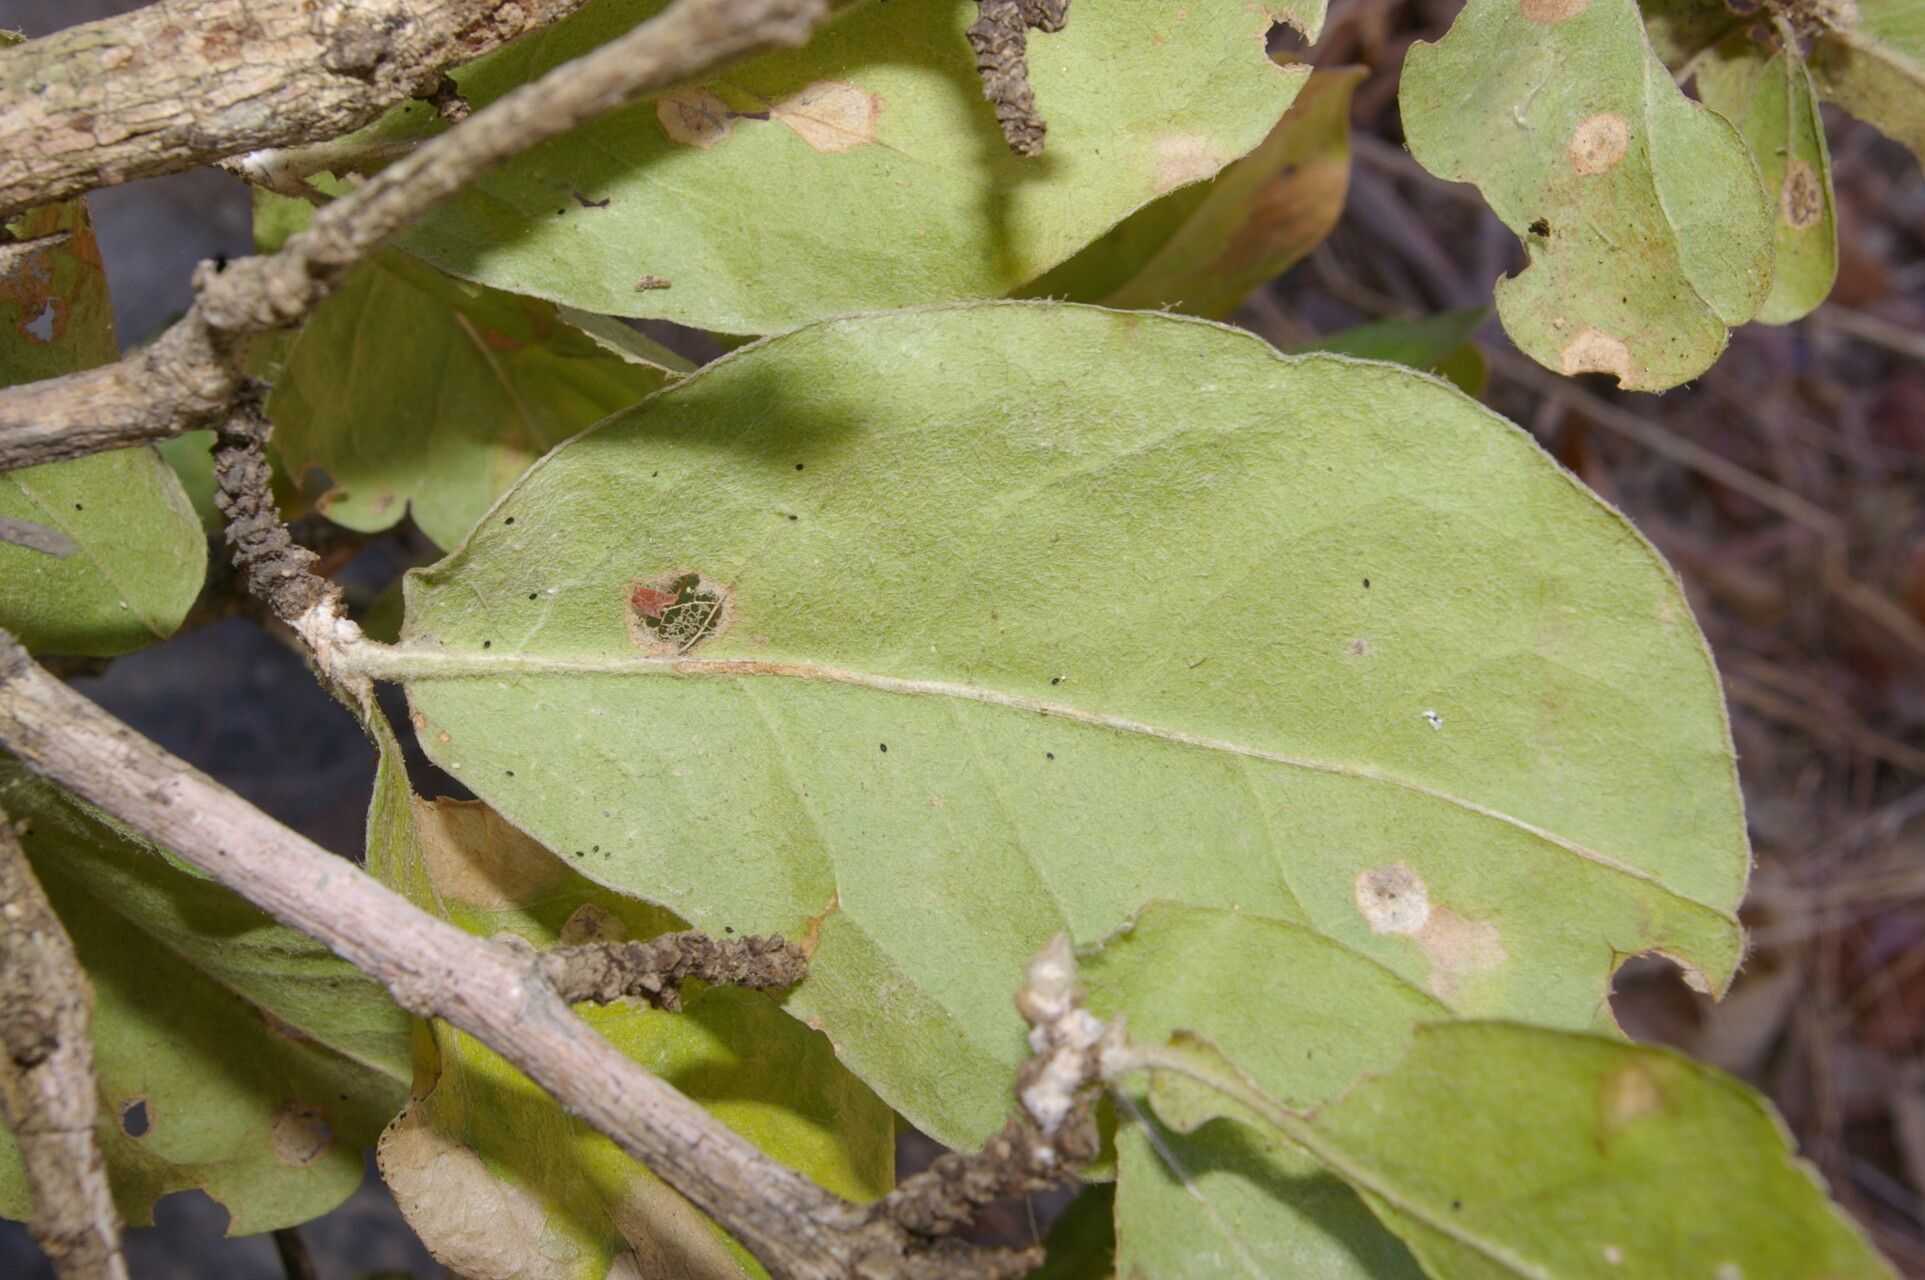
Unlocking the Secrets to Propagating Your Own Acerola Cherry Tree (Malpighia stevensii)
The Acerola cherry, also known as the Barbados cherry or by its scientific name, Malpighia stevensii, is a tropical fruit tree prized for its incredibly vitamin C-rich fruits. While readily available for purchase, propagating your own Acerola cherry tree can be a rewarding experience for any plant enthusiast. Let’s explore the two most common methods: growing from seed and propagating from cuttings.
Method 1: Sowing the Seeds of Success
While it might seem the most intuitive, propagating Malpighia stevensii from seed can be surprisingly tricky. Here’s a breakdown of the process:
- Seed Collection: The first step is acquiring fresh seeds. This can be done by buying them from a reputable supplier or extracting them from ripe Acerola cherries.
- Seed Preparation: Acerola seeds have a hard outer shell that can hinder germination. To overcome this, gently scarify the seeds by rubbing them with sandpaper or a nail file. This will help water penetrate and promote faster sprouting.
- Sowing the Seeds: Plant the scarified seeds about ½ inch deep in a well-draining seed-starting mix. Keep the soil consistently moist but not soggy.
- Patience is Key: Acerola seeds can take anywhere from a couple of weeks to several months to germinate. Be patient and provide consistent care.
- Transplanting Seedlings: Once the seedlings develop a few sets of true leaves, it’s time to transplant them into individual pots filled with a well-draining potting mix.
Method 2: The Art of Cuttings
Propagating Malpighia stevensii from cuttings offers a higher success rate and allows you to preserve the genetic makeup of the parent plant. Here’s a step-by-step guide:
- Selecting the Right Cuttings: Choose healthy, semi-hardwood cuttings about 4-6 inches long from a mature Acerola tree. The best time for taking cuttings is during the active growing season, preferably in spring or early summer.
- Preparing the Cuttings: Remove the leaves from the lower third of the cutting and make a clean cut just below a leaf node.
- Hormonal Help: Dip the cut end of the cutting in a rooting hormone powder or liquid to encourage faster root development.
- Planting the Cuttings: Insert the cuttings about 2 inches deep in a well-draining rooting mix. You can use a mix of perlite and peat moss for optimal drainage and moisture retention.
- Creating a Humid Environment: Maintaining a humid environment is crucial for successful rooting. Cover the pot with a clear plastic bag or use a humidity dome to trap moisture around the cuttings.
- Monitoring Progress: After a few weeks, gently tug on the cuttings to check for root development. Resistance indicates successful rooting.
- Transplanting Rooted Cuttings: Once the cuttings have developed a healthy root system, carefully transplant them into individual pots filled with well-draining potting mix.
Essential Care Tips for Your New Acerola Treasures
Whether you chose to propagate from seed or cuttings, your young Acerola trees will thrive in a warm, sunny location with well-draining soil. Consistent watering, regular fertilization, and occasional pruning will help them flourish and eventually reward you with an abundance of delightfully tart and vitamin-packed Acerola cherries.
Propagating your own Malpighia stevensii might require a bit of patience and care, but the satisfaction of nurturing a new life from seed or cutting is a truly rewarding experience. With the right knowledge and a touch of green thumb magic, you’ll soon enjoy the fruits of your labor – both literally and figuratively.