
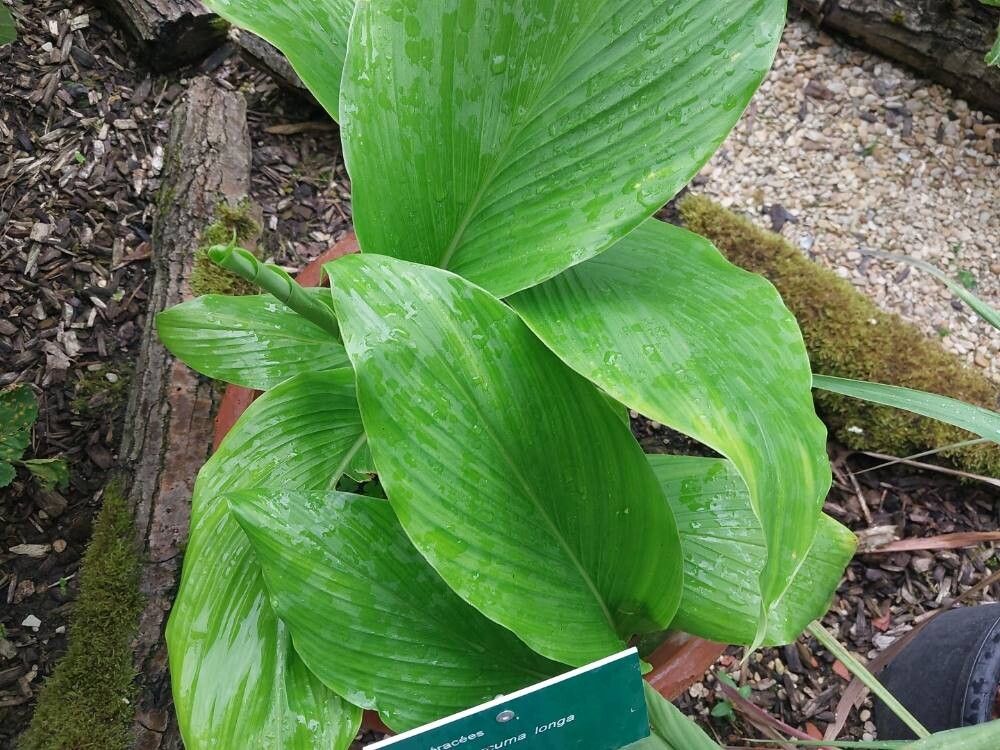
Unlocking Turmeric’s Golden Potential: A Guide to Propagating Curcuma Longa
Turmeric, the “golden spice” celebrated for its vibrant color and health benefits, comes from the rhizomes (underground stems) of the Curcuma longa plant. But did you know you can easily grow this tropical beauty at home? Propagating turmeric is a rewarding experience, offering a sustainable way to enjoy this versatile plant. Let’s delve into the world of turmeric propagation and empower you to grow your own!
Understanding Turmeric’s Growth:
Turmeric thrives in warm climates and prefers well-drained, slightly acidic soil. It’s a perennial plant, meaning it can live for several years, with its rhizomes spreading and multiplying underground. This natural growth pattern provides us with a straightforward way to propagate turmeric: rhizome division.
Rhizome Division: The Key to Turmeric Propagation
The most effective and popular method to propagate turmeric is through rhizome division. Here’s a step-by-step guide:
1. Sourcing Your Rhizomes:
- Grocery Store: You can often find fresh turmeric rhizomes at local grocery stores, especially in the produce section with other roots. Look for plump, firm rhizomes with visible nodes (small bumps) – these are the growth points.
- Nursery: For a wider selection, visit a reputable nursery. They often carry specific turmeric varieties for ornamental or culinary uses.
2. Preparing for Planting:
- Timing is Key: The best time for planting is late winter or early spring when the weather is starting to warm up.
- Dividing the Rhizomes: Carefully cut the rhizome into sections, ensuring each piece has at least 2-3 healthy nodes. A sharp, clean knife is essential for this process to prevent disease.
- Optional Pre-Sprouting: While not necessary, pre-sprouting your rhizome sections can speed up the process. Place them in a warm, humid environment like a damp paper towel in a ziplock bag for a few days until you see sprouts emerging.
3. Planting Your Turmeric:
- Choose the Right Pot: Select a wide, shallow pot with good drainage holes. Turmeric rhizomes grow horizontally, so a wider pot accommodates their spreading habit.
- Potting Mix Matters: Use a well-draining potting mix rich in organic matter. This mimics turmeric’s preferred soil conditions.
- Planting Depth: Plant each rhizome section about 2-3 inches deep with the nodes facing upward.
- Water & Location: Water thoroughly after planting and place the pot in a warm, sunny spot that receives indirect sunlight.
4. Ongoing Care:
- Consistent Moisture: Turmeric enjoys consistent moisture but avoid overwatering, which can lead to root rot.
- Light Requirements: Provide bright, indirect sunlight. If growing indoors, a south-facing window is ideal.
- Fertilization: For optimal growth, fertilize every 4-6 weeks during the growing season (spring and summer) with a balanced, organic fertilizer.
Harvesting Your Turmeric:
Typically, it takes 8-10 months from planting for your turmeric rhizomes to mature. The leaves will start to yellow and die back, signaling harvest time. Gently dig up the rhizomes, separate them, and enjoy the fruits (or rather, rhizomes) of your labor!
Propagating turmeric is a journey of patience and observation, but the rewards – vibrant plants and fresh, homegrown turmeric – are well worth the effort. So why wait? Embrace the opportunity to cultivate this golden wonder and reap its numerous benefits.