
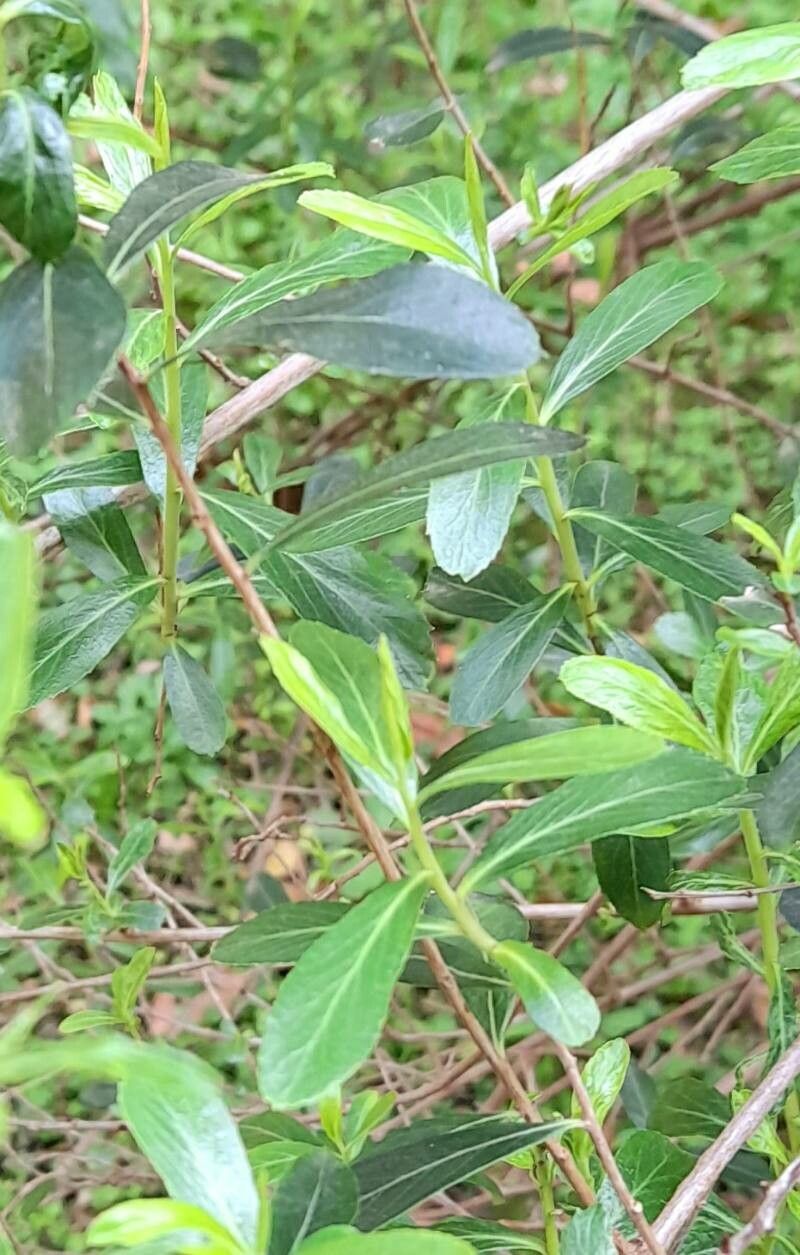
Unlocking the Secrets of Escallonia Megapotamica Propagation: Grow Your Own Flowering Evergreen!
Escallonia megapotamica, with its glossy evergreen foliage and charming clusters of white or pale pink flowers, is a sight to behold. This South American native, also known as the Brazilian Escallonia, brings a touch of elegance and year-round interest to gardens. While readily available in nurseries, propagating your own Escallonia megapotamica can be a rewarding experience. With a bit of patience and the right techniques, you can multiply your collection of this beautiful shrub. Let’s explore the two most effective methods:
1. Propagation from Cuttings:
This is the most popular method for propagating Escallonia megapotamica, offering higher success rates and relatively faster results.
a) Timing is Key: The ideal time to take cuttings is during the active growing season, from late spring to early summer. This is when the plant channels its energy into new growth, increasing the chances of successful rooting.
b) Selecting the Right Cuttings:
- Look for healthy, non-flowering shoots that are about 4-6 inches long.
- Using a sharp, sterilized knife or pruning shears, make a clean cut just below a leaf node (the point where a leaf emerges from the stem).
- Remove the lower leaves, leaving 2-3 pairs at the top. This reduces transpiration and encourages root development.
c) Rooting Hormone Boost: While not essential, dipping the cut end in rooting hormone powder can significantly improve the success rate, especially for beginners.
d) Planting the Cuttings:
- Prepare small pots or a seed tray with a well-draining propagation mix. A mix of peat moss and perlite works well, retaining moisture while providing good drainage.
- Make holes in the mix with a pencil and gently insert the cuttings, ensuring the bottom leaf nodes are buried.
- Water the cuttings well and cover the container with a clear plastic bag or a propagator lid to create a humid environment.
e) Care and Patience:
- Place the cuttings in a warm, bright location out of direct sunlight.
- Mist the cuttings regularly to maintain humidity and check the soil moisture, keeping it consistently moist but not soggy.
- In a few weeks, you should start to see new growth, indicating successful rooting.
- Once the cuttings are well-rooted, gradually acclimatize them to outdoor conditions before transplanting them into individual pots or the garden.
2. Propagation from Seed:
While less common and slightly more challenging, propagating Escallonia megapotamica from seed offers a unique experience and the possibility of new variations.
a) Seed Collection and Preparation:
- Collect ripe seed capsules from the plant in late summer or fall. Allow them to dry thoroughly before extracting the tiny seeds.
- Soaking the seeds in warm water for a few hours before sowing can help soften the outer shell and encourage germination.
b) Sowing the Seed:
- Fill seed trays with a well-draining seed starting mix and sow the seeds thinly on the surface.
- Lightly cover them with a fine layer of vermiculite or seed starting mix.
- Mist the surface with water and cover the tray with a clear lid or cling film.
c) Germination Conditions:
- Provide a warm, bright location out of direct sunlight.
- Keep the soil consistently moist but avoid overwatering, which can lead to damping off.
- Germination can be erratic and may take several weeks to months.
d) Transplanting and Care:
- Once the seedlings develop a few true leaves, transplant them carefully into individual pots.
- Gradually acclimatize them to outdoor conditions before planting them in their permanent location. Keep in mind that plants grown from seed may take longer to flower compared to those propagated from cuttings.
With patience and care, you can successfully propagate your own Escallonia megapotamica. Whether you choose cuttings or venture into growing from seed, enjoy the journey and the reward of witnessing your own beautiful, flowering evergreen flourish.