Multiply Your Cranesbill Geraniums: A Super Easy Guide!
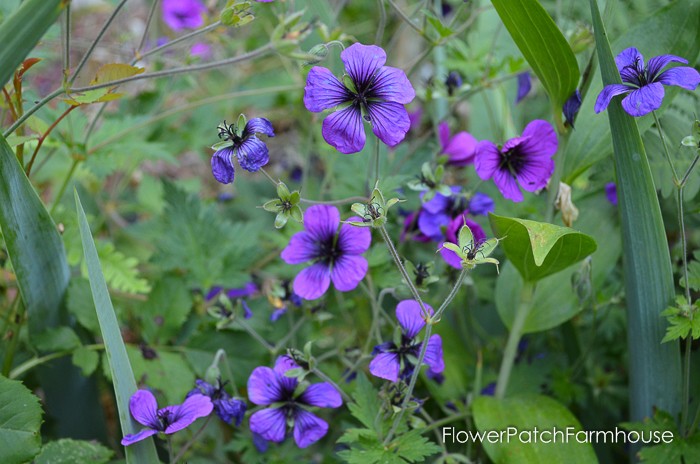
Isn’t it just divine when you can get more of the plants you adore? I’m especially smitten with hardy geraniums (also known as Cranesbill geraniums)! I have these planted all around my roses. They’re total rockstars at keeping weeds away and they give the roses lovely “leg coverage”!
Today, I’m so excited to share how you can easily get more of these beauties for free. Let’s dive into dividing those gorgeous hardy geraniums!
(Psst: Consider supporting the site! This post contains affiliate links. If you make a purchase after clicking a link I may make a small commission at no cost to you. Thanks!)
Why Divide Your Hardy Geraniums, Anyway?
Besides ending up with more plants – who doesn’t love that?! – dividing your Cranesbill geraniums is wonderful for plant health. They can become more vigorous and bloom even better after a little refresh! Of course, they also look gorgeous in a border or as a cute little bush!
When’s the Best Time?
Think spring fever or autumn calm! Either early spring, as they’re starting to wake up, or fall, when things are winding down, is perfect. Aim to do this every 3 to 5 years to keep them happy and healthy.
Ready? Let’s get digging!
Step-by-Step: From One Plant to Many!
Pick Your Winner: Choose a healthy, well-established geranium that’s ready to share its abundance.
Dig ‘Er Up (Gently!): Grab your trusty shovel and carefully dig around the outside of the plant. Think a bit wider than the leafy growth. This helps to scoop up lots of lovely roots!
Sometimes I’m lazy and just dig up half the plant and leave the rest, but this time I grabbed the whole shebang!
Gently wiggle your shovel around the plant to loosen it from all sides.
Now, gently lift the whole clump out of the soil! You might hear a little “pop” as a root breaks, but don’t fret. It’ll be ok! Bonus: Sometimes new plants will grow from the root piece left behind in the ground!
Divide and Conquer! Time to divide the clump into smaller plants. You can use a garden knife or a sharp shovel for this. See that “star shaped intersection of leaves” on this plant? I can make a totally new plant there!
You could just hack the whole clump in half or quarters with your shovel if you’re short on time. I prefer to slice out individual divisions to get the most bang for my buck!
Using your garden knife, gently slice between those “leaf intersection stars.” Make sure you cut all the way through the roots.
Untangle the Roots: Now carefully pull apart the individual divisions. Get those roots separated! This might take a little muscle, but be gentle-ish. Don’t be afraid if you break off part of the rootball!
Pot ‘Em Up (or Plant ‘Em Out!): I like to encourage roots on my lil’ newbies first. Since the roots can be quite big, I like to pot them up in 1-gallon sized containers or pots.
Pop some potting mix into the container, nestle your little geranium cutting in, and then fill with more potting mix. Water them well.
Alternatively, you can absolutely plant your new divisions directly into your garden. Just make sure they get plenty of water!
Replant and Relax: This geranium just grew in this spot so I want to make sure that I have one here again!
Don’t forget to water it really well and make sure the soil settles!
Place the potted divisions in a shady spot to recover from the transplant shock.
Don’t panic if they look a little sad and droopy for a few days. It’s totally normal transplant shock!
Tada! You’ve just multiplied your hardy geraniums! Now you can fill your garden, swap with friends, or give them away as gifts.
I hope this helped!
Happy gardening! P.S. Please Share!