Multiply Your Miniature Marvels: Propagating Delosperma Herbeum
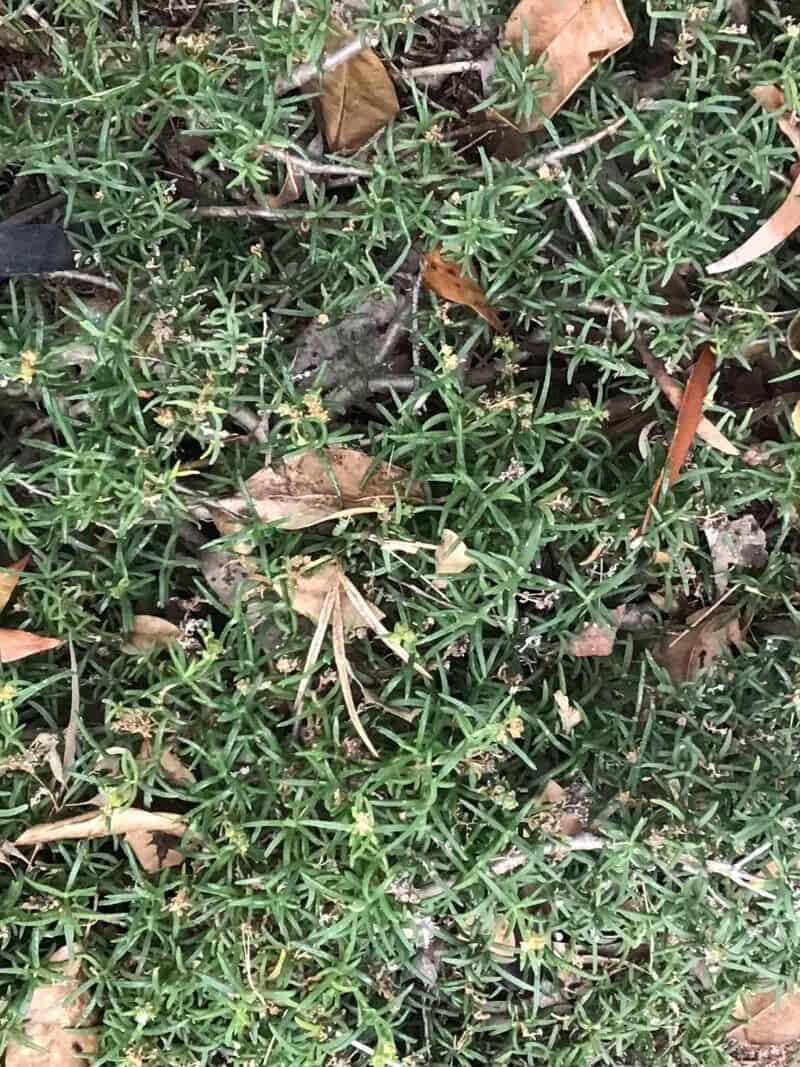
Delosperma herbeum, with its charming miniature flowers and succulent foliage, is a delightful addition to any sunny rock garden or container arrangement. This hardy, low-maintenance plant is a joy to grow, and even better – incredibly easy to propagate! Whether you want to expand your collection or share the joy with friends, propagating your Delosperma herbeum is a rewarding experience that even beginner gardeners can master.
Two Roads to Multiplication: Cuttings vs. Seeds
While you can propagate Delosperma herbeum from seeds, cuttings offer a faster and more reliable method, ensuring you get plants identical to their parent.
1. The Cutting Edge: A Step-by-Step Guide
- Timing is Key: Spring and early summer, when the plant is actively growing, are the optimal times to take cuttings.
- The Right Cut: Choose healthy stems with new growth. Using clean, sharp shears, take cuttings about 3-4 inches long, making a cut just below a leaf node.
- Prep Your Cuttings: Remove the lower leaves from the stem, leaving a couple of leaves at the top.
- Let Them Rest: Allow the cuttings to dry for a day or two in a cool, dry place. This allows a callus to form, which encourages root development.
- Planting Time: Fill small pots with a well-draining potting mix, specifically formulated for succulents or cacti.
- Nestle and Water: Gently insert the cuttings into the soil, burying the node where the leaves were removed. Water lightly, ensuring the soil is moist but not soggy.
- Patience is a Virtue: Place the pots in a bright location, but out of direct sunlight. Keep the soil lightly moist. In a few weeks, you should see new growth, indicating successful rooting.
2. The Seed Route: A Longer Journey
- Gathering Seeds: Delosperma herbeum produces small seed pods after flowering. Collect these pods when they dry and turn brown.
- Seed Preparation: Open the pods and carefully collect the tiny, black seeds.
- Sowing the Seeds: In spring, fill seed trays with a well-draining seed starting mix. Sprinkle the seeds on the surface, and lightly press them down without burying them.
- Creating a Greenhouse Effect: Mist the seeds with water and cover the tray with a plastic dome or wrap to create humidity.
- Light and Warmth: Place the tray in a bright location, out of direct sunlight. Maintain a temperature of around 70°F (21°C).
- Germination Games: Germination can take a few weeks to a couple of months. Be patient and keep the soil lightly moist.
- Thinning Out the Crowd: Once the seedlings have a couple of sets of true leaves, thin them out to give them space to grow.
Sharing the Bounty:
Once your propagated Delosperma herbeum plants are established, you can pot them up individually or plant them directly into your garden. These resilient little plants make wonderful gifts, spreading cheer and a touch of vibrant color to any space.
By following these simple propagation techniques, you can easily multiply your miniature marvels and enjoy a flourishing collection of Delosperma herbeum. So go ahead, get your hands dirty, and experience the satisfaction of creating new life from your existing plants!