Unveiling the Secrets to Propagating the Hardy Myrceugenia Obtusa
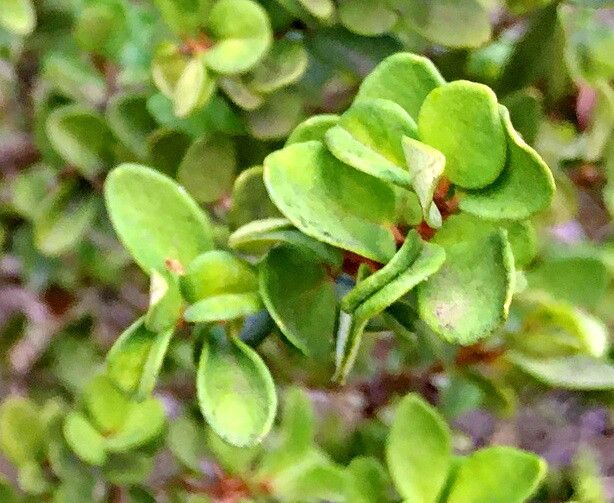
The Myrceugenia obtusa, also known as the Chilean guava or murtilla, is a captivating evergreen shrub prized for its delicate, fragrant white flowers, vibrant red berries, and attractive foliage. This hardy plant, native to Chile and Argentina, isn’t just a feast for the eyes, but also yields edible, sweet-and-tart berries that can be enjoyed fresh or used to make jams and jellies.
While you might be drawn to its beauty and bounty, the Myrceugenia obtusa isn’t widely available in nurseries. So, if you’re looking to add this unique plant to your garden, understanding propagation is key. Don’t be intimidated, though! While patience is required, propagating this resilient shrub isn’t as daunting as you think. Let’s explore the two most effective methods:
Method 1: Seed Propagation – A Test of Patience
Propagating from seed is the most economical option but demands a longer waiting period for your reward. Here’s how:
- Source Your Seeds: Extract fresh seeds from ripe berries, rinsing them thoroughly to remove any pulp. You can also purchase seeds from reputable online retailers.
- Cold Stratification: Mimic nature by subjecting seeds to a period of cold stratification. This process simulates winter conditions and encourages germination. Place the seeds between damp paper towels in a sealed plastic bag and store them in the refrigerator for 4-6 weeks.
- Sowing Time: Once stratified, sow the seeds in a seed-starting mix, pressing them gently onto the surface. Keep the soil consistently moist but not waterlogged.
- Light and Warmth: Position your seed tray in a bright location, out of direct sunlight, with temperatures around 65-75°F (18-24°C).
- Germination: Patience is paramount! Germination can take anywhere from a few weeks to a couple of months.
- Transplanting: When your seedlings have developed a few sets of true leaves, transplant them into individual pots filled with a well-draining potting mix.
Method 2: Semi-Hardwood Cuttings – For a Faster Start
Propagating through semi-hardwood cuttings offers a quicker route to established plants, but success rates can be variable. Here’s a breakdown:
- Timing is Key: Take cuttings in late summer or early fall when the new growth has started to harden slightly.
- Taking the Cutting: Select healthy stems that haven’t yet flowered. Make a clean cut, about 4-6 inches long, just below a leaf node. Remove the lower leaves, leaving only 2-3 pairs at the top.
- Hormone Boost: Dip the cut end of your cuttings into rooting hormone powder to stimulate root development.
- Planting the Cutting: Plant the cuttings in pots filled with a well-draining, sterile potting mix. Ensure the leaf nodes are buried.
- Creating a Humid Environment: Place the pots in a propagator or cover them with a clear plastic bag to maintain humidity, misting regularly.
- Root Development: Keep the cuttings in a bright location, out of direct sunlight. With patience, root development should occur within 6-8 weeks.
- Transplanting: Once roots have formed and new growth emerges, transplant the rooted cuttings into individual pots.
A Rewarding Endeavor
No matter your chosen method, the joy of watching a new Myrceugenia obtusa flourish from a seed or cutting is incredibly fulfilling. Remember, consistency with watering, providing adequate light, and offering a little TLC will significantly increase your chances of success. So, why wait? Embark on your propagation journey and relish the rewards of cultivating this remarkable plant!