Unlocking the Secrets of Sesame: Propagating Sesamum sesamoides
Sesame, those tiny seeds bursting with flavor and nutrients, come from the fascinating plant Sesamum sesamoides. This ancient crop, cultivated for millennia, evokes images of sun-drenched fields and exotic cuisines. Have you ever dreamt of growing your own sesame from seed? While not the most common garden plant, propagating Sesamum sesamoides is an achievable and rewarding endeavor. Let’s delve into the secrets of successfully bringing this ancient crop to life in your own backyard.
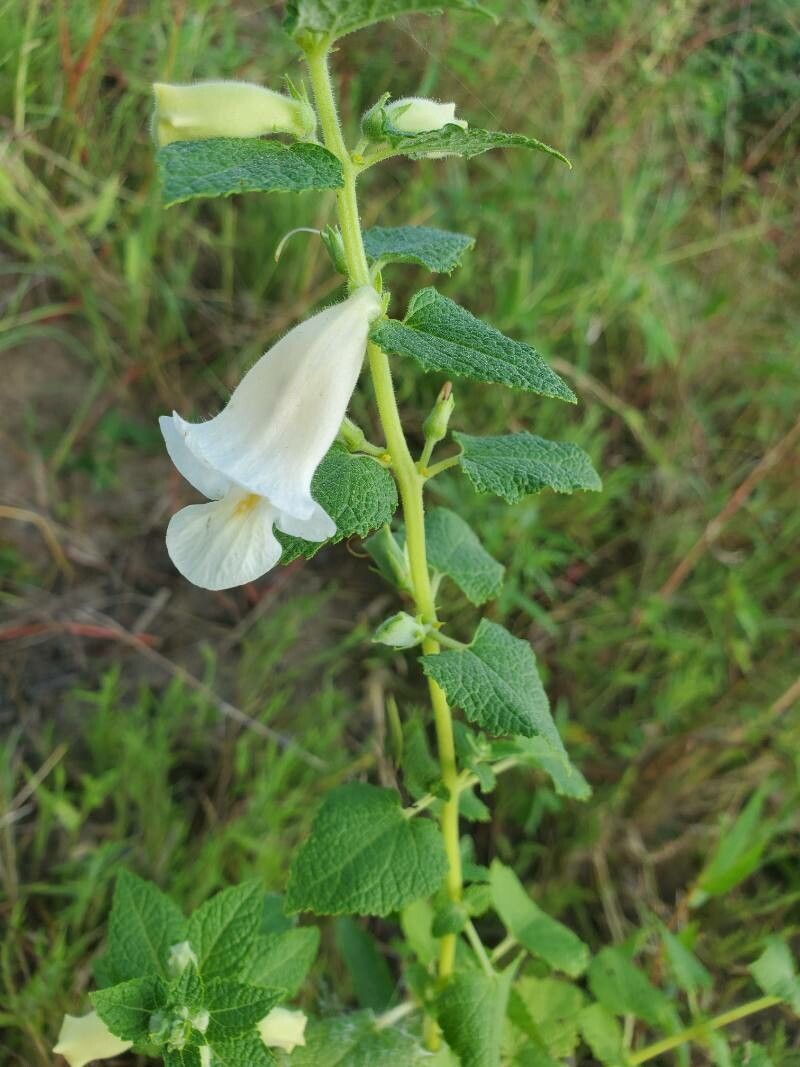
Understanding Sesamum sesamoides
Before embarking on the propagation journey, it’s crucial to understand the plant itself. Sesamum sesamoides thrives in warm climates with well-drained soil. As an annual plant, it completes its life cycle within a single growing season – from seed to mature plant producing new seeds. Knowing this, timing your propagation is key.
The primary method for propagating Sesamum sesamoides is seed sowing. Let’s explore this process:
1. Timing is Everything: Sesame seeds require warmth to germinate. In regions with frost, sow indoors approximately 4-6 weeks before the last expected frost date. For warmer climates, direct sowing after the last frost is possible.
2. Sowing the Seeds: Utilize a seed starting mix or well-draining potting soil. Sow seeds about 1/2 inch deep and lightly cover them. Water gently but thoroughly, ensuring the soil remains moist but not waterlogged.
3. Patience is Key: Germination typically takes 7-14 days depending on temperature and humidity. Maintain a warm environment (around 70-75°F) and ensure the soil stays consistently moist.
4. Light and Growth: Once seedlings emerge, provide ample sunlight. A south-facing window or grow lights for 6-8 hours a day are ideal.
5. Transplanting Time: When seedlings develop a few true leaves and the threat of frost has passed, they are ready to be transplanted outdoors. Choose a sunny location with well-drained soil. Space the seedlings about 12-18 inches apart to allow for their mature size.
6. Ongoing Care: Sesamum sesamoides is relatively low-maintenance once established. Water regularly, especially during dry periods, and fertilize every few weeks with a balanced fertilizer to promote healthy growth.
Harvesting the Rewards
As the growing season progresses, you will witness the fascinating development of seed pods along the plant’s stems. Once the pods turn brown and dry, it’s time to harvest! Gently shake the pods to release the sesame seeds. Remember those tiny seeds you started with? Now you have a bounty of your own to enjoy in culinary creations or to share the joy of growing Sesamum sesamoides by saving seeds for the next planting season.
A Rewarding Endeavor
While growing Sesamum sesamoides might require a little extra attention than some common garden vegetables, the rewards are plentiful. There’s a unique satisfaction in harvesting your own sesame seeds, knowing you’ve nurtured the plant through its entire life cycle. So, why not embark on this fulfilling journey and experience the magic of growing sesame? You might discover a new favorite garden gem in the process!