
Demystifying Zenobia Propagation: Sharing the Dusty Beauty
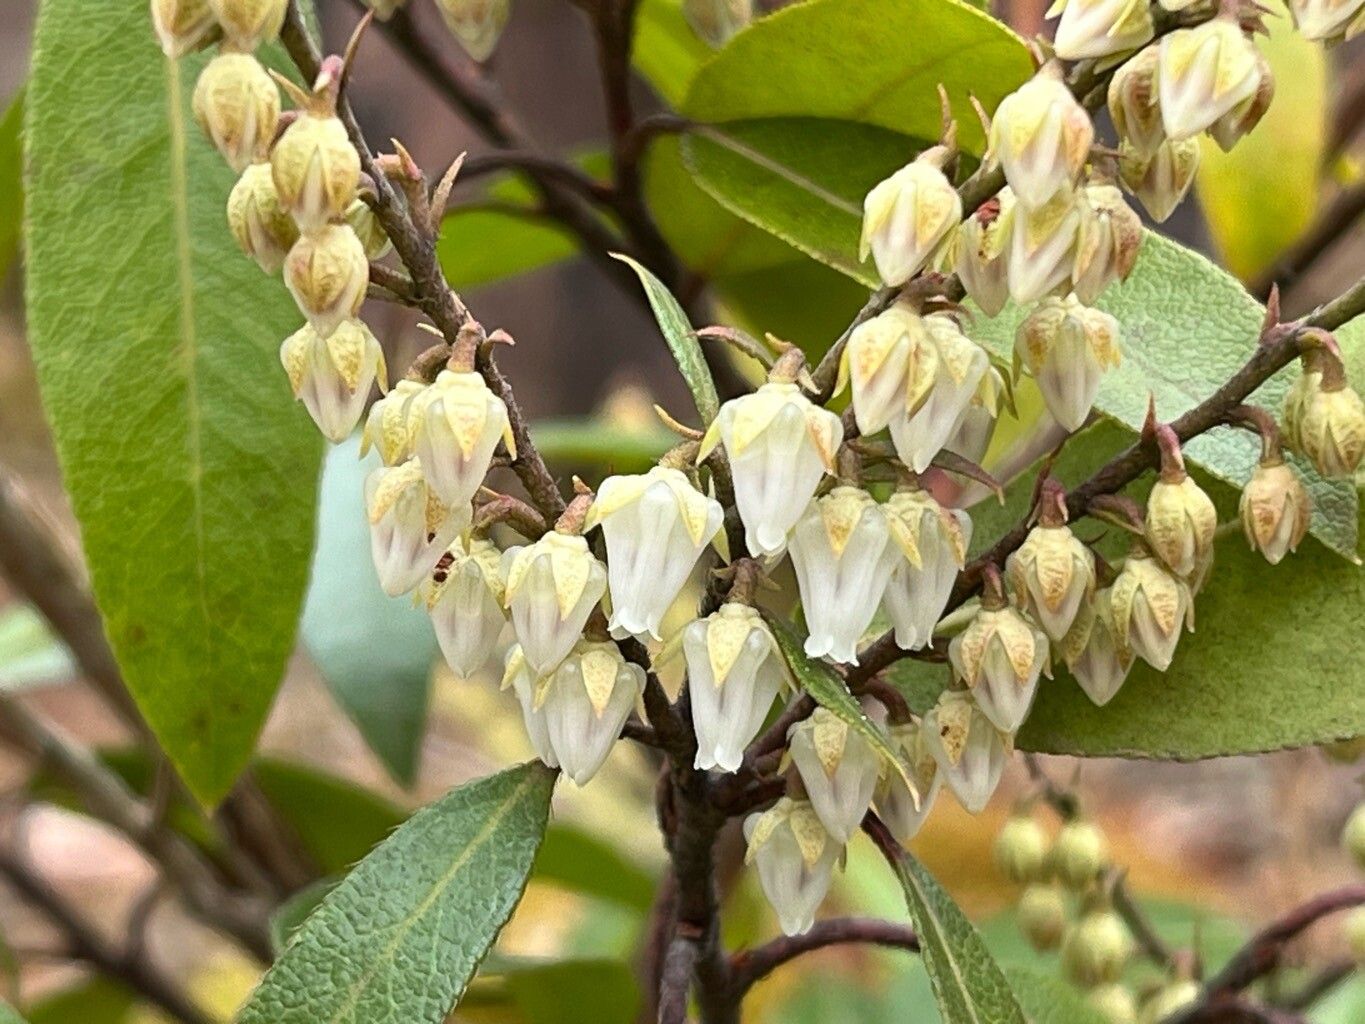
Zenobia pulverulenta, fondly known as the Dusty Zenobia or Honeycup, is a captivating shrub that deserves a place in every plant enthusiast’s garden. Imagine this: arching branches adorned with powdery blue-green foliage, reminiscent of freshly fallen snow on a winter’s day. Come spring, the shrub bursts forth with clusters of fragrant, bell-shaped flowers, their pearly white hue a delightful contrast against the frosted foliage.
While the allure of Zenobia is undeniable, many shy away from cultivating this beauty due to perceived difficulties in propagation. Fear not, fellow plant lovers! This guide will demystify the process and equip you with the knowledge to successfully propagate your very own Zenobia shrubs.
Three Paths to Propagation:
Zenobia can be propagated through three primary methods:
Seed Propagation: The most common and rewarding method, offering a large number of potential plants.
- Timing is Key: Collect seeds in late summer or early fall as the seed capsules mature and turn brown.
- Sowing the Seeds: Sow the seeds in a well-draining seed starting mix, lightly pressing them onto the surface.
- Patience is a Virtue: Germination can be slow, taking anywhere from a few weeks to several months. Maintain consistent moisture and provide bright, indirect light.
Semi-Hardwood Cuttings: A faster method compared to seeds, ideal for replicating specific plant characteristics.
- Prime Time: Take cuttings in late summer from healthy, semi-mature stems. Aim for sections about 4-6 inches long, making the cut just below a leaf node.
- Preparation is Key: Remove the lower leaves and wound the base of the cutting slightly to encourage root development.
- Creating the Right Environment: Dip the wounded end in rooting hormone and plant the cuttings in a well-draining rooting mix. Keep the humidity high by covering the pot with a plastic bag or using a propagation dome.
Layering: A simple technique, albeit slower, suitable for patient gardeners seeking a few extra plants.
- Finding the Right Branch: Choose a low-growing, flexible branch in spring.
- Creating the Layer: Wound the underside of the selected branch slightly and bury that portion in the soil, using a landscape pin to secure it in place.
- Patience is Paramount: Leave the layer undisturbed for a full year, allowing it ample time to develop roots. Sever the rooted branch from the parent plant and transplant it to its desired location.
Zenobia’s Preferences for Success:
Regardless of the chosen propagation method, understanding Zenobia’s growth requirements is crucial for success:
- Well-Drained Soil: This shrub thrives in acidic, well-drained soil. Amend your soil with peat moss or similar materials to increase acidity and improve drainage.
- Sun or Shade?: While Zenobia tolerates partial shade, it flourishes in full sun, producing more vibrant foliage and abundant blooms.
- Watering Wisely: Water deeply but infrequently, allowing the soil to dry slightly between watering sessions.
Reap the Rewards of Your Efforts:
Propagating your own Zenobia might require a touch of patience, but the rewards are well worth the effort. Watching a new generation of these frosty-leaved beauties thrive in your garden, their delicate fragrance filling the air, is a truly gratifying experience. So, gather your gardening tools and embark on this fulfilling journey of cultivating the captivating Zenobia pulverulenta!