Unlocking the Secrets of the Himalayan Lily: A Guide to Propagating Lilium nepalense
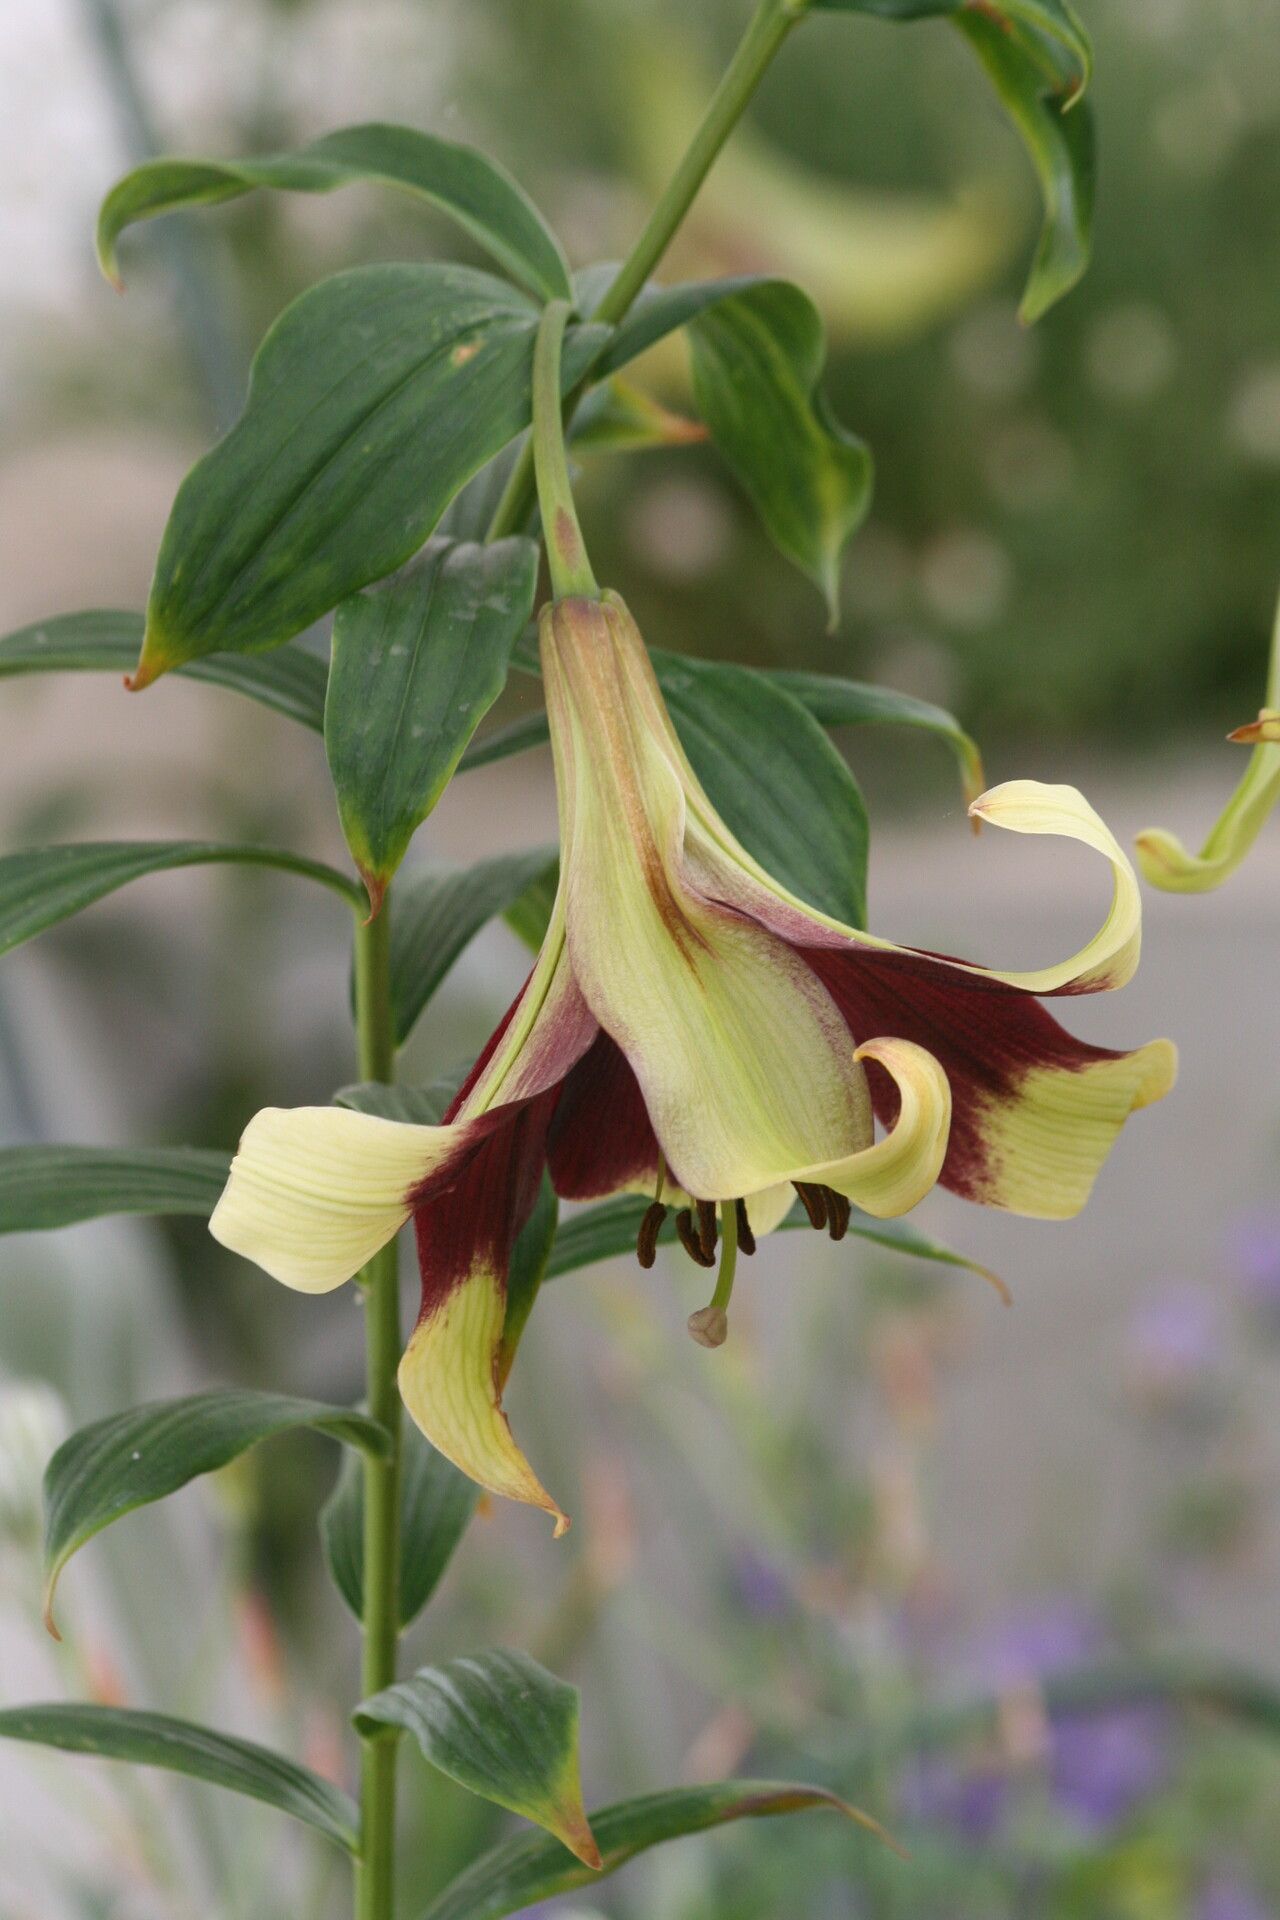
The Lilium nepalense, also known as the Nepal Lily or the Himalayan Lily, is a captivating flower with its graceful, nodding blooms and captivating fragrance. Native to the high altitudes of the Himalayas, this lily species adds an exotic charm to gardens around the world. If you’re lucky enough to own one or are considering welcoming this beauty into your garden, you might be interested in learning about its propagation. While it requires a bit of patience and care, successfully propagating Lilium nepalense is a rewarding endeavor.
This guide explores the two most effective methods for propagating Lilium nepalense:
1. Propagation from Scales:
This technique involves gently removing scales from the outer layers of the lily bulb. Here’s how:
- Timing is Key: The ideal time for scale propagation is during the plant’s dormant period, typically in late summer or early fall after the foliage has died back.
- Careful Removal: Carefully dig up the bulb, being sure to avoid any damage. Select plump, healthy scales from the outer layers of the bulb.
- Preparation: Dust the scales with fungicide to prevent fungal infections.
- Planting the Scales: Plant the scales in a well-draining medium, such as a mixture of peat moss and perlite, with the pointed end facing up. Bury the bottom two-thirds of the scale in the mixture.
- Patience is a Virtue: Place the pot in a cool, shaded location and keep the medium consistently moist but not waterlogged. It may take several weeks or even months for bulblets to form.
- Transplanting: Once the bulblets have formed and developed their own roots, they can be carefully separated and potted individually in a well-draining potting mix.
2. Propagation from Seed:
While propagation from seed is possible, it’s important to note that Lilium nepalense seeds can be slow to germinate and may take several years to flower.
- Seed Collection: Allow the seed pods to dry completely on the plant before collecting them.
- Cold Stratification: Lilium nepalense seeds benefit from a period of cold stratification, mimicking the natural winter conditions they experience in their native habitat. To do this, mix the seeds with a damp medium like vermiculite, place them in a sealed plastic bag, and store in the refrigerator for 8-12 weeks.
- Sowing the Seeds: After stratification, sow the seeds in a seed-starting mix, lightly pressing them into the surface.
- Light and Moisture: Place the seed tray in a well-lit location, but out of direct sunlight. Keep the soil consistently moist.
- Transplanting: Once the seedlings are large enough to handle, transplant them into individual pots.
Essential Care for Your Lilium nepalense:
Regardless of your chosen propagation method, providing the right growing conditions is crucial for success:
- Well-Drained Soil: A well-draining potting mix or garden bed is absolutely essential to prevent bulb rot.
- Sunlight: Lilium nepalense prefers partial shade, ideally with morning sun and afternoon shade.
- Watering: Keep the soil consistently moist, especially during the growing season, but avoid overwatering.
- Fertilization: Fertilize regularly during the growing season with a balanced fertilizer to encourage healthy growth and flowering.
Propagating Lilium nepalense may take time and dedication, but the reward of seeing these majestic lilies grace your garden is well worth the effort. With patience and the right care, you can successfully multiply your collection of these Himalayan beauties and share their unique charm for years to come.