Unveiling the Secrets: How to Propagate the Enchanting Cullen Americanum
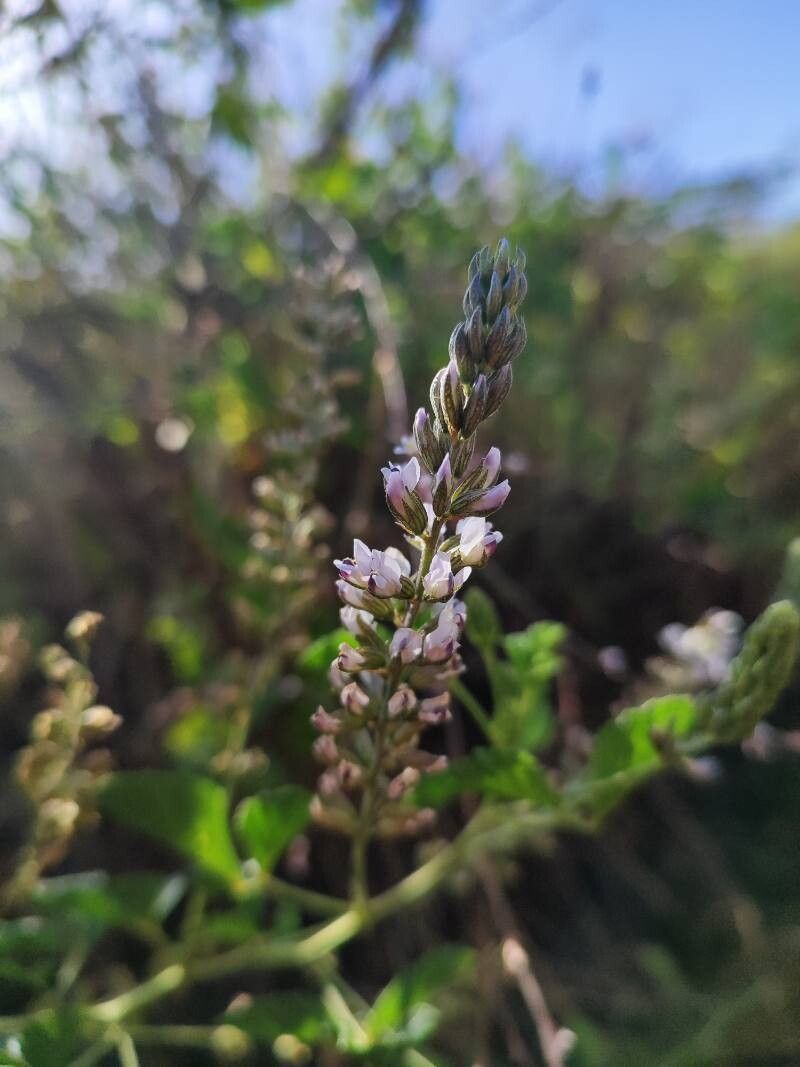
The Cullen americanum, commonly known as the Peter’s Mountain mallow, is a captivating wildflower native to the eastern United States. Adored for its showy white blooms etched with delicate pink veins, this perennial beauty can be a stunning addition to cottage gardens or wildflower meadows. While finding Cullen americanum at your local nursery may be a stroke of luck, propagating this charming plant is a rewarding endeavor well within reach for gardeners of all levels.
Understanding the Basics
Before diving into the how-to, it’s helpful to understand that Cullen americanum can be propagated in two primary ways:
- Seeds: This method is ideal for those seeking a sense of accomplishment from nurturing a plant from its very beginning.
- Cuttings: A quicker approach yielding faster results, perfect for expanding your Cullen americanum patch with guaranteed success.
Method 1: Starting from Seed
1. Seed Collection and Preparation: Collect ripened seed pods in late summer or early fall. Allow the pods to dry thoroughly, then carefully extract the seeds.
2. Cold Stratification: Cullen americanum seeds benefit from a period of cold stratification to mimic natural winter conditions. Place the seeds in a moistened paper towel within a sealed plastic bag and store them in the refrigerator for 6-8 weeks.
3. Sowing: In early spring, sow the stratified seeds in seed trays or pots filled with a well-draining seed starting mix. Scatter the seeds on the surface and lightly press them down, ensuring they are covered with a thin layer of the mixture.
4. Care and Transplanting: Keep the seed trays in a warm, bright location, consistently moist but not soggy. Germination typically takes 2-3 weeks. Once seedlings develop a few sets of true leaves, transplant them into individual pots or directly into your garden after the last frost.
Method 2: Propagating from Cuttings
1. Timing is Key: Early summer is the optimal time to take cuttings as the plant is actively growing.
2. Taking the Cuttings: Choose healthy, non-flowering stems. Using a sharp, sterilized knife or pruning shears, make a clean cut just below a leaf node (where the leaf meets the stem). Aim for cuttings around 4-6 inches long. Remove the lower leaves, leaving only a few at the top.
3. Rooting Hormone (Optional): While not mandatory, dipping the cut end in rooting hormone can encourage faster root development.
4. Planting the Cuttings: Plant the cuttings in a well-draining potting mix, ensuring at least two nodes are buried. Water thoroughly.
5. Creating Humidity: To facilitate rooting, cover the pot with a clear plastic bag or use a humidity dome. This creates a warm, humid environment ideal for root development.
6. Successful Rooting: In about 4-6 weeks, the cutting should develop roots. Gently tug on the cutting – resistance indicates successful rooting. Once established, you can transplant the cuttings into larger pots or your garden.
Caring for Your Cullen Americanum
Regardless of your chosen propagation method, providing the right care is crucial for thriving Cullen americanum plants:
- Sunlight: Plant your Cullen americanum in a location that receives at least six hours of sunlight daily.
- Soil: Well-draining soil is essential to prevent root rot. Amend heavy clay soil with compost or sand.
- Watering: Water regularly, especially during dry spells, but avoid overwatering.
- Support: Taller varieties may require staking to prevent flopping.
By following these propagation techniques and providing the necessary care, you can successfully cultivate your own Cullen americanum, ushering its delicate beauty and charm into your garden.