Unveiling the Secrets of Mirbelia rubiifolia Propagation: From Cuttings to Blooming Beauty
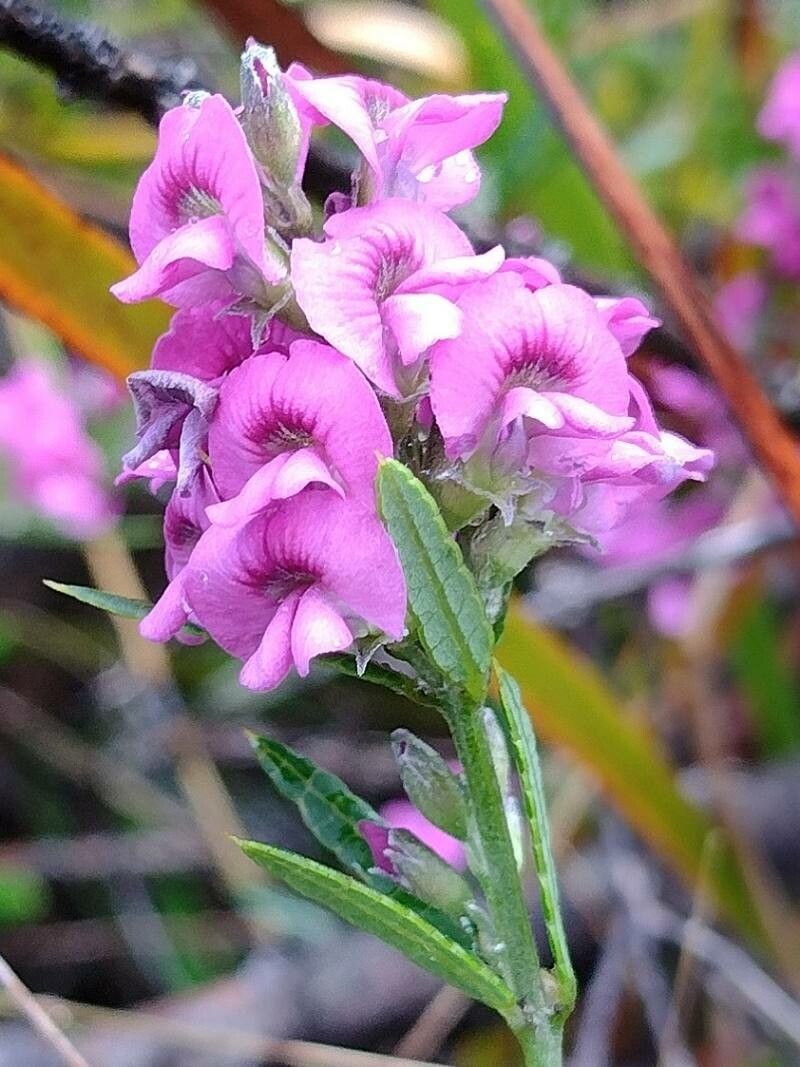
Mirbelia rubiifolia, with its captivating sprays of purple blossoms and delicate foliage, adds a touch of whimsical charm to any garden. But unlike some plants that readily spread, this Australian native can be a bit more elusive to propagate. Fear not, fellow plant enthusiasts! With a bit of patience and the right techniques, you too can unlock the secrets to multiplying this stunning species.
The Art of the Cutting:
For Mirbelia rubiifolia, cuttings reign supreme as the most reliable propagation method. Here’s how to master the art:
- Timing is Key: The ideal time to take cuttings is during the active growing season, typically late spring to early summer. Choose a period when the plant is bursting with new growth.
- Selecting the Perfect Cut: Look for healthy, non-flowering stems approximately 7-10 cm long. Use a sharp, sterilized knife or pruning shears to make a clean cut just below a leaf node (where the leaf joins the stem).
- Preparing for Success: Remove the lower leaves of the cutting, leaving only a few at the top. This focuses the plant’s energy on root development. Dipping the cut end in a rooting hormone powder can significantly improve your chances of success.
- The Perfect Home: Plant your cuttings in a well-draining potting mix specifically designed for cuttings. A mix of peat moss, perlite, and vermiculite is ideal.
- Creating a Humid Haven: Humidity is crucial for successful rooting. Enclose the pot in a clear plastic bag or use a propagation dome to create a mini greenhouse effect.
- Light, Water, and Patience: Place your cuttings in a bright spot with indirect sunlight. Keep the soil consistently moist but not waterlogged. Now comes the hard part: patience! It can take several weeks, even months, for roots to develop.
Alternative Avenues: Seed Propagation
While cuttings are the preferred method, Mirbelia rubiifolia can also be propagated from seed. However, this method is less reliable and requires more patience.
- Seed Collection: Collect seeds from mature seed pods once they turn brown and dry.
- Scarification: Like many Australian natives, Mirbelia seeds benefit from scarification. Gently rub the seed coat with sandpaper to break down its tough exterior and encourage germination.
- Sowing the Seeds: Sow the seeds in a well-draining seed-raising mix, covering them lightly with soil. Keep the mix consistently moist and provide warmth.
- The Waiting Game: Be prepared for a potentially lengthy wait. Seed germination can be erratic and may take weeks or even months.
Nurturing Your New Mirbelia Generation:
Once your cuttings develop roots or your seedlings have sprouted, it’s time to gradually acclimate them to their new environment. Slowly reduce the humidity levels over time and carefully transplant them into larger pots or garden beds with well-draining soil.
With a little dedication and the right techniques, propagating your own Mirbelia rubiifolia can be an immensely rewarding experience. Soon, you’ll be basking in the vibrant colors and delicate beauty of these stunning Australian natives, each bloom a testament to your horticultural prowess.