Unleash the Power of the Chaya Plant: A Guide to Simple Propagation
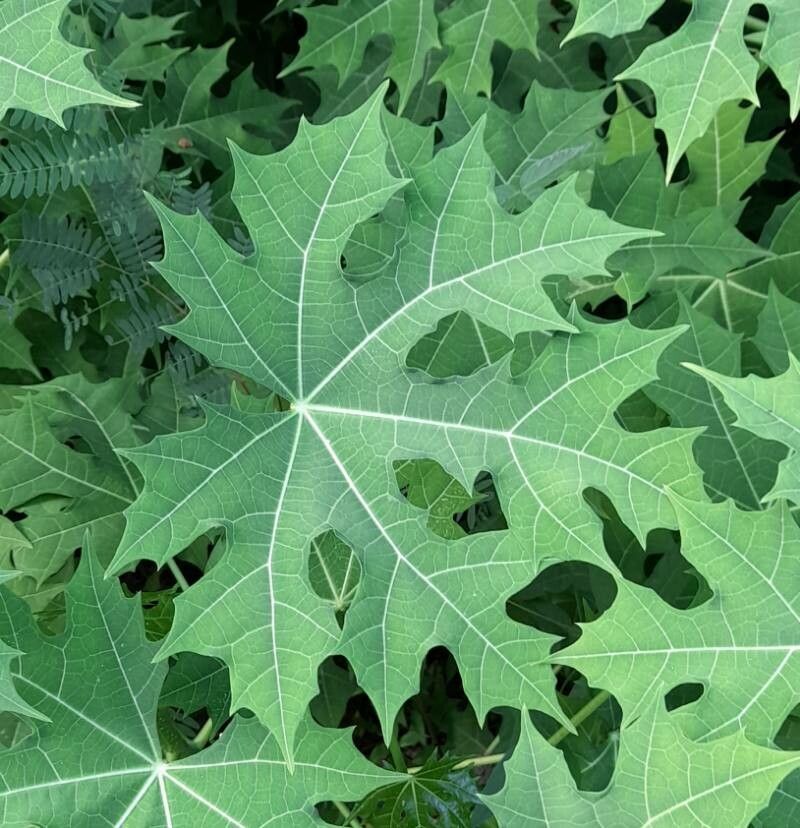
The Chaya plant (Cnidoscolus aconitifolius), also known as tree spinach or Mayan spinach, isn’t just a nutritional powerhouse, it’s also remarkably easy to propagate! If you’re looking to expand your edible garden with this fast-growing, versatile plant, you’re in for a treat. Forget about searching for seeds; with Chaya, cuttings are the way to go!
Why Propagate Chaya from Cuttings?
- No Seed Needed: Chaya rarely produces viable seeds, making cuttings the most reliable propagation method.
- Faster Growth: Cuttings develop roots quicker than seeds, leading to a quicker harvest.
- Clone Your Favorite: When you propagate from cuttings, you’re essentially cloning the parent plant, ensuring the same desirable traits in the new growth.
Step-by-Step Guide to Propagate Chaya from Cuttings:
Gather Your Supplies:
- Sharp Pruners or Knife: Ensure your tools are clean and disinfected to prevent the spread of plant diseases.
- Potting Mix: A well-draining mix is essential. A combination of peat moss, perlite, and vermicast works well.
- Small Pots (4-6 inches): These are ideal for starting your cuttings.
- Rooting Hormone (Optional): While not essential, rooting hormone can encourage faster and stronger root development.
Take Your Cuttings:
- Select Healthy Stems: Choose stems that are at least 6-8 inches long, preferably from the current season’s growth. Look for stems that are firm, not woody, with several nodes (small bumps where leaves emerge).
- Make the Cut: Using your sharp pruners or knife, make a clean cut just below a node. Remove any leaves from the bottom third of the cutting to prevent rotting.
Prepare the Cuttings (Optional):
- Apply Rooting Hormone: If using, dip the cut end of the stem into the rooting hormone powder, following the product instructions.
Plant the Cuttings:
- Fill the Pots: Fill your pots with the potting mix, moistening it lightly.
- Make a Hole: Use your finger or a pencil to create a small hole in the center of each pot.
- Insert the Cutting: Gently place the bottom end of the cutting into the hole, ensuring at least two nodes are submerged in the potting mix. Firm the soil around the cutting to provide support.
Water and Care for Your Cuttings:
- Water Gently: Water the cuttings thoroughly, ensuring the potting mix is moist but not waterlogged.
- Provide Indirect Sunlight: Place the pots in a location with bright, indirect sunlight. Direct sunlight can scorch the delicate new growth.
- Maintain Humidity: You can increase humidity by covering the pots with a clear plastic bag or placing them in a humidity dome. This helps retain moisture and encourages root development.
- Transplanting:
- Signs of Growth: Once your cuttings show signs of new growth (usually within 4-6 weeks), it’s a good indication that roots have developed.
- Transplant to Larger Pots or the Garden: When the roots start to emerge from the drainage holes of the pot, it’s time to transplant your Chaya into larger containers or directly into your garden. Choose a sunny location with well-drained soil for optimal growth.
Enjoy Your Bountiful Chaya Harvest!
Propagating Chaya from cuttings is a rewarding process that allows you to easily multiply this nutrient-rich plant. With a little care and attention, you’ll be enjoying the fresh, delicious leaves of your very own Chaya plants in no time!