Unveiling the Secrets: How to Propagate the Enchanting Glycosmis Parva
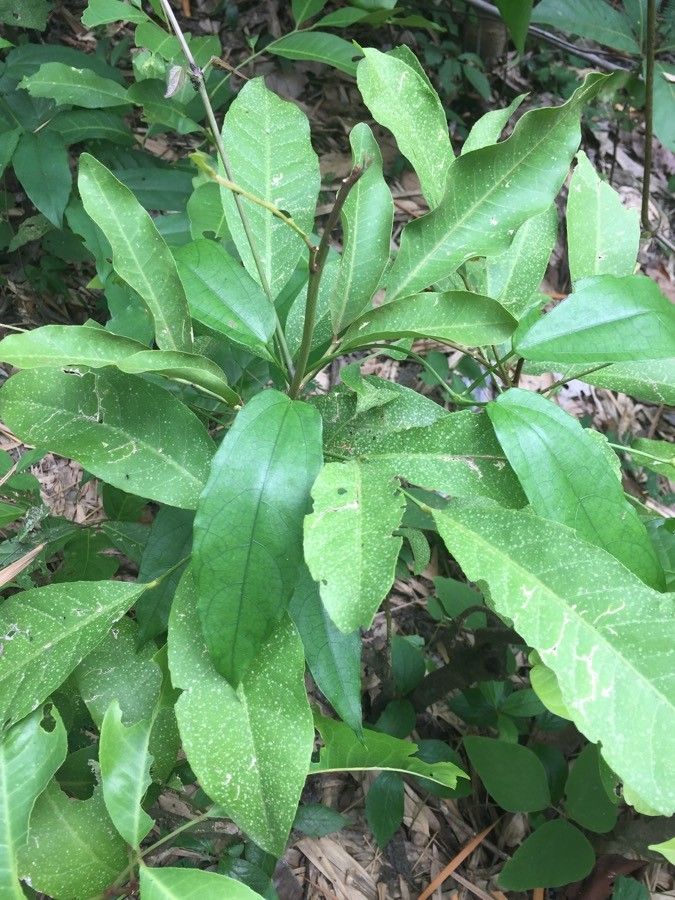
The world of plant enthusiasts is filled with a constant search for the next unique addition to their collection. If you’re looking for an intriguing and rewarding specimen, let me introduce you to Glycosmis parva. This charming evergreen shrub, native to Southeast Asia, boasts glossy green foliage, delicate white flowers, and vibrant orange-red berries, offering a feast for the eyes all year round.
While relatively unknown, the Glycosmis parva, also known as the “tiny glycosmis” or “Malaysian lime berry,” is not just visually appealing, but also delightfully easy to propagate. So, if you’re ready to welcome this little beauty into your home, let’s explore the two most effective methods:
1. Seed Propagation: A Journey from Berry to Bush
The most common and rewarding method to propagate Glycosmis parva is through its vibrant berries. Here’s how you can embark on this journey:
- Harvesting the Seeds: Pluck ripe, plump berries directly from the plant. Gently crush them and extract the seeds, ensuring to rinse off any remaining pulp.
- Preparing for Sowing: Glycosmis parva seeds benefit from a period of pre-treatment. Soak them in lukewarm water for 24 hours to soften the outer layer.
- Sowing the Seeds: Plant the seeds in a well-draining seed-starting mix, burying them about half an inch deep. Water gently and place the pot in a warm, bright location, away from direct sunlight.
- Patience is Key: Germination can take a while, sometimes up to 4-8 weeks. Ensure the soil remains consistently moist but not waterlogged during this period.
- Transplanting the Seedlings: Once the seedlings develop a few sets of true leaves and are strong enough to handle, they can be transplanted into individual pots or directly into your garden.
2. Cuttings: A Shortcut to Success
For a quicker and sometimes more reliable method, propagating Glycosmis parva from cuttings is an excellent choice.
- Taking the Cutting: Select a healthy, non-flowering stem and using a clean, sharp knife or shears, take a cutting about 4-6 inches long, just below a leaf node.
- Preparing the Cutting: Remove the lower leaves from the cutting, leaving only a couple of leaves at the top. Dipping the cut end in rooting hormone can significantly increase the success rate.
- Planting the Cutting: Plant the cutting in a well-draining potting mix, burying the node where you removed the lower leaves. Water gently and cover the pot with a plastic bag to create a humid environment.
- Nurturing the Roots: Place the pot in a warm, bright location, away from direct sunlight. Keep the soil consistently moist and monitor for root development, which can take a few weeks.
- Transplanting the Rooted Cutting: Once the cutting shows signs of new growth and a strong root system has developed, it’s ready to be transplanted into its permanent location.
Caring for Your Glycosmis Parva
Whether you choose seed propagation or cuttings, providing the right care is crucial for your Glycosmis parva to thrive. This plant prefers a warm and humid environment, similar to its native Southeast Asian habitat. Choose a location with partial shade or filtered sunlight, and ensure the soil is well-draining and rich in organic matter. Regular watering is important, but avoid overwatering, which can lead to root rot.
Propagating Glycosmis parva is a rewarding experience, allowing you to witness the lifecycle of this fascinating plant. With a little patience and the right knowledge, you can easily multiply your collection and share the delight of this unique species with fellow plant enthusiasts. So, why not embark on this propagation journey and add a touch of the exotic to your own green haven?