Spreading the Sunshine: Growing More Walter’s Groundcherry
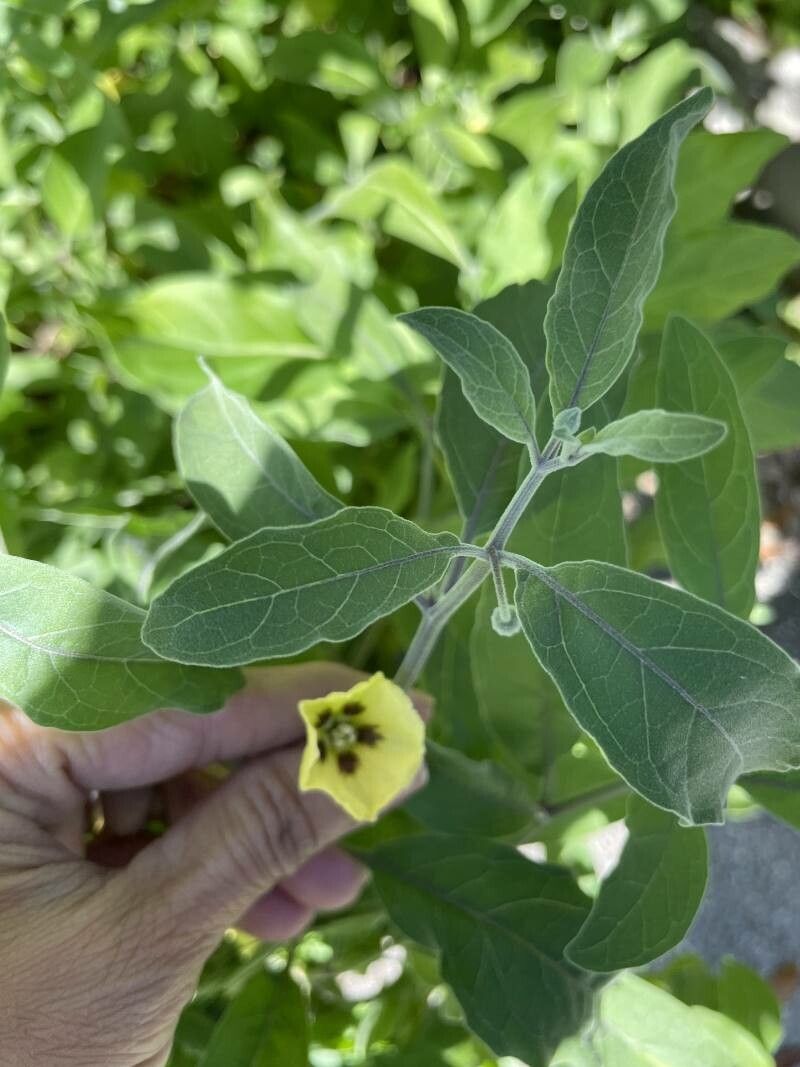
Walter’s groundcherry (Physalis walteri), also known as dune groundcherry or Walter’s Chinese lantern, offers more than just a fun name to say. This charming plant boasts beautiful, yellow, lantern-shaped fruits that add a touch of whimsy and vibrant color to your garden. And the best part? Propagating this native beauty is easier than you might think! So, if you’re ready to spread the sunshine, let’s explore the wonderful world of Walter’s groundcherry propagation.
Seeds: Sowing the Future
Starting Walter’s groundcherry from seed is an incredibly rewarding experience. Here’s how:
- Harvesting: Collect ripe fruit from existing plants. The husks will have a papery texture when ready. Gently squeeze the fruit – if it feels soft, you’re good to go!
- Extraction and Cleaning: Carefully open the husk and extract the small, round seeds within. Rinse them with water to remove any pulp, and then pat them dry.
- Cold Stratification (Optional but Recommended): For best germination rates, mimic nature by simulating a winter dormancy period. Mix the seeds with damp sand or vermiculite, seal them in a plastic bag, and place them in your refrigerator (around 40°F or 4°C) for 4-6 weeks.
- Sowing: Sow your seeds in seed trays filled with a well-draining seed starting mix. Plant them about ¼ inch deep and mist the soil gently.
- Germination: Place the trays in a warm, sunny location and keep the soil consistently moist. Germination typically takes 10-21 days.
- Transplanting: Once seedlings develop a few sets of true leaves, transplant them into individual pots or directly into your garden after the last frost.
Division: Multiply Your Bounty
Walter’s groundcherry spreads through underground rhizomes, making division a breeze:
- Timing: The best time for division is early spring or fall.
- Digging Up: Use a garden fork to carefully dig around the plant, ensuring you get a good portion of the root system.
- Dividing: Gently pull apart sections of the rhizome, making sure each section has a healthy amount of roots and at least one growth point.
- Replanting: Plant the divisions at the same depth they were previously growing, water thoroughly, and mulch well.
Cuttings: Expanding Your Collection
While not as common as seed starting or division, taking stem cuttings is another viable propagation method:
- Taking Cuttings: In late spring or early summer, use clean, sharp pruners to take 4-6 inch cuttings from healthy stems. Remove the bottom leaves, leaving 2-3 leaves at the top.
- Rooting Hormone (Optional): Dip the cut end of the stem in rooting hormone to encourage quicker root development.
- Planting: Plant the cuttings in pots filled with a well-draining mix of peat moss and perlite.
- Moisture and Warmth: Keep the soil consistently moist and place the pots in a bright location out of direct sunlight.
- Transplanting: Once roots have developed (usually within a few weeks), transplant the cuttings into larger pots or your garden.
Cultivating Success
Regardless of your chosen propagation method, providing your Walter’s groundcherry with the right growing conditions will ensure it thrives:
- Sun: Choose a location that receives at least 6 hours of full sun daily.
- Soil: Well-draining soil is crucial. Sandy or loamy soils are ideal.
- Water: Water regularly, especially during the hotter months, but avoid overwatering.
- Support: These plants can grow quite tall, so consider providing support with stakes or cages.
Reap the Rewards
With a little effort and care, you’ll soon have a bounty of Walter’s groundcherry plants to illuminate your garden. So go forth, propagate, and enjoy the magic of these delightful little lanterns!