Cracking the Code: Propagating the Delicate Beauty of Thryptomene Saxicola
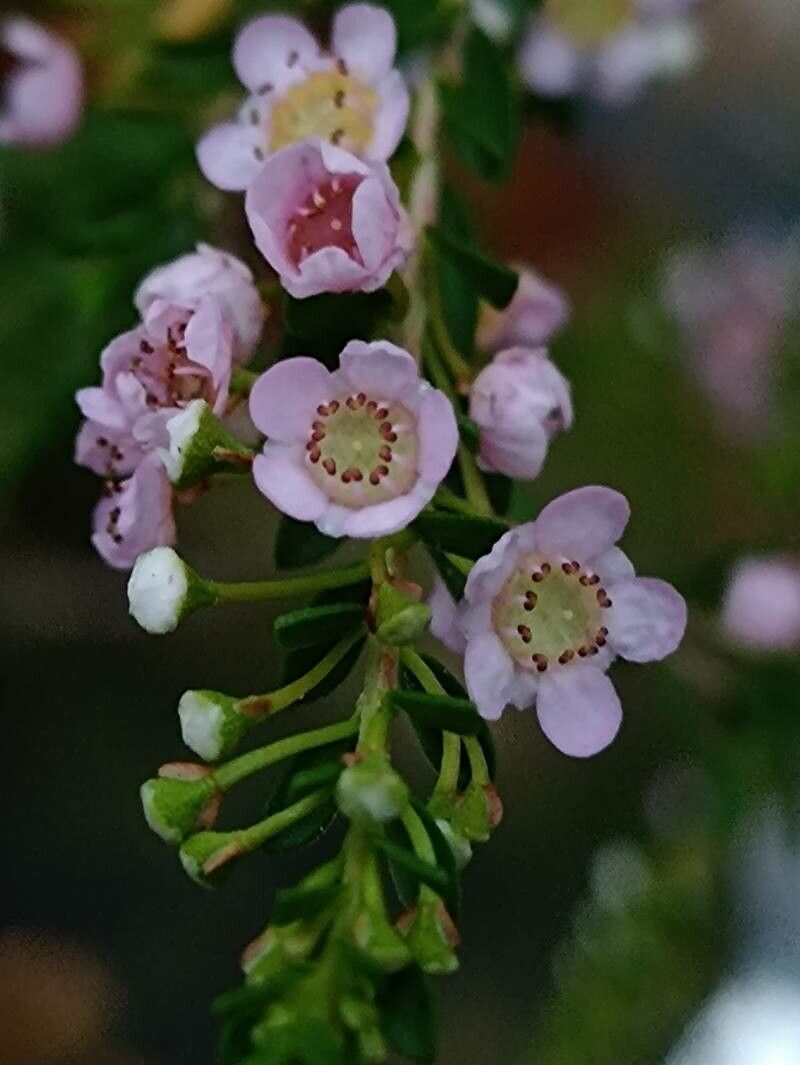
Thryptomene saxicola, with its cloud-like sprays of tiny pink or white flowers, adds a touch of ethereal beauty to any garden. This Australian native, also known as the Rock Thryptomene, is a favorite for its hardiness, drought tolerance, and extended blooming season. Want to multiply your floral bounty or share this gem with friends? Then mastering Thryptomene saxicola propagation is the key.
While growing this delicate beauty from seed can be a bit unpredictable, propagation from cuttings offers a higher success rate and ensures you retain the characteristics of the parent plant. Here’s a step-by-step guide to help you propagate Thryptomene saxicola like a pro:
1. Timing is Everything:
The ideal time to take cuttings is during the cooler months, preferably in late autumn or early spring. Avoid taking cuttings during the peak of summer when the plant is stressed.
2. Gather Your Tools:
Before you begin, gather the following:
- Sharp Pruning Shears/Scissors: Cleanliness is crucial to prevent infections. Wipe your shears with rubbing alcohol before and after use.
- Propagation Medium: A well-draining mix is essential. Opt for a pre-mixed seed raising mix or create your own using equal parts of peat moss, perlite, and coarse sand.
- Small Pots or Seed Trays: Choose containers with drainage holes to prevent waterlogging.
- Rooting Hormone (optional): While not mandatory, rooting hormone can accelerate the process and increase success rates.
- Water: Use room temperature water that has been left to stand for 24 hours to allow chlorine to evaporate.
- Clear Plastic Bag or Propagation Dome (optional): Helps to create a humid environment.
3. Selecting and Taking Cuttings:
- Look for healthy, non-flowering stems that are around 7-10 cm (3-4 inches) long.
- Make a clean cut just below a leaf node (the point where a leaf attaches to the stem) using your sterilized shears.
- Remove the leaves from the bottom third of the cutting, leaving 2-3 leaf pairs at the top.
- If the leaves are large, you can cut them in half horizontally to reduce moisture loss.
4. Prepare the Cuttings:
- Dip the base of each cutting into the rooting hormone, if using.
- Gently tap off any excess powder.
5. Planting the Cuttings:
- Fill the pots or seed trays with your prepared propagation mix and moisten it thoroughly.
- Create small holes in the mix using a pencil or your finger and insert the cuttings, ensuring the bottom leaf node is buried.
- Gently firm the mix around the base of the cuttings.
6. Creating a Humid Environment:
- To increase humidity, you can cover the pots with a clear plastic bag or place them inside a propagation dome.
- Ensure the plastic doesn’t touch the cuttings, as this can lead to fungal diseases.
7. Aftercare and Patience:
- Place the cuttings in a well-lit area but out of direct sunlight.
- Keep the propagation mix consistently moist but not waterlogged. Misting regularly can help maintain humidity.
- Rooting usually takes 4-8 weeks. You can test for root development by gently tugging on a cutting – resistance indicates root formation.
8. Transplanting:
- Once the cuttings have developed a strong root system, transplant them into individual pots or your garden bed with well-draining soil.
With a little patience and the right approach, you can successfully propagate Thryptomene saxicola and enjoy an abundance of these charming blooms in your garden for years to come.