Multiply Your Joy: Propagating the Everblooming Diascia
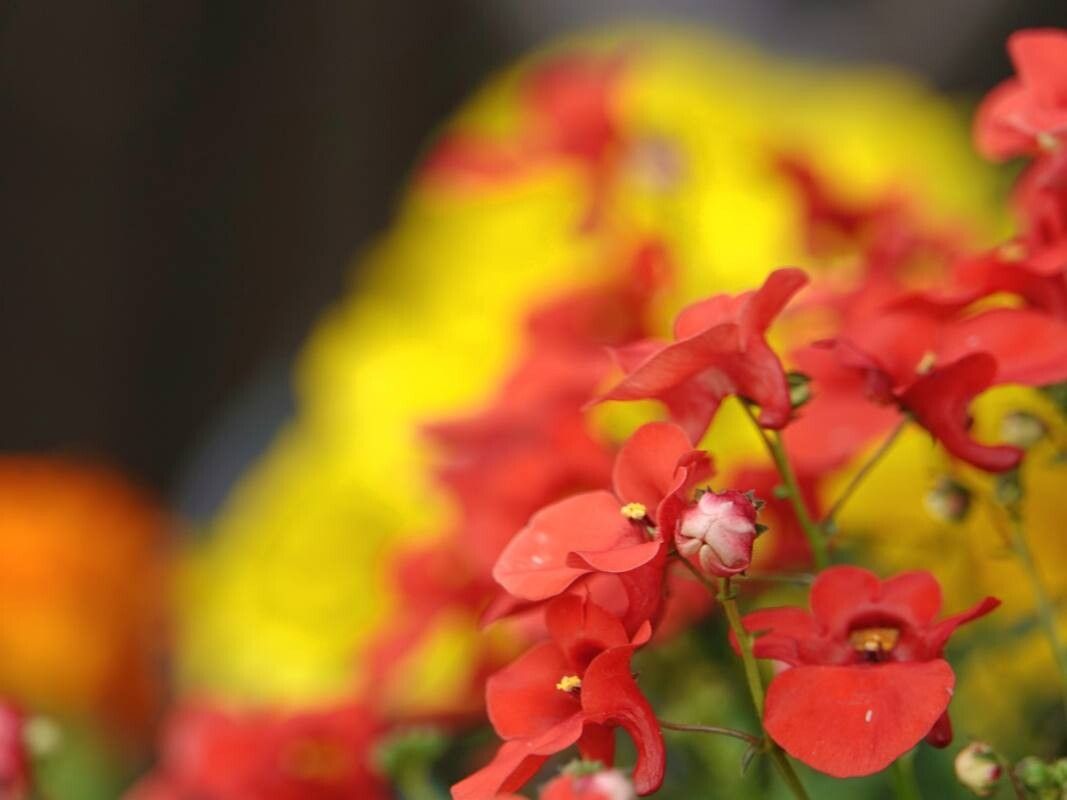
Diascia vigilis, with its charming, twin-spurred blooms, is a gardener’s delight. This South African native brings vibrant color and a touch of whimsy to gardens throughout the warmer months. Luckily for us, propagating Diascia isn’t just possible, it’s surprisingly simple! Whether you want to create a sprawling display or share the joy with friends, here’s how to multiply your Diascia vigilis:
Methods of Propagation
1. Seed Starting:
Diascia readily grows from seed, making it a cost-effective way to increase your plant stock. Here’s the step-by-step:
- Timing is Key: Sow your seeds indoors 6-8 weeks before the last expected frost.
- Well-Draining Mix: Use a seed starting mix that drains well and moisten it before sowing.
- Light Germinators: Diascia seeds need light to germinate, so simply press the seeds onto the surface of the soil, don’t bury them.
- Warmth & Moisture: Cover the tray with a humidity dome or plastic wrap and place it in a warm location (around 70-75°F). Keep the soil consistently moist but not soggy.
- Transplanting Time: Once the seedlings have developed a couple of sets of true leaves, transplant them into individual pots to grow larger before planting outdoors after the last frost.
2. Taking Cuttings:
For a quicker method and to ensure plants identical to the parent plant, cuttings are the way to go. Follow these simple steps:
- Optimal Timing: Take cuttings in spring or early summer from new growth that is healthy and not flowering.
- Clean Cut: Using a clean, sharp knife or pruners, take a 3-4 inch cutting just below a leaf node.
- Prepare the Cutting: Remove the lower leaves from the cutting, leaving 2-3 leaves at the top.
- Encourage Rooting: Dip the cut end in rooting hormone (optional but helpful) and then insert the cutting into a pot filled with a well-draining potting mix.
- Create a Humid Environment: Cover the pot with a plastic bag or place it in a propagator to maintain humidity.
- Root Development: Within a few weeks, the cutting should develop roots. You can test this by gently tugging on the cutting; resistance means roots are forming!
3. Division:
Mature Diascia plants can also be divided, creating multiple plants from one. It’s best done in spring or fall. Here’s how:
- Digging Up: Carefully lift the Diascia plant from the ground, ensuring you get as much of the root system as possible.
- Dividing the Clump: Gently tease apart the plant at the roots, making sure each division has a good amount of roots and shoots attached.
- Replanting: Replant the divisions at the same depth they were originally growing. Water them in well.
Bonus Tip: Pinching back young Diascia plants regularly will encourage bushy growth and abundant blooms.
With a little care and attention, propagating Diascia vigilis is an easy and rewarding process. So, grab your gardening gloves, try one of these methods, and enjoy a garden brimming with the cheerful, fluttering blooms of Diascia!