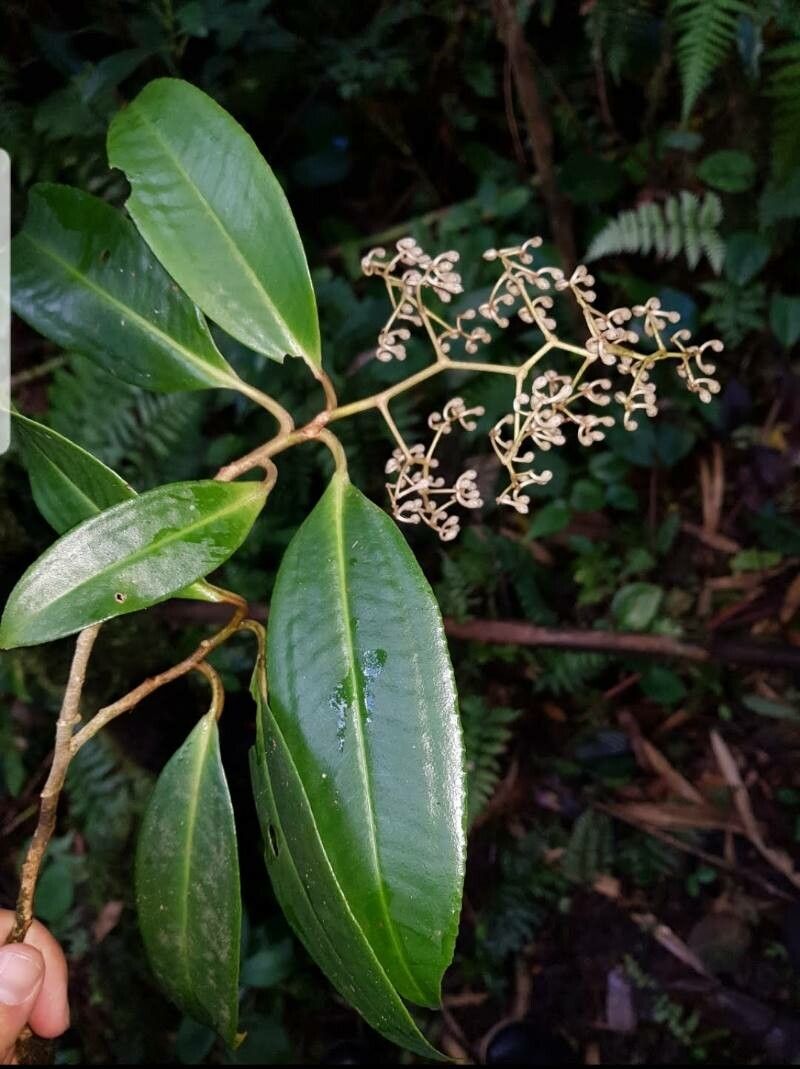
Unlocking the Secrets of Ardisia glandulosomarginata Propagation: From Seed to Stunning Shrub
The Ardisia glandulosomarginata, with its vibrant red berries and glossy evergreen leaves, is a spectacle that can brighten any garden. But did you know that bringing more of this tropical beauty into your life is easier than it seems? That’s right! This guide will unlock the secrets of Ardisia glandulosomarginata propagation, guiding you on a journey from seed to stunning shrub.
Two Paths to Propagation: Seeds vs. Cuttings
Nature offers two primary methods for propagating Ardisia glandulosomarginata:
1. Seed Propagation: This method requires a touch of patience but is highly rewarding.
- Seed Collection: Harvest ripe, plump berries from an existing plant during late fall or winter. Remove the fleshy pulp, revealing the small, hard seed inside.
- Sowing: Plant seeds about ¼ inch deep in a well-draining seed-starting mix. Keep the soil consistently moist but not waterlogged.
- Germination: Be patient! Germination can take anywhere from a few weeks to a few months. Providing bottom heat with a seedling mat can help speed up the process.
- Transplanting: Once seedlings develop a few sets of true leaves, transplant them into individual pots filled with well-draining soil.
2. Propagation from Cuttings: Looking for quicker results? Cuttings are your answer!
- Taking Cuttings: In late spring or early summer, take 4-6 inch cuttings from healthy, non-flowering stems. Make the cut just below a leaf node.
- Preparing the Cuttings: Remove the lower leaves from the cutting, leaving only a few at the top. Dip the cut end in rooting hormone to encourage root development.
- Planting: Insert the cuttings into a moist, well-draining rooting medium – a mix of perlite and peat moss works well.
- Encouraging Root Development: Maintain humidity around the cuttings by covering the pot with a plastic bag or using a humidity dome. Ensure the rooting medium remains consistently moist.
- Transplanting: After about 6-8 weeks, gently tug on the cuttings – resistance means roots have developed! Transplant the rooted cuttings into individual pots with well-draining soil.
Secrets to Success:
Regardless of your chosen method, here are some key tips to ensure successful Ardisia glandulosomarginata propagation:
- Well-Draining Soil: This plant despises soggy feet! Choose a potting mix that allows water to drain freely.
- Bright, Indirect Light: While they love basking in sunlight, direct, intense rays can scorch their leaves. Opt for a location with bright, indirect light.
- Consistent Moisture: Maintain evenly moist soil, but avoid overwatering, which can lead to root rot.
- Warm Temperatures: As a tropical plant, Ardisia glandulosomarginata prefers temperatures between 65-80°F (18-27°C).
- Patience is Key! Propagation, especially from seed, requires patience. Don’t lose heart if you don’t see immediate results. Keep nurturing your plants, and they will reward your efforts.
Propagating your own Ardisia glandulosomarginata is not only incredibly rewarding but also allows you to share the beauty of this unique plant with friends and family. So go ahead, try your hand at propagation, and watch your garden flourish with the vibrant charm of Ardisia glandulosomarginata!