Multiplying Your Mountain Charm: Propagating Aster tongolensis
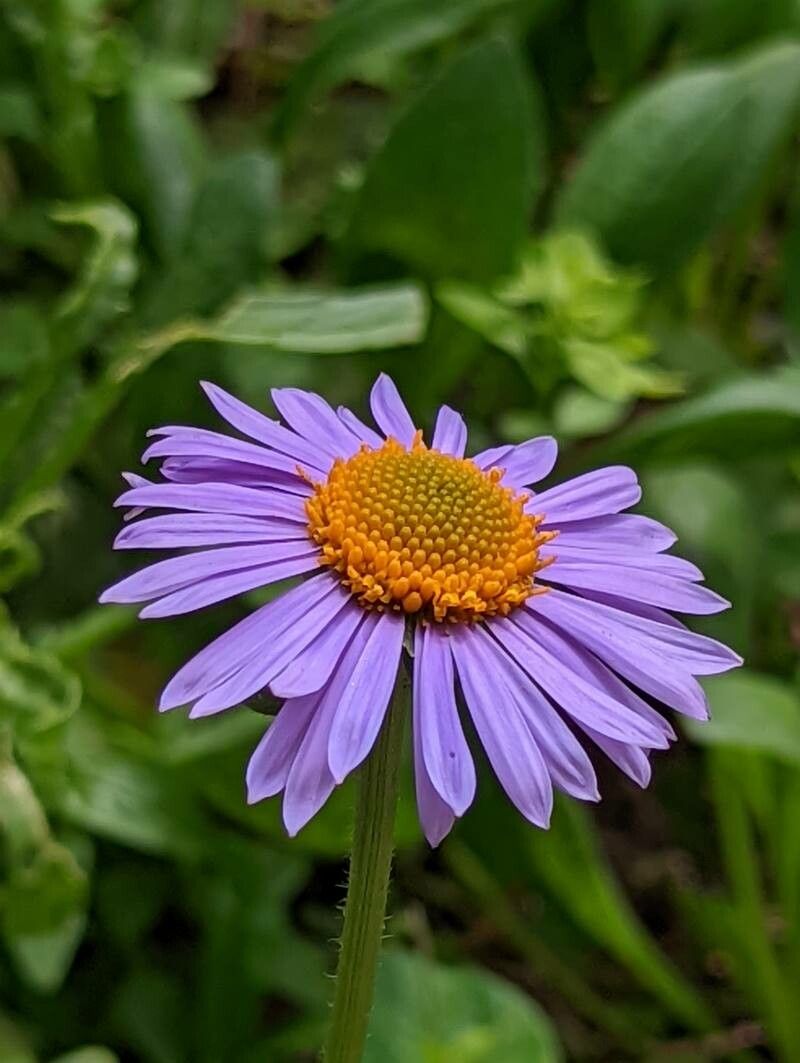
The “Aster tongolensis,” also known as the Tibetan Aster or Ladakh Aster, is a hardy, captivating plant native to the Himalayas. Celebrated for its stunning display of daisy-like, blue-violet flowers with sunny yellow centers, this perennial can bring a burst of alpine charm to any garden. But did you know there are multiple ways to propagate and share the beauty of this resilient plant? Let’s delve into the world of Aster tongolensis propagation, exploring the methods that promise a flourishing array of these Himalayan gems.
1. Seed Starting: Embracing the Patience of Nature
For those who enjoy the journey from tiny seed to blossoming flower, starting Aster tongolensis from seed is a rewarding experience. Here’s how:
- Timing is Key: Aim to sow the seeds indoors approximately 6-8 weeks before the last expected frost in your region.
- Sowing the Seeds: Use a well-draining seed starting mix, scattering the seeds lightly on the surface and pressing them gently.
- Light and Warmth: Place the seed tray in a bright location, but out of direct sunlight. Maintain a consistent temperature around 65-70°F (18-21°C).
- Transplanting: Once the seedlings develop a couple of sets of true leaves, they are ready to be transplanted outdoors after the danger of frost has passed. Choose a sunny location with well-drained soil.
2. Division: Sharing the Bounty
Dividing established Aster tongolensis plants is a great way to control their size and create new plants for your garden or to share with friends:
- When to Divide: The ideal time for division is in early spring, just as new growth begins to emerge.
- The Dividing Process: Carefully dig up the entire plant, ensuring to disturb the roots as little as possible. Using a sharp, clean knife or garden spade, separate the plant into sections, making sure each section has a healthy amount of roots and shoots.
- Replanting: Replant the divisions immediately in prepared planting holes, ensuring they are at the same depth they were previously growing. Water thoroughly.
3. Cuttings: Cloning Your Favorites
Basal cuttings offer another effective method for propagating Aster tongolensis:
- Taking the Cuttings: In late spring or early summer, select healthy, non-flowering stems. Using a clean, sharp knife or shears, take 3-4 inch cuttings from the base of the plant.
- Preparing the Cuttings: Remove the lower leaves from the cutting, leaving only a few at the top.
- Planting and Rooting: Dip the cut end in rooting hormone (optional but recommended) and then plant the cuttings in a pot filled with a well-draining potting mix. Keep the cuttings consistently moist and provide indirect light.
- Transplanting: Once the cuttings have developed a good root system (usually after 4-6 weeks), they can be transplanted into individual pots or outdoors.
A Final Note: Nurturing Your New Plants
Regardless of the propagation method you choose, remember to provide your new Aster tongolensis plants with adequate water, especially during their first year. A layer of mulch around the base of the plant can help retain moisture and suppress weeds.
With a little care and attention, you can enjoy the beauty of Aster tongolensis for years to come and share its captivating charm with fellow gardening enthusiasts.