Cracking the Code: How to Propagate the Elusive Daviesia angulata
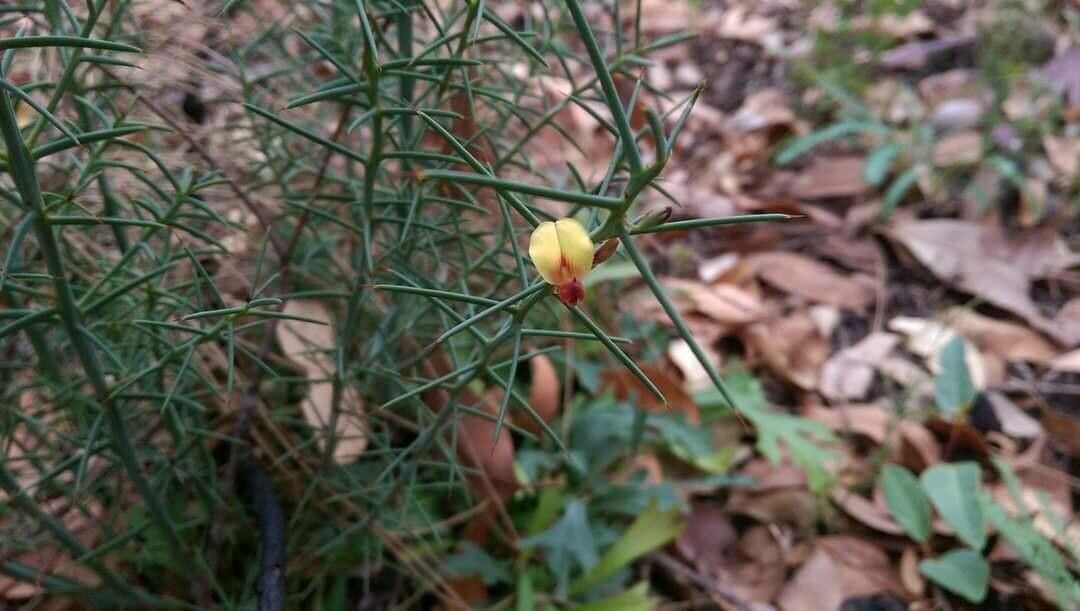
The Daviesia angulata, with its charming, heart-shaped foliage and delicate yellow-orange blooms, is a true gem of the Australian bush. This species, like many Australian natives, can be a bit finicky when it comes to propagation. But don’t let that deter you! With a little patience and the right techniques, you can successfully cultivate these beauties in your own backyard.
Seeds: A Test of Patience and Technique
Propagating Daviesia angulata from seed is considered the most rewarding, albeit challenging, method. Here’s a breakdown of the process:
1. The Pre-treatment Puzzle:
Daviesia angulata seeds have a hard coat that requires special treatment to break dormancy. You have two options:
- Hot Water Treatment: Pour boiling water over the seeds and let them soak for 24 hours. This softens the tough outer layer, allowing for water absorption and germination.
- Nicking: Using a sharp, sterilized knife or nail clipper, carefully nick the seed coat opposite the hilum (the small indentation on the seed). Be cautious not to damage the embryo inside.
2. Sowing the Seeds:
Use a well-draining seed raising mix, and sow the seeds about 1 cm deep. Mist the soil gently and enclose the pot in a plastic bag or propagator to maintain humidity.
3. Patience is Key:
Germination can be erratic and may take anywhere from a few weeks to several months. Ensure the soil remains moist but not waterlogged and provide bright, indirect light.
4. The Thrill of Success:
Once the seedlings emerge and have a couple of sets of true leaves, you can gradually acclimatize them to outdoor conditions before transplanting to larger pots or a well-prepared garden bed.
Cuttings: A Quicker Route (Sometimes)
Propagating Daviesia angulata from cuttings is less reliable than seed propagation, but it can be successful if done correctly.
1. Timing is Everything:
Take cuttings in late spring or early summer from healthy, semi-hardwood growth. Look for stems that are firm but not too woody.
2. The Cutting Edge:
Using sharp, sterilized secateurs, cut a stem that’s about 10-15 cm long, just below a leaf node. Remove the lower leaves, leaving only a few at the top.
3. Rooting Hormone Boost:
Dip the cut end in rooting hormone powder or gel to encourage root development.
4. Plant and Protect:
Plant the cutting in a pot filled with a well-draining propagation mix. Keep the humidity high by covering the pot with a plastic bag or placing it in a propagator.
5. Signs of Success:
After several weeks, gently tug on the cutting. If you feel resistance, roots are developing!
A Rewarding Challenge
Propagating Daviesia angulata might require some trial and error, but the rewards are well worth the effort. These resilient plants are not only beautiful additions to any garden but also play a vital role in supporting native wildlife. So go ahead, embrace the challenge, and enjoy the satisfaction of nurturing these Australian beauties from seed or cutting to flourishing plant!