
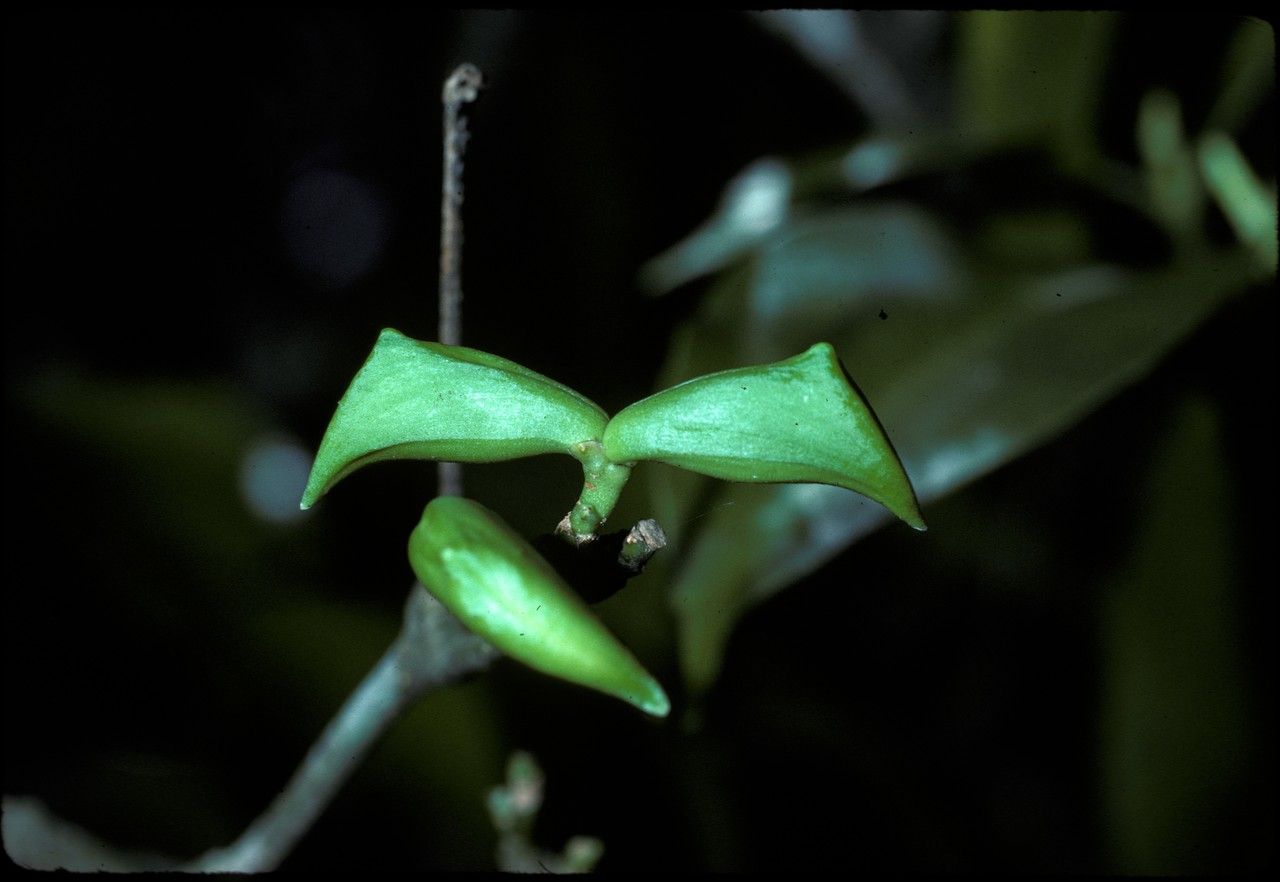
Unlocking the Secrets of Kopsia Flavida: A Guide to Propagation
Kopsia flavida, with its glossy leaves and delicate, star-shaped flowers, brings a touch of exotic beauty to any garden. But propagating this tropical gem can seem like a mysterious process. Fear not, fellow plant enthusiasts! This guide will demystify Kopsia flavida propagation and equip you with the knowledge to grow your own stunning specimens.
Two Paths to Propagation
Kopsia flavida can be propagated through two primary methods:
- Seeds: This method, while rewarding, requires patience.
- Cuttings: A quicker method offering faster results.
Method 1: Sowing the Seeds of Success
- Source Fresh Seeds: For the best results, collect seeds from a mature Kopsia flavida plant or purchase them from a reputable supplier. Fresh seeds germinate more readily.
- Prepare a Welcoming Seedbed: Use a well-draining seed starting mix. Moisten the mix and fill small pots or seed trays.
- Sow with Care: Sow seeds about half an inch deep and gently cover them with the mix.
- Create a Humid Environment: Kopsia flavida seeds thrive in warm, humid conditions. Cover the pots with a plastic dome or place them inside a propagator. This will help maintain moisture and temperature.
- Be Patient: Germination can take anywhere from a few weeks to a couple of months. Keep the soil consistently moist but not waterlogged.
- Gradual Acclimatization: Once the seedlings are a few inches tall, gradually acclimate them to outdoor conditions before transplanting them into larger pots or your garden.
Method 2: The Art of Cuttings
- Choose Wisely: Select healthy, semi-hardwood cuttings from the current year’s growth. Ideally, the cutting should be around 4-6 inches long and have at least two nodes (the bumps on the stem where leaves emerge).
- Prepare the Cutting: Remove the leaves from the bottom inch or two of the cutting. To encourage root development, you can dip the cut end in rooting hormone (though not strictly necessary).
- Potting Up for Success: Plant the cutting in a pot filled with a well-draining potting mix. Water thoroughly.
- Create a Mini Greenhouse: Cover the pot with a clear plastic bag or use a humidity dome to create a humid environment. This will help prevent the cutting from drying out.
- Patience is Key: Place the pot in a bright location but out of direct sunlight. Within a few weeks, you should start to see new growth, indicating successful rooting.
- Transplanting Time: Once the cutting has developed a strong root system (usually after a couple of months), you can transplant it to a larger pot or your garden.
Kopsia Flavida: A Rewarding Challenge
Propagating Kopsia flavida, whether by seed or cuttings, is a gratifying experience for any plant lover. While it requires patience and care, the reward of seeing these beauties flourish in your own space is well worth the effort. So, gather your gardening gloves, and embark on your Kopsia flavida propagation journey today!