
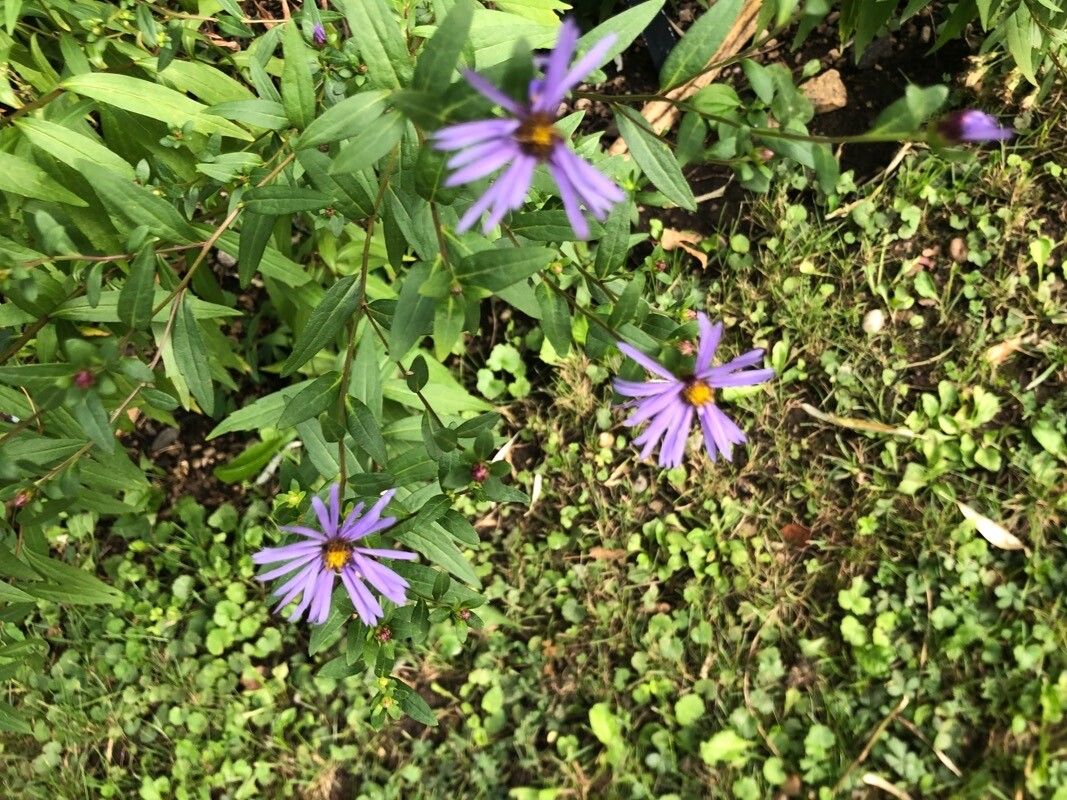
Unlocking the Secrets of Aster Maackii Propagation: Grow More of This Fall Beauty
If you’re looking to add a touch of late-season magic to your garden, look no further than Aster maackii. This hardy perennial, with its clouds of lavender-blue flowers that bloom from late summer into fall, is a true showstopper. And the best part? Propagating Aster maackii is easier than you might think! Let’s delve into the secrets of multiplying your stock and filling your garden with these enchanting blooms.
Three Paths to Propagation:
Aster maackii can be propagated through three primary methods: division, cuttings, and seeds. Each technique offers its own advantages and aligns with different gardener preferences and resources.
1. Division: The Go-To Method
Dividing established clumps is arguably the most straightforward and successful method for propagating Aster maackii. Here’s how:
- Timing is Key: Early spring, just as new growth emerges, is the ideal time for division.
- Digging Deep: Carefully lift the entire clump from the ground, ensuring you get a good root mass.
- Dividing With Care: Use a sharp, clean knife or spade to divide the clump into smaller sections, ensuring each section has a good amount of roots and at least one healthy shoot.
- Replanting: Replant the divisions immediately at the same depth they were originally growing, spacing them 12-18 inches apart. Water thoroughly.
2. Cuttings: Cloning Your Favorites
Taking stem cuttings allows you to create exact replicas of your favorite Aster maackii plants, particularly valuable if you admire a specific flower color or growth habit. Here’s how:
- Timing Matters: Take softwood cuttings in late spring or early summer from new growth that hasn’t flowered.
- Making the Cut: Using clean, sharp tools, take 4-6 inch cuttings just below a leaf node.
- Preparation is Key: Remove the lower leaves and dip the cut end in rooting hormone (optional but recommended).
- Creating the Right Environment: Plant the cuttings in a well-draining potting mix and place them in a humid environment, like a covered seed tray.
- Patience is a Virtue: Keep the cuttings consistently moist and be patient! Rooting may take several weeks.
3. Seeds: Embracing the Element of Surprise
While Aster maackii readily self-seeds in the garden, you can also start seeds indoors for more control.
- Timing is Everything: Start seeds indoors 6-8 weeks before the last frost.
- Sowing the Seeds: Sow seeds in a seed-starting mix, covering them lightly with soil.
- Light and Warmth: Provide the seeds with bright, indirect light and a warm temperature (around 70°F).
- Transplanting Time: Once the seedlings have developed a few sets of true leaves and the danger of frost has passed, harden them off gradually before transplanting them outdoors.
Nurturing Your New Aster Maackii:
No matter which propagation method you choose, providing the right care for your new Aster maackii plants is crucial for their success:
- Sun and Soil: Choose a planting location with full sun to partial shade and well-drained soil.
- Watering Wisely: Keep the soil consistently moist, especially during establishment, but avoid overwatering.
- Feeding for Success: Fertilize in spring and early summer with a balanced fertilizer to support healthy growth and abundant blooms.
By mastering these propagation techniques, you can easily multiply your Aster maackii collection and enjoy a symphony of late-season blooms year after year. So go ahead, embrace the magic of propagation and watch your garden transform into a haven of fall color!