Unlocking the Secrets of Anemonella Thalictroides Propagation: A Guide to Multiplying Your Rue Anemone
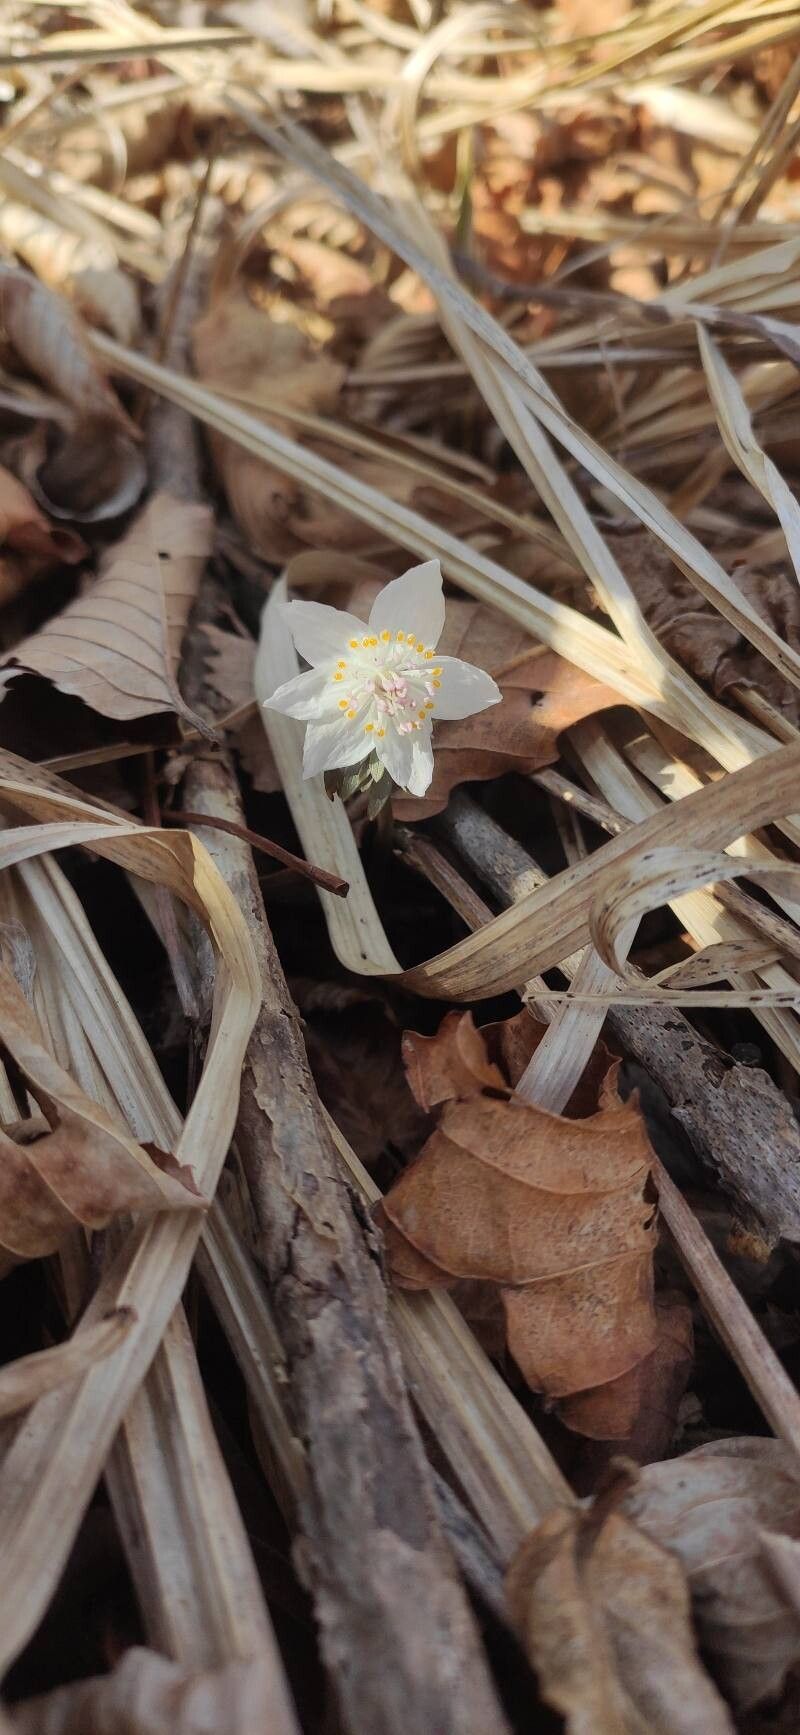
The delicate, whimsical blooms of Anemonella thalictroides, also known as Rue Anemone, are a welcome sight in any woodland garden. Their charming white or pink flowers dance above fern-like foliage in early spring, adding a touch of ethereal beauty to shady nooks. But did you know that propagating these enchanting ephemerals is easier than you might think?
This guide will equip you with the knowledge to multiply your Rue Anemone, ensuring a vibrant display year after year.
Three Methods for Propagation Success:
1. Division: The Simplest Approach
Dividing established clumps is the most straightforward and efficient way to propagate Anemonella thalictroides.
- Timing is key: The ideal time is late summer or early fall, after the foliage has died back but before the ground freezes.
- Gentle Approach: Carefully dig around the plant, ensuring you lift the entire clump with its delicate root system.
- Divide and Conquer: Gently separate the clump into smaller sections, making sure each division has a good amount of roots attached.
- Replant and Rejoice: Replant the divisions immediately in well-prepared soil, ensuring the crown of the plant sits level with the soil surface. Water them in well and watch them flourish in the spring.
2. Seed: For the Patient Gardener
Propagating Anemonella thalictroides from seed requires a little more patience, but it can be a rewarding experience.
- Collecting the Bounty: Collect seeds in late spring or early summer, just as the seed pods begin to dry.
- Sowing the Seeds: Sow the seeds directly outdoors in prepared beds in the fall, or start them indoors 6-8 weeks before the last frost.
- Stratification is Key: Rue Anemone seeds require a period of cold stratification to germinate. If sowing outdoors, winter takes care of this naturally. For indoor sowing, mix seeds with damp vermiculite, seal in a plastic bag, and store in the refrigerator for 4-6 weeks before sowing.
- Patience is a Virtue: Germination can be slow and erratic, sometimes taking several months. Keep the soil consistently moist and be patient.
3. Root Cuttings: For the More Adventurous
While slightly more challenging, propagating Anemonella thalictroides from root cuttings can be a successful technique.
- Early Spring Action: Take root cuttings in late winter or early spring before new growth emerges.
- Unearth the Treasure: Carefully dig up a portion of the root system, selecting healthy, firm roots.
- Cut and Plant: Cut the roots into 2-3 inch sections and lay them horizontally on a tray filled with moist seed-starting mix. Barely cover the cuttings with additional mix.
- Provide Warmth and Moisture: Place the tray in a warm location with indirect light and keep the medium consistently moist.
- Transplant with Care: Once roots and shoots develop, carefully transplant the new plantlets into individual pots and grow them on until large enough to plant outdoors.
Additional Tips for Success:
- Well-Drained Soil: Anemonella thalictroides thrive in moist, well-drained soil rich in organic matter.
- Shady Retreat: Provide dappled shade or morning sun with afternoon shade.
- Don’t Be Afraid to Divide: Regular division every 3-4 years maintains plant vigor and encourages more abundant blooms.
With a little care and attention, you can easily propagate your Anemonella thalictroides and create a breathtaking tapestry of delicate blooms in your garden. Embrace the challenge and enjoy the journey of watching these charming woodland wildflowers multiply under your care.