
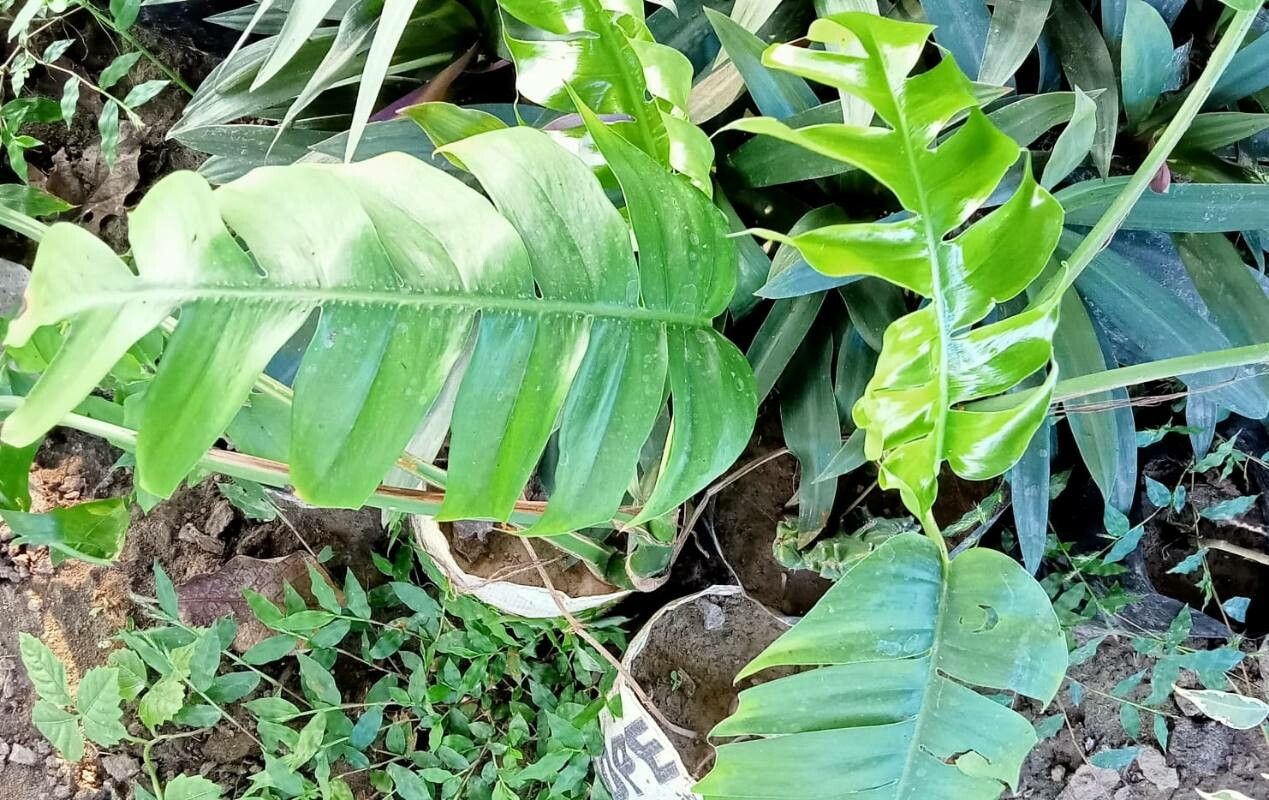
Unlocking the Secrets of Rhaphidophora Crassicaulis Propagation: A Step-by-Step Guide
The Rhaphidophora Crassicaulis, with its lush, vibrant green foliage and captivating fenestrations, has quickly climbed the ranks of coveted houseplants. But did you know that propagating this beauty is easier than you think? Whether you’re aiming to expand your plant family or share the joy with fellow enthusiasts, this guide will equip you with the knowledge and confidence to propagate your Rhaphidophora Crassicaulis successfully.
Understanding the Basics
Before diving into the how-to, it’s helpful to understand that Rhaphidophora Crassicaulis can be propagated through various methods: stem cuttings, air layering, and even offshoots (though less common). We’ll focus on the most popular and accessible method: stem cuttings.
Step 1: Gather Your Tools
Having the right tools on hand will make your propagation journey smoother:
- Sharp, sterilized pruning shears or scissors: Clean cuts are crucial to prevent disease.
- Small pot(s) or propagation station: Choose containers with good drainage.
- Well-draining potting mix: A blend formulated for Aroids or a mix of peat moss, perlite, and bark chips works well.
- Rooting hormone (optional but recommended): This can significantly boost your success rate.
- Clean water (optional): For water propagation.
Step 2: Taking the Cutting
The key is selecting a healthy stem with at least one node (the little bump where leaves emerge). Here’s how:
- Identify a healthy stem with at least 2-3 leaves.
- Cut the stem about an inch below a node, ensuring a clean cut.
- Remove the bottom leaves, leaving at least one or two on top.
Step 3: The Rooting Process
You have two options for encouraging root development:
A. Soil Propagation:
- Dip the cut end of the stem in rooting hormone (optional).
- Plant the cutting in the prepared potting mix, burying the node.
- Water gently and place it in a bright, indirect light location.
- Maintain a warm and slightly humid environment, misting occasionally.
B. Water Propagation:
- Place the cutting in a clear glass or jar with fresh water, ensuring the node is submerged.
- Change the water every few days to prevent stagnation.
- Once roots develop (about 2-4 weeks), carefully transfer to a pot with well-draining soil.
Step 4: Patience is Key
Rooting can take anywhere from a few weeks to a couple of months. Be patient, and avoid disturbing the cutting too much. Signs of successful rooting include new leaf growth.
Caring for Your New Plant
Congratulations! Once your cutting has developed a robust root system and new growth, you can care for it like a mature Rhaphidophora Crassicaulis. Remember to provide bright, indirect light, well-draining soil, and moderate watering.
Troubleshooting Tips
- Stem rotting: This could indicate overwatering or poor drainage. Ensure the soil is not soggy and allow it to dry slightly between waterings.
- Yellowing leaves: This can be caused by several factors, including overwatering, underwatering, or insufficient light. Adjust your care routine accordingly.
By following these steps, you’ll be well on your way to propagating your Rhaphidophora Crassicaulis and enjoying the satisfaction of expanding your plant collection. Happy propagating!