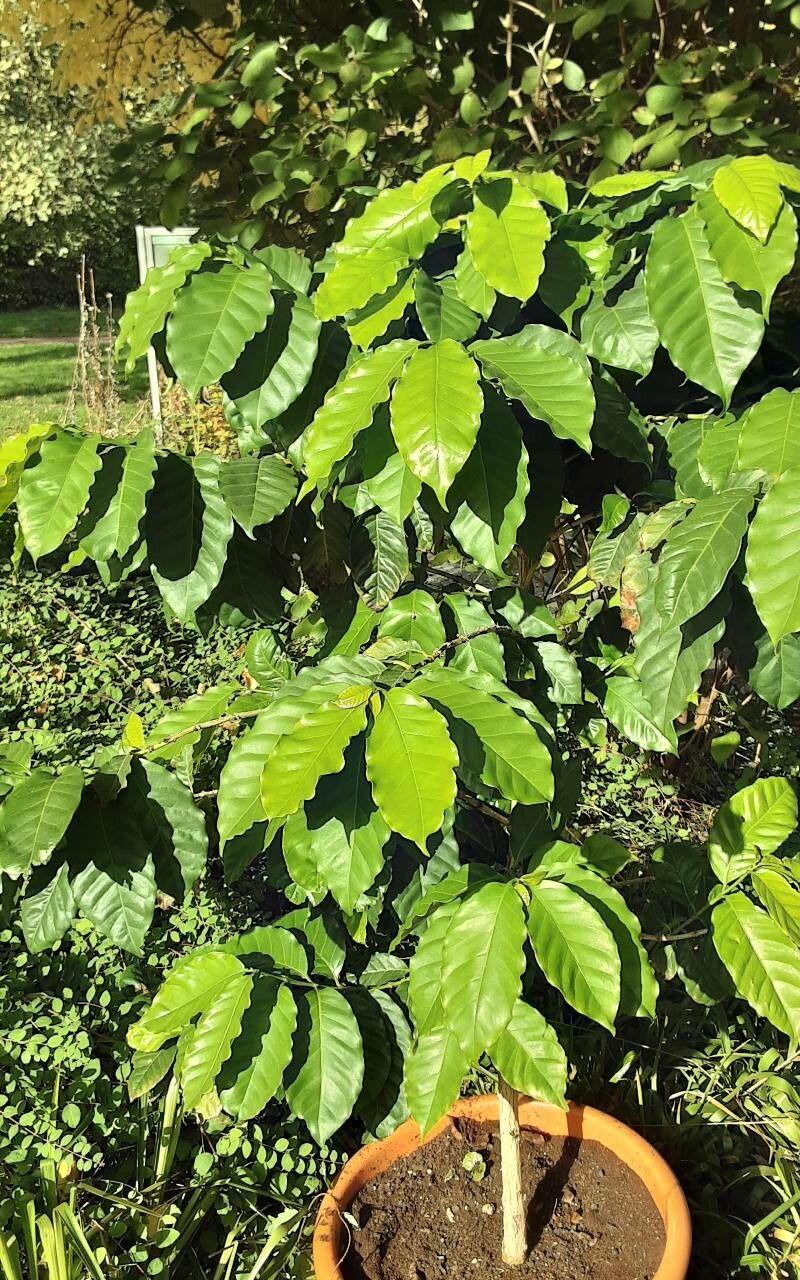
From Bean to Bloom: Propagating Your Very Own Arabica Coffee Plant
Imagine sipping a cup of coffee brewed from beans harvested from your very own coffee plant. Sounds idyllic, right? While achieving a bountiful harvest might take some time and patience, growing a thriving Coffea arabica plant at home is a rewarding endeavor for any plant enthusiast. One of the keys to success lies in understanding the art of propagation – the process of creating new plants.
Two Roads to Coffee Heaven: Seed vs. Cuttings
When it comes to propagating your Arabica coffee plant, you have two main options: starting from seed or using cuttings. Each method comes with its own set of advantages and challenges:
1. Seed Propagation:
Pros:
- Accessible: Green coffee beans (unroasted seeds) are readily available online or at some specialty stores.
- Rewarding: Witnessing the entire life cycle of your coffee plant, from tiny seedling to fruit-bearing beauty, can be deeply satisfying.
- Cons:
- Slower: Seedlings take longer to mature and produce coffee beans compared to plants grown from cuttings.
- Variable: Genetic variation in seeds means you might not get a plant identical to the parent plant, potentially impacting flavor and yield.
- Germination Fuss: Coffee seeds can be tricky to germinate, often requiring specific conditions and a bit of luck.
2. Propagation from Cuttings:
Pros:
- Faster Results: Cuttings mature quicker and inherit the characteristics of the parent plant, including flavor profile and yield potential.
- Higher Success Rate: Taking a cutting from a healthy plant significantly increases your chances of success compared to seed germination.
- Cons:
- Source Material: You’ll need access to a mature, healthy Arabica coffee plant to take cuttings.
- Technique Sensitive: Successfully rooting cuttings requires careful execution and attention to detail.
Let’s Get Our Hands Dirty: A Step-by-Step Guide to Propagation
From Seed:
- Soak & Sow: Soak fresh, green coffee beans in water for 24 hours. Plant them 1 inch deep in a well-draining seed-starting mix.
- Warmth & Humidity: Maintain a consistent temperature of 70-80°F (21-27°C) and high humidity. A seedling heat mat and humidity dome can be helpful.
- Patience is Key: Germination can take anywhere from 2 to 12 weeks, so don’t lose hope!
From Cuttings:
- Choose Wisely: Select a healthy, non-flowering branch with at least two nodes (small bumps where leaves emerge).
- Take the Plunge: Using sterilized shears, cut a 4-6 inch section just below a node. Remove leaves from the lower half.
- Rooting Hormone (Optional): Dip the cut end in rooting hormone to encourage root development.
- Plant and Protect: Place the cutting in a moist, well-draining potting mix. Cover with a plastic bag or humidity dome to create a humid environment.
Nurturing Your Coffee Baby: Care Tips for Success
Regardless of your chosen propagation method, consistent care is crucial for your budding coffee plant:
- Light: Provide bright, indirect light.
- Water: Keep the soil consistently moist but not waterlogged.
- Humidity: Aim for humidity levels above 50%.
- Fertilizer: Feed your plant with a balanced fertilizer during the growing season.
The Aroma of Success
While propagating your own Coffea arabica plant requires patience and care, the rewards far outweigh the effort. Imagine the satisfaction of watching your tiny seedling or cutting flourish into a vibrant plant, eventually rewarding you with the exhilarating aroma of homegrown coffee beans. So, why not embark on this exciting journey and enjoy the unique experience of cultivating your very own cup of joe?