Unlocking the Secrets of Tambourissa parvifolia Propagation: A Guide for the Home Gardener
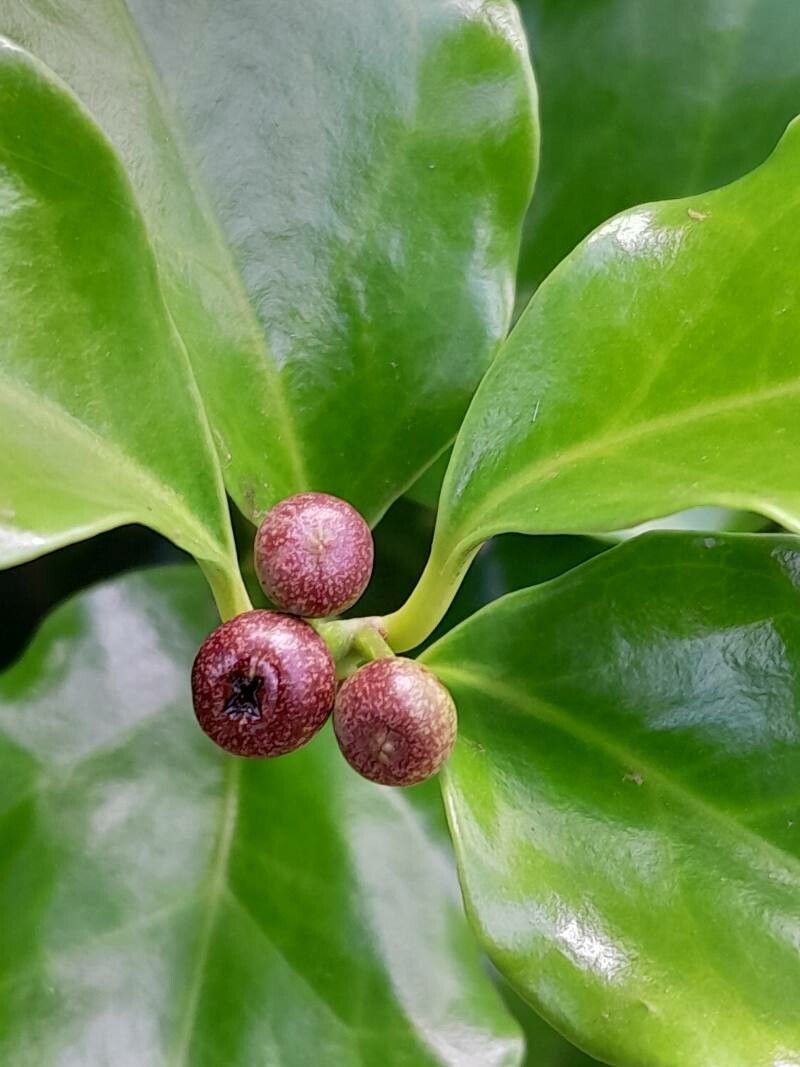
Tambourissa parvifolia, with its captivating, glossy leaves and intriguing history, is a true gem for any plant lover seeking a touch of the exotic. Native to the biologically diverse island of Madagascar, this evergreen shrub has captivated plant enthusiasts with its beauty and resilience. However, information on its propagation remains relatively scarce.
This guide aims to demystify the process, providing you with the knowledge and confidence to propagate your own Tambourissa parvifolia and share its wonder with others.
Understanding the Challenge
Before diving in, it’s important to acknowledge that Tambourissa parvifolia propagation can be considered moderately challenging. Seed germination can be unpredictable, while cuttings require patience and specific conditions. However, armed with the right information and a dash of green thumb optimism, success is attainable.
Propagation Methods: Seeds vs. Cuttings
1. Seeds: A Test of Patience and Skill
While finding Tambourissa parvifolia seeds can be difficult, it’s not impossible. Specialty seed suppliers or online communities dedicated to rare plants might offer this botanical treasure.
Here’s what you need to know:
- Freshness is Key: The fresher the seeds, the higher the chances of germination.
- Scarification Helps: Gently scratching the seed coat with sandpaper can improve water absorption and germination rates.
- Warmth and Humidity: A warm, humid environment is crucial. Sow seeds in a well-draining seed starting mix and cover the container with a plastic dome or bag to create a mini-greenhouse.
- Light and Time: Place the container in a bright location but out of direct sunlight. Germination can take anywhere from a few weeks to several months, so patience is crucial.
2. Cuttings: A More Reliable Path
Propagating Tambourissa parvifolia from cuttings offers a higher success rate.
Here’s a step-by-step guide:
- Timing is Everything: Take cuttings in spring or early summer when the plant is actively growing.
- Select Healthy Stems: Choose healthy, semi-mature stems that are about 4-6 inches long.
- Remove Lower Leaves: Make a clean cut just below a leaf node and remove the leaves from the bottom inch of the cutting.
- Rooting Hormone (Optional): Dipping the cut end in rooting hormone can promote faster root development.
- Potting Mix and Planting: Plant the cuttings in a well-draining potting mix, burying the bottom node.
- Humidity is Key: Create a humid environment by covering the pot with a plastic bag or using a humidity dome.
- Optimal Conditions: Place the cuttings in a warm, bright location, out of direct sunlight.
- Patience is a Virtue: It can take several weeks for roots to develop. Gently tug on the cutting; resistance means roots are forming.
- Transplanting: Once roots are established, carefully transplant the new plantlets into individual pots.
Caring for Your Tambourissa Parvifolia
Whether you choose to propagate through seeds or cuttings, providing the right care is essential for your new Tambourissa parvifolia to thrive.
- Light: Prefers bright, indirect light.
- Water: Keep the soil evenly moist, but avoid overwatering. Allow the top inch of soil to dry out between waterings.
- Humidity: Thrives in humid environments. Regular misting or a pebble tray can help increase humidity levels.
- Temperature: Prefers warm temperatures between 65-80°F (18-27°C).
- Fertilizer: Feed with a balanced, diluted fertilizer during the growing season.
A Rewarding Journey
While propagating Tambourissa parvifolia requires patience and attention to detail, the rewards are well worth the effort. Seeing this botanical wonder flourish under your care is a truly fulfilling experience. So, embrace the challenge, follow these tips, and embark on your own Tambourissa parvifolia propagation journey – you might just discover a new passion for plant parenting!