Unlocking the Secrets of Malva durieui Propagation: Seed Starting and Beyond!
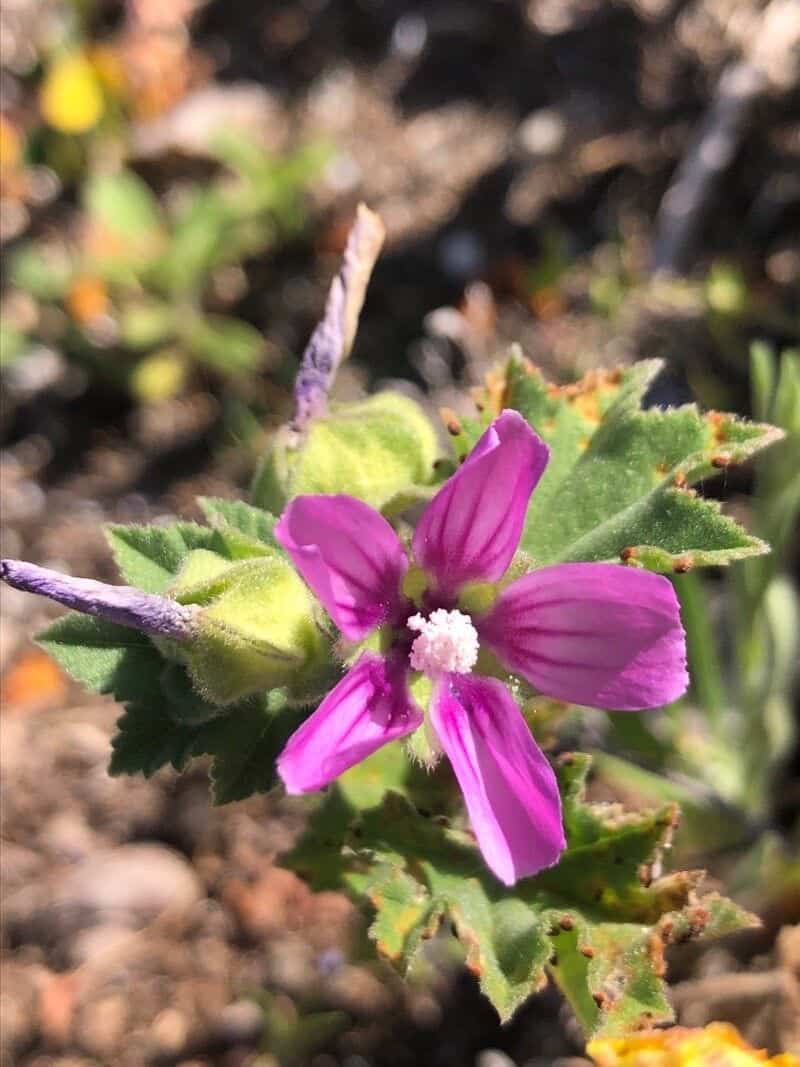
Malva durieui, also known by its charming alias "French hollyhock," is a sight to behold. With its striking, silver-green foliage and dainty, hibiscus-like pink blooms, it’s no wonder gardeners are eager to propagate this Mediterranean gem. But how exactly do you go about multiplying your Malva durieui and ensuring its continued presence in your garden? Fear not, for we’re about to delve into the secrets of Malva durieui propagation, empowering you to grow more of this captivating plant.
Method 1: Seed Starting – Embracing Nature’s Blueprint
The most common and rewarding method for propagating Malva durieui is through seed. Luckily, this plant is relatively generous with its seed production, and with a little patience and the right approach, you’ll be welcoming a new generation of French hollyhocks in no time.
Here’s the step-by-step guide to seed starting success:
- Seed Collection: As the vibrant blooms of your Malva durieui start to fade, keep a watchful eye out for the development of seed pods. Once these pods turn brown and dry, they are ready for harvesting. Gently break them open to collect the small, round seeds within.
- Sowing Time: For best results, start your seeds indoors approximately 6-8 weeks before the last expected frost in your region.
- Preparing the Seedbed: Use a well-draining seed starting mix to fill your seed trays or pots. Lightly moisten the mix before sowing.
- Sowing the Seeds: Sow the Malva durieui seeds about ¼ inch deep and lightly cover them with the seed starting mix.
- Patience is Key: Place the trays or pots in a warm, bright location, ideally with a consistent temperature of around 70-75°F (21-24°C). Keep the soil consistently moist but avoid overwatering, which can lead to damping-off.
- Germination: Within 10-14 days, you should start to see the first signs of life as the seeds sprout.
- Transplanting Time: Once the seedlings have developed a couple of sets of true leaves, and all danger of frost has passed, it’s time to transplant them outdoors. Choose a sunny location with well-drained soil.
Method 2: Cuttings – Cloning Your Favorite Specimens
While seed starting is the most prevalent method, Malva durieui can also be propagated through cuttings. This technique allows you to create an exact replica of your parent plant, preserving its unique characteristics.
Following these steps will increase your chances of success with cuttings:
- Timing is Everything: The optimal time for taking cuttings is in spring or early summer when the plant is actively growing.
- Selecting the Right Cuttings: Choose healthy, non-flowering stems that are approximately 4-6 inches long. Make a clean cut just below a leaf node.
- Preparing the Cuttings: Remove the lower leaves from the cutting, leaving only a couple of leaves at the top.
- Rooting Hormone (Optional): Dipping the cut end in rooting hormone can encourage faster root development.
- Planting the Cuttings: Plant the prepared cuttings in a pot filled with a well-draining potting mix. Keep the soil consistently moist.
- Patience and Observation: It can take several weeks for roots to develop. Once you observe new growth on your cuttings, it’s a sign that they have successfully rooted.
Nurturing Your New Malva durieui Plants
Whether you choose to start your Malva durieui from seed or cuttings, providing the right care is crucial for their growth and development. They thrive in well-drained soil and prefer a sunny location, though they can tolerate some light shade. While relatively drought-tolerant once established, consistent watering is key, especially during their first year of growth.
With a bit of effort and green-thumb dedication, you’ll soon be surrounded by the captivating beauty of Malva durieui, adding a touch of Mediterranean charm to your garden haven.