Unlocking the Secrets of Erysimum arbuscula Propagation: A Guide for Your Garden
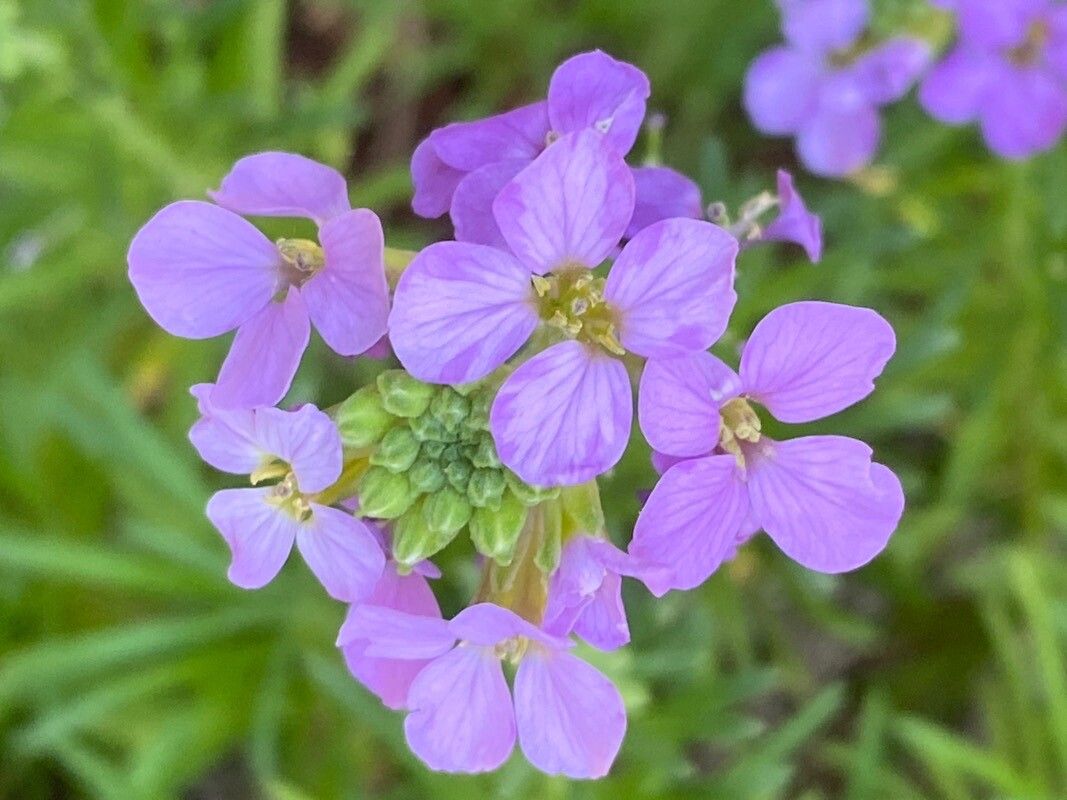
The Erysimum arbuscula, or the endemic Wallflower as it’s known in its native Canary Islands, is a stunning evergreen shrub with a captivating charm. Known for its vibrant, showy flowers that range in color from golden yellow to deep orange, this plant can add a splash of year-round beauty to your garden. If you’re looking to expand your Erysimum arbuscula collection or share its beauty with friends, propagation is the way to go. Let’s delve into the exciting world of propagating this wonderful plant.
The Two Pathways: Seed vs. Cuttings
Propagating Erysimum arbuscula can be achieved through two main methods: seeds and cuttings. While both are effective, they come with their own set of advantages and considerations.
1. The Seed Route: Embracing Genetic Diversity
Propagating from seed is an adventure in itself, offering the thrill of witnessing a new plant’s life cycle unfold. Erysimum arbuscula readily produces seed pods after flowering. Here’s how to embark on this journey:
- Harvesting Hope: Collect seed pods once they have dried on the plant, indicated by a brown, papery texture.
- Preparation is Key: Extract the small, dark seeds from the pods and allow them to dry further if necessary.
- Sowing the Future: Sow the seeds in a well-draining seed starting mix, lightly pressing them onto the surface.
- Optimal Conditions: Provide warmth, consistent moisture, and bright, indirect light. Germination typically occurs within a few weeks.
- Transplant Triumph: Once the seedlings have developed a couple of true leaves, they can be carefully transplanted into individual pots or their final location in the garden.
2. The Cutting Edge: Cloning for Consistency
Taking cuttings offers a quicker route to mature plants and ensures genetic consistency with the parent plant. Here’s the step-by-step process:
- Choosing the Right Candidate: Select healthy, non-flowering stems during the spring or early summer for optimal results.
- Making the Cut: Use a clean, sharp knife or pruning shears to take cuttings approximately 3-4 inches long, making a clean cut just below a leaf node.
- Hormonal Boost: While not strictly necessary, dipping the cut end in rooting hormone powder can enhance root development.
- Planting with Care: Insert the cuttings into a well-draining potting mix, burying a couple of leaf nodes.
- Creating a Humid Haven: Cover the cuttings with a plastic bag or humidity dome to maintain moisture and encourage root development.
- Patience is a Virtue: Keep the cuttings in a warm, bright location, away from direct sunlight. Rooting should occur within 4-6 weeks.
- Transplant Time: Once the cuttings have developed a robust root system, they can be carefully transplanted into individual pots or your garden.
Nurturing Your New Erysimum Arbuscula
Regardless of your chosen propagation method, providing the right care is crucial for your Erysimum arbuscula’s success. They thrive in full sun to partial shade and prefer well-drained soil. Water regularly, especially during dry periods, but avoid overwatering, which can lead to root rot.
Reaping the Rewards
Propagating Erysimum arbuscula is an enriching experience that connects you to the plant’s life cycle. Whether you choose to sow seeds or take cuttings, the joy of nurturing a new plant to maturity is a reward in itself. And with a bit of patience and care, you’ll soon be enjoying the vibrant blooms of your very own Erysimum arbuscula, a testament to your green thumb and the fascinating world of plant propagation.