Unveiling the Mysteries: How to Propagate the Majestic Atlas Cedar
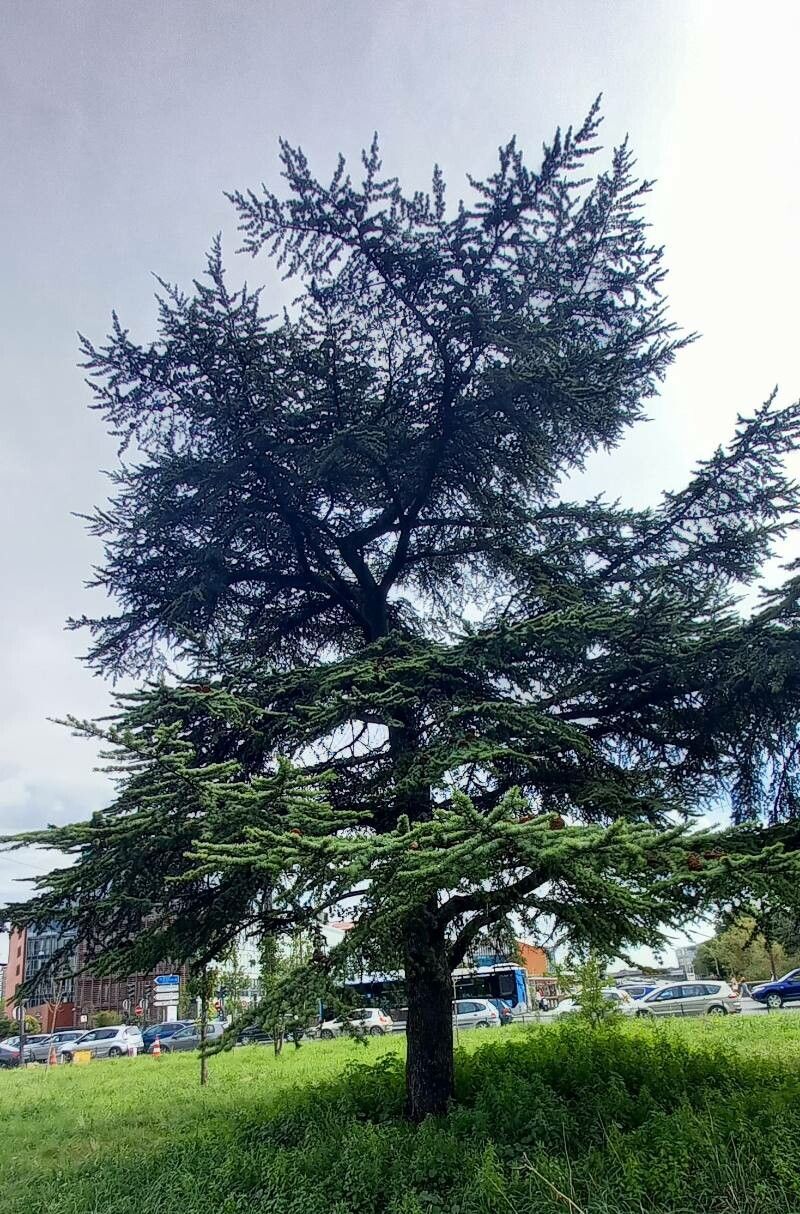
The Atlas Cedar (Cedrus atlantica) is a majestic evergreen conifer, prized for its stately pyramidal shape, silvery-blue foliage, and impressive size. Native to the Atlas Mountains of Morocco and Algeria, this majestic tree can live for centuries, becoming a breathtaking focal point in any landscape.
While sourcing a sapling from your local nursery is an option, propagating your own Atlas Cedar offers a rewarding journey for the patient gardener. Let’s delve into the methods of propagating this stunning tree, turning you into a confident cedar cultivator.
Method 1: The Patience of Seed Propagation
Growing an Atlas Cedar from seed is a test of patience, but witnessing the journey from tiny seed to towering tree is deeply satisfying. Here’s how:
Seed Collection and Preparation:
- Collect mature cones from an established tree in early autumn. Look for brown, slightly open cones.
- Place the cones in a warm, dry area to allow them to fully open and release the seeds.
- Once released, separate the seeds from the cone debris.
Stratification (Mimicking Nature’s Touch):
- Atlas Cedar seeds benefit from cold stratification, a process that simulates natural winter conditions to break dormancy.
- Mix the seeds with a moist (not wet) medium like vermiculite or peat moss.
- Seal the mixture in a plastic bag and place it in the refrigerator for 4-6 weeks.
Sowing the Seeds:
- In spring, fill seed trays or pots with a well-draining potting mix.
- Sow the seeds about 1/2 inch deep and lightly water them.
- Place the pots in a bright location but out of direct sunlight.
- Germination and Beyond:
- Germination can be erratic, taking anywhere from a few weeks to a couple of months.
- Once the seedlings have developed a few sets of true leaves, thin them out to allow for optimal growth.
- Continue watering regularly and fertilize periodically with a diluted liquid fertilizer.
Method 2: The Art of Cuttings
Propagating from cuttings offers a faster route to a mature tree and ensures the offspring will have the same characteristics as the parent plant. Here’s how to do it successfully:
Timing is Everything:
- Early morning in late summer or early fall is the ideal time to take cuttings.
Selecting the Cuttings:
- Choose healthy, semi-hardwood cuttings from the current year’s growth.
- Each cutting should be around 4-6 inches long with a “heel” (a small piece of the branch bark) attached.
Preparing the Cuttings:
- Remove the lower needles from the cutting, leaving a few at the top.
- Dip the cut end in rooting hormone powder to encourage root development.
Potting and Care:
- Plant the cuttings in a well-draining potting mix, ensuring the bottom node (where the needles were removed) is below the soil surface.
- Water them well and cover the pot with a clear plastic bag or humidity dome to maintain moisture.
- Rooting and Transplanting:
- Place the cuttings in a bright location out of direct sunlight.
- Rooting can take several weeks to months. Check for root development by gently tugging on the cuttings.
- Once rooted, gradually acclimate the cuttings to outdoor conditions before transplanting them to larger pots or your garden in the following spring.
A Legacy for Generations to Come
Propagating an Atlas Cedar, whether from seed or cuttings, is a rewarding endeavor. With patience and care, you can successfully cultivate these magnificent trees, adding a touch of grandeur and a legacy of beauty to your landscape for generations to enjoy.