Unlocking the Secrets of Clammy Groundcherry: A Propagation Guide
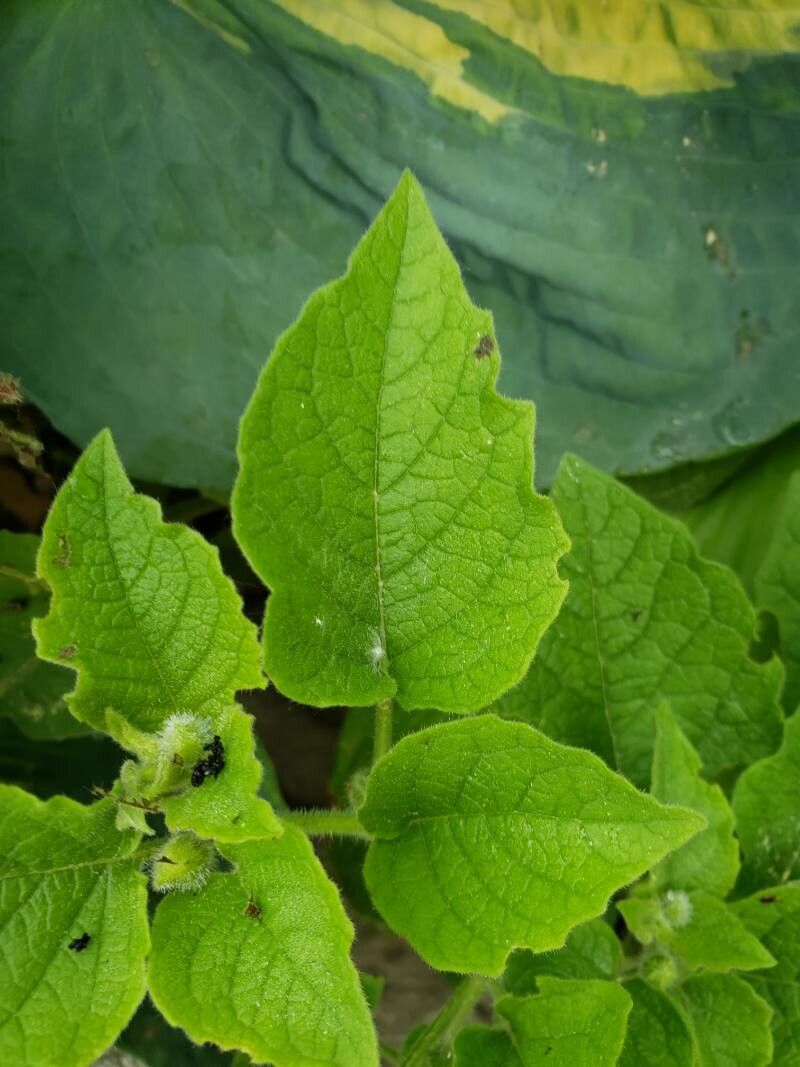
Clammy groundcherry (Physalis heterophylla), with its whimsical papery lanterns and sweet-tart berries, brings a touch of wild charm to any garden. While often found gracing fields and roadsides, this native perennial can also be a delightful addition to your own backyard. Intrigued? Let’s delve into the world of clammy groundcherry propagation and discover the secrets to successfully growing this fascinating plant.
Three Paths to Clammy Groundcherry Glory
Mother Nature offers several ways to propagate clammy groundcherry, each with its own appeal:
1. Sow the Seeds of Success:
- Timing is Key: For best results, sow clammy groundcherry seeds directly outdoors in the fall. This allows for natural stratification, a period of cold temperatures that encourages germination come spring.
- Location, Location, Location: Choose a sunny spot with well-drained soil. Clammy groundcherry tolerates a variety of soil types but thrives in loose, fertile ground.
- Sow with Care: Lightly rake the seeds into the soil surface, ensuring they get good contact but aren’t buried too deeply.
- Patience is a Virtue: Germination can be slow, so don’t despair if sprouts don’t appear immediately. Once they emerge, thin the seedlings to about 12-18 inches apart.
2. Division for a Head Start:
- When and Where: Divide established clammy groundcherry plants in early spring, just as new growth appears.
- Divide and Conquer: Carefully dig up the plant, ensuring you get as much of the root system as possible. Use a sharp knife or spade to divide the plant into sections, ensuring each section has a good amount of roots and shoots.
- Replant and Thrive: Replant the divisions at the same depth they were growing previously. Water well and provide consistent moisture as they establish.
3. Cuttings: Cloning Your Favorite Plant:
- Prime Time: Take cuttings from healthy, non-flowering stems in late spring or early summer.
- Cut with Precision: Make a clean cut just below a leaf node using a sharp, sterilized knife or pruners. Remove the lower leaves, leaving only a few at the top.
- Root Hormone Boost (Optional): While not essential, dipping the cut end in rooting hormone can increase the success rate.
- Planting Time: Plant the cuttings in a well-draining potting mix, burying the leaf nodes. Cover loosely with a plastic bag to create a humid environment.
- Patience and Observation: Keep the cuttings consistently moist and in a warm, bright location, out of direct sunlight. Roots should develop in a few weeks. Once new growth appears, the cuttings are ready to be transplanted.
Nurturing Your Clammy Groundcherry:
Clammy groundcherry is relatively low-maintenance but thrives with a bit of TLC:
- Water Wisely: Water regularly during dry spells, providing deep soakings rather than frequent shallow watering.
- Feed the Need: While not a heavy feeder, a light application of balanced fertilizer in early spring can boost growth.
- Pest Patrol: Be on the lookout for common garden pests, such as aphids and flea beetles. Addressing infestations early is key to maintaining plant health.
Reaping the Rewards:
With a little effort, you’ll soon be enjoying the fruits (or rather, berries!) of your labor. The papery husks enclose bright orange-yellow berries that offer a delightful sweet and slightly tart flavor. Enjoy them fresh, baked into pies, or transformed into jams and jellies.
Propagating clammy groundcherry is a rewarding endeavor that connects you with nature’s cycle and provides a delicious and unique addition to your garden. So go ahead – embrace the wild side and start growing your own patch of these delightful plants!