Untangling the Secrets: Propagating the Beautiful Ononis polyphylla
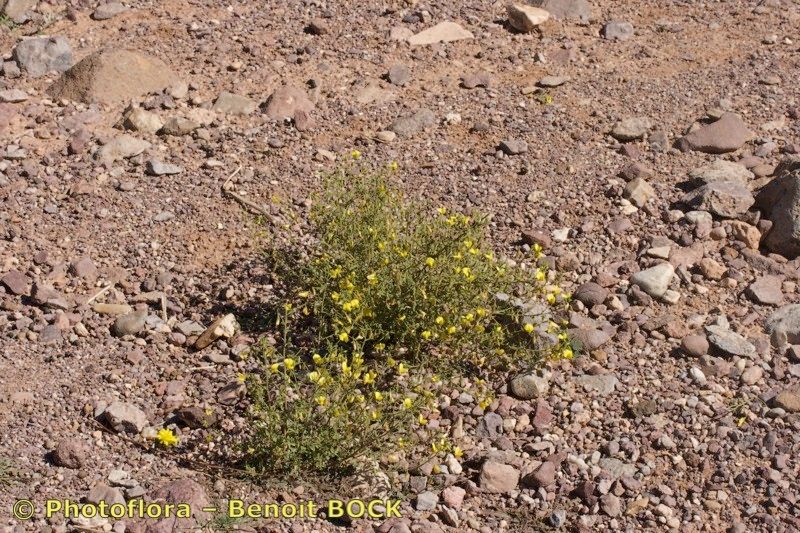
The Ononis polyphylla, also known as the Restharrow, is a charming plant with delicate pink flowers attracting pollinators and adding pops of vibrant color to any landscape. This low-maintenance perennial brings beauty and resilience, tolerating even challenging conditions like poor soil. If you’re eager to welcome more of these beauties into your garden, propagating your own Ononis polyphylla is a rewarding endeavor. Let’s explore two effective methods: propagating from seed and taking cuttings.
Method 1: Sowing the Seeds of Success
Propagating Ononis polyphylla from seed provides a sense of accomplishment as you witness the miracle of life unfolding from tiny specks. Here’s a step-by-step guide:
- Harvesting the Goods: As the Ononis polyphylla flowers fade, they develop seed pods. Allow the pods to fully mature and turn brown on the plant. Once dry, carefully collect them and extract the seeds.
- Pre-treating for Success: Ononis polyphylla seeds possess a hard outer coating that can hinder germination. To break this dormancy, cold stratification is recommended. Place the seeds in a moist paper towel, seal them in a plastic bag, and store them in the refrigerator for 4-6 weeks.
- Sowing Time: Spring is an ideal time for sowing your stratified seeds. Choose a well-draining seed starting mix and sprinkle the seeds on the surface. Lightly press them down, ensuring good contact with the soil, but avoid burying them deeply.
- Nurturing Growth: Keep the soil consistently moist but not waterlogged. Place the seed tray in a bright location, out of direct sunlight. Germination can take several weeks, so patience is key.
- Transplanting Time: Once the seedlings develop a couple of sets of true leaves and are large enough to handle, transplant them into individual pots filled with well-draining soil.
Method 2: Cuttings for Clones of Beauty
Taking cuttings is another effective way to propagate Ononis polyphylla, creating genetically identical copies of your existing plant.
- Selecting the Perfect Cuttings: During the summer months, choose healthy, non-flowering stems for cuttings. Ideally, select stems that are about 4-6 inches long and show new growth.
- Preparing the Cuttings: Using a sharp, clean knife or pruning shears, make a diagonal cut just below a leaf node. Remove the lower leaves, leaving a couple of leaves at the top.
- Encouraging Root Development: Dip the cut end of the stem in rooting hormone powder (optional but beneficial) to stimulate root growth.
- Planting the Cuttings: Prepare a pot with a well-draining cutting mix or a mixture of perlite and vermiculite. Make a hole in the mix with a pencil and gently insert the cutting, ensuring the bottom node is buried.
- Creating a Humid Environment: Cover the pot with a plastic bag or propagator lid to create a humid environment that promotes rooting. Place it in a bright location, out of direct sunlight.
- Rooting and Transplanting: After 4-6 weeks, gently tug on the cuttings to check for resistance, indicating root development. Once rooted, transplant them into individual pots with well-draining soil.
Whichever method you choose, propagating Ononis polyphylla is a rewarding experience. With a little patience and care, you’ll be able to multiply these lovely plants and enjoy their beauty for years to come.