
Unveiling the Secrets of the Shuttlecock Fern: A Propagation Guide
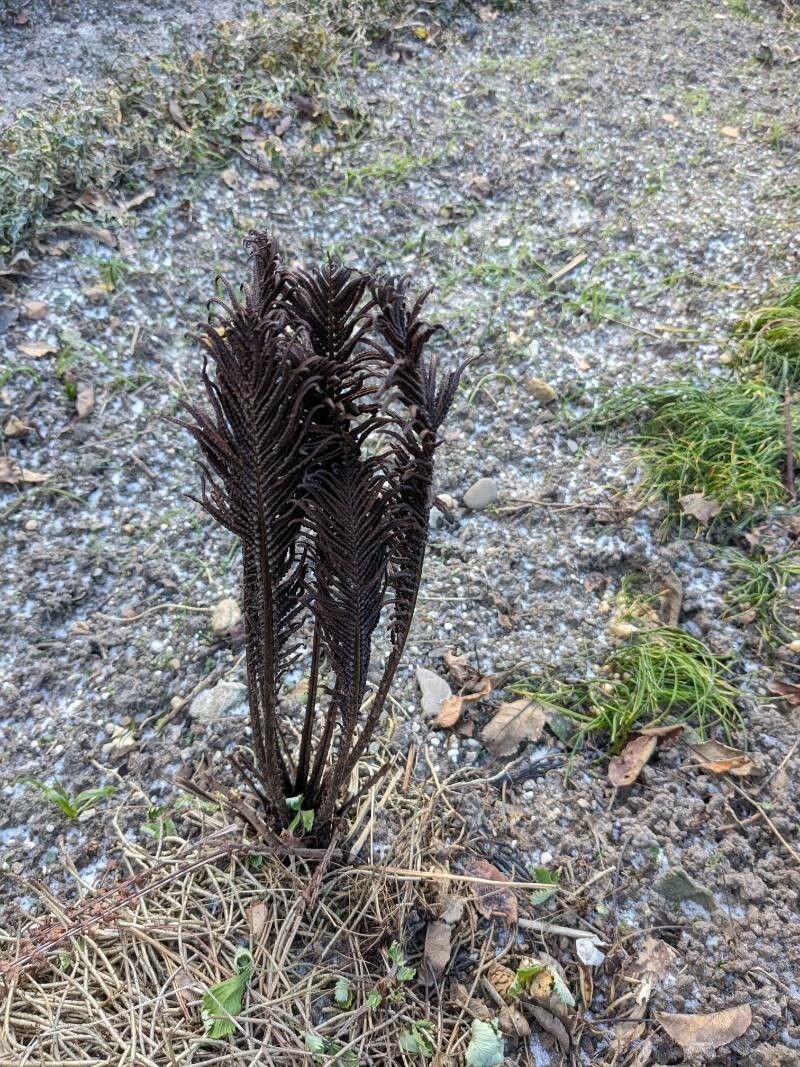
The Onoclea struthiopteris, more commonly known as the Shuttlecock Fern, is a sight to behold. Its bright green, upright fronds resemble the feathered projectiles of badminton, adding a touch of whimsical elegance to any shady garden corner. While admiring its beauty is easy, you might wonder how to welcome more of these captivating ferns into your life. Fear not, fellow plant enthusiast, for we’re about to delve into the fascinating world of Shuttlecock Fern propagation!
Two Paths to Fern Frondom: Spores and Division
Unlike many flowering plants that rely on seeds, ferns reproduce through spores – tiny, dust-like particles found on the undersides of their fronds. However, don’t let the word “spore” intimidate you; propagating Shuttlecock Ferns from spores is entirely doable, albeit slightly more involved than the alternative: division. Let’s explore both methods:
1. The Adventure of Spore Propagation:
Think of spore propagation as embarking on a rewarding botanical quest. Here’s how to embark on this journey:
- Timing is Key: Late summer is the optimal time to collect spores. Look for mature fronds with dark, almost brown spore cases on their undersides.
- Spore Collection: Carefully snip off a frond and place it in a paper bag. Over a few days, the spores will naturally release into the bag.
- Sowing the Magic Dust: Prepare a seed tray with a moist mixture of peat moss and vermiculite. Sprinkle the collected spores gently over the surface, avoiding overcrowding. Don’t bury them; spores need light to germinate.
- Creating a Humid Haven: Cover the tray with a clear plastic lid or wrap to maintain high humidity, mimicking the fern’s natural environment. Place it in a warm, shaded location, out of direct sunlight.
- Patience, Young Padawan: Germination can take anywhere from a few weeks to a couple of months. Once the tiny fern gametophytes appear (they look like small, heart-shaped structures), mist them regularly.
- Transplant Triumph: When the gametophytes develop into small ferns with fronds, carefully transplant them into individual pots filled with well-draining potting mix.
2. The Simplicity of Division:
For a more straightforward approach, division is your go-to method:
- The Right Time: Spring, just as new growth emerges, is the perfect time for division.
- Divide and Conquer: Gently dig up a healthy Shuttlecock Fern and shake off any excess soil. Using a sharp, clean knife or garden shears, separate the fern into sections, ensuring each section has a good amount of roots and fronds.
- New Beginnings: Plant each division in a well-prepared bed or pot with moist, well-draining soil. Water thoroughly and provide shade until the divisions establish themselves.
Nurturing Your Fern Family:
Whether you choose the adventure of spores or the simplicity of division, caring for your new Shuttlecock Fern additions follows the same principles:
- Shady Retreat: These ferns thrive in shady locations with dappled sunlight.
- Moisture is Key: Keep the soil consistently moist but not waterlogged. Water regularly, especially during dry periods.
- Nutrient Boost: Feed your ferns monthly during the growing season with a balanced, diluted liquid fertilizer.
Propagating your own Shuttlecock Ferns is an incredibly rewarding experience. Whether you enjoy the meticulous process of spore propagation or the straightforward nature of division, you’ll soon have a flourishing family of these graceful ferns gracing your garden. So, why not roll up your sleeves, embrace the magic of plant propagation, and enjoy the captivating presence of these beautiful ferns for years to come?