Unleashing the Purple Haze: Simple Propagation Techniques for the Wrinkle-Leaf Aster
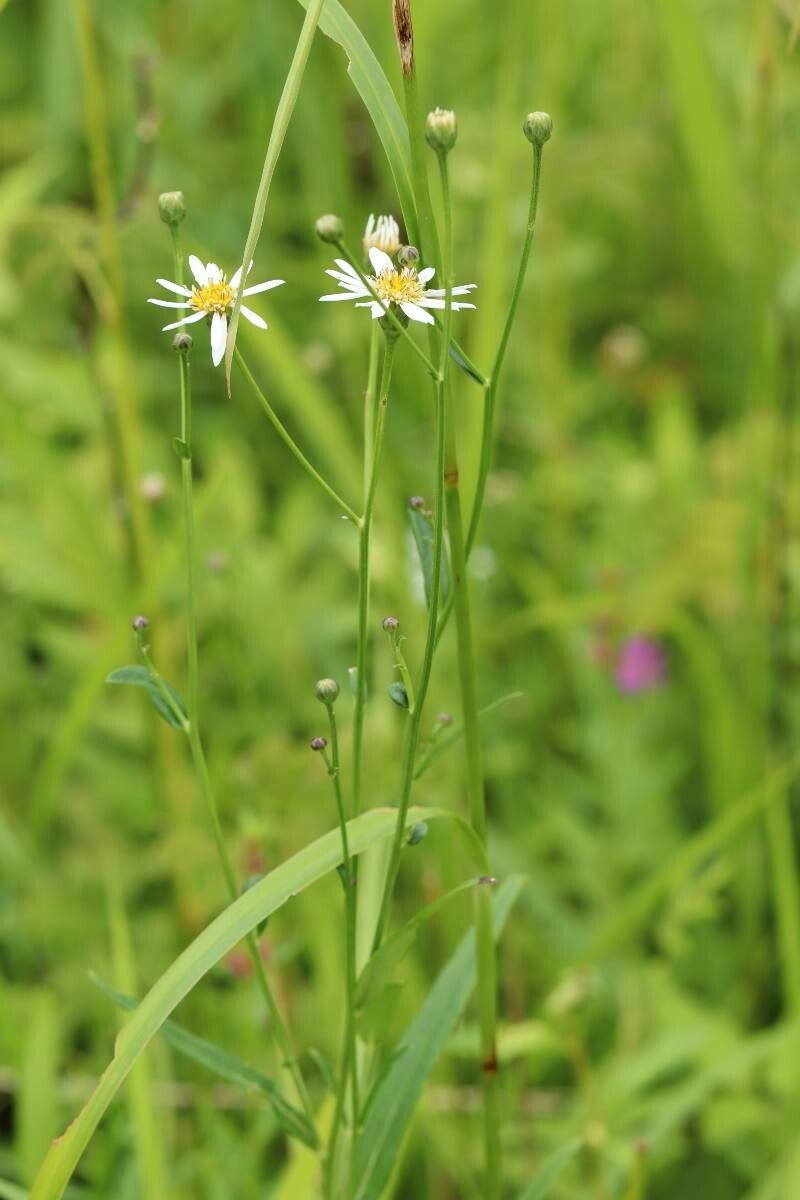
The Wrinkle-leaf Aster (Aster rugulosus), with its enchanting clouds of lavender-blue flowers, is a North American native that brings late-season vibrancy to any garden. This sturdy perennial thrives in dappled shade and attracts a plethora of pollinators, making it an excellent choice for both novice and seasoned gardeners. While readily available in nurseries, propagating your own Aster rugulosus is a rewarding experience that allows you to expand your flowerbeds with ease. Let’s explore the most effective ways to multiply this delightful aster.
1. Division: Sharing is Caring (and Easy!)
Division is the simplest and arguably most successful method for propagating Aster rugulosus. This technique involves digging up an established plant and separating it into multiple clumps, each with its own healthy root system.
When to Divide: Early spring, just as new growth emerges, is the ideal time for division.
The How-To:
- Carefully dig around the chosen plant, ensuring you encompass the entire root ball.
- Gently lift the plant, shaking off excess soil to expose the roots.
- Using clean, sharp shears or a garden knife, divide the plant into sections, ensuring each section has a healthy cluster of roots and shoots.
- Replant the divisions at the same depth they were originally growing, spacing them 12-18 inches apart.
- Water thoroughly and apply a light layer of mulch to retain moisture.
2. Cuttings: A Snippet for Success
Propagation through cuttings involves encouraging a section of stem to develop roots and grow into a new plant.
When to Take Cuttings: Late spring to early summer, when the plant is actively growing, is the prime time.
The How-To:
- Using clean, sharp pruners, take 4-6 inch cuttings from healthy, non-flowering stems.
- Remove the lower leaves from the cutting, leaving 2-3 pairs at the top.
- Dip the cut end in rooting hormone to encourage root development (optional but helpful).
- Plant the cuttings in a pot filled with a well-draining seed-starting mix.
- Water thoroughly and cover the pot with a plastic bag to create a humid environment.
- Place the pot in a bright location out of direct sunlight.
- Keep the soil consistently moist and check for root development after a few weeks.
- Once roots have established (4-6 weeks), transplant the cuttings into individual pots or directly into the garden.
3. Seeds: Embracing a Touch of Patience
While less common, propagating Aster rugulosus from seed can be a rewarding endeavor. Keep in mind that seeds collected from hybrid varieties may not produce plants identical to the parent.
When to Sow: Start seeds indoors 6-8 weeks before the last expected frost in your area.
The How-To:
- Fill seed trays with a seed-starting mix and moisten lightly.
- Sow seeds on the surface of the soil and lightly press them in.
- Cover the tray with a clear plastic lid or wrap to retain moisture.
- Place in a warm, brightly lit location out of direct sunlight.
- Keep the soil moist and be patient; germination can take 2-3 weeks.
- Once seedlings have developed a few sets of true leaves, they can be transplanted into individual pots or directly into the garden after the last frost.
By following these straightforward methods, you can easily propagate Aster rugulosus and paint your garden with its delicate charm. Remember, successful propagation requires patience and attention to detail, but the reward of witnessing new life emerge from a cutting or seed is truly gratifying. Happy gardening!