Unfurling the Secrets of Tapeinosperma vieillardii: A Propagation Guide
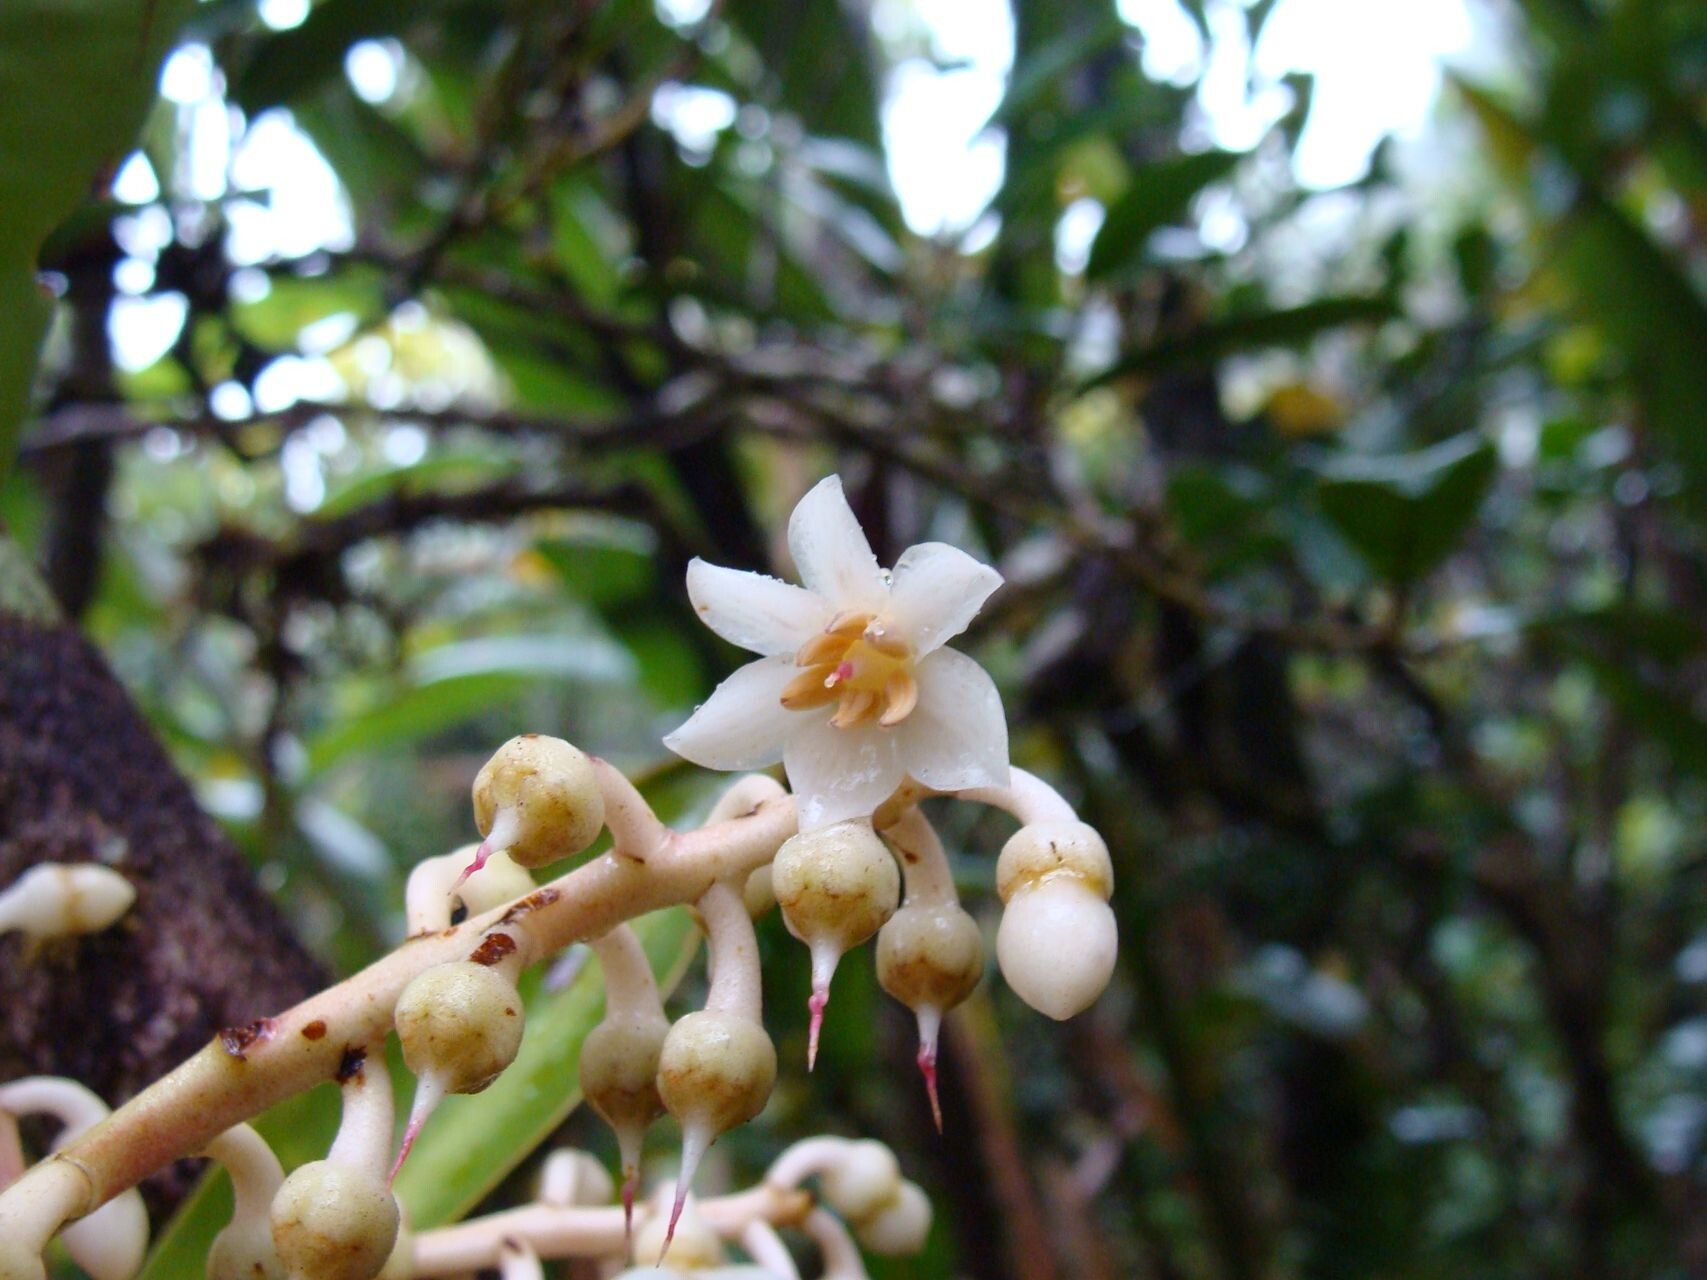
Tapeinosperma vieillardii, with its glossy, emerald-green leaves and graceful, arching branches, is a captivating addition to any home or garden. This tropical beauty, native to the rainforests of New Caledonia, adds a touch of the exotic wherever it grows. While readily available in nurseries, propagating your own Tapeinosperma vieillardii is immensely rewarding and surprisingly easy. This guide will delve into the various methods to successfully multiply your collection of this striking plant.
Understanding the Plant:
Before we dive into propagation, it’s helpful to understand a bit about Tapeinosperma vieillardii’s growth habits. This plant naturally branches from the base, producing multiple stems. This characteristic makes it an ideal candidate for propagation through cuttings, as each stem holds the potential for a new plant.
Method 1: Stem Cuttings – The Gold Standard
Stem cuttings are the most popular and successful way to propagate Tapeinosperma vieillardii.
What you’ll need:
- Clean, sharp pruning shears or scissors: This ensures a clean cut and minimizes damage to the parent plant and the cutting.
- Rooting hormone (optional, but recommended): Rooting hormone contains growth hormones that encourage root development.
- Well-draining potting mix: A mixture specifically formulated for cuttings is ideal, or you can create your own using peat moss, perlite, and vermiculite.
- Small pots or trays: Choose containers with drainage holes to prevent waterlogging.
Instructions:
- Select healthy stems: Choose stems that are firm, non-woody, and have several sets of leaves.
- Make the cut: Using your shears, cut a 4-6 inch section from the stem, just below a leaf node (the point where a leaf emerges). Remove the lower leaves from the cutting, leaving 2-3 pairs at the top.
- Apply rooting hormone (optional): Dip the cut end of the stem in rooting hormone, following the instructions on the product label.
- Plant the cutting: Insert the cutting into the prepared potting mix, burying the nodes where you removed the leaves. Gently firm the soil around the cutting.
- Water thoroughly: Water the potting mix until it’s evenly moist, but not waterlogged.
- Provide warmth and humidity: Cover the pot with a clear plastic bag or place it in a propagator to create a humid environment. Place the cutting in a warm, brightly lit location, out of direct sunlight.
Method 2: Air Layering – For Advanced Propagators
Air layering is a slightly more advanced technique, ideal for more mature Tapeinosperma vieillardii plants. This method involves encouraging root development on a stem while it’s still attached to the parent plant.
What you’ll need:
- Sharp, sterilized knife
- Sphagnum moss
- Plastic wrap
- Rooting hormone (optional)
Instructions:
- Choose a healthy stem: Select a mature, healthy stem for air layering.
- Wound the stem: Carefully make a small, upward-angled cut about halfway through the stem, just below a leaf node. You can insert a toothpick to keep the cut open.
- Apply rooting hormone (optional): Dust the wounded area with rooting hormone.
- Wrap with moss: Soak a handful of sphagnum moss in water, then squeeze out the excess. Wrap the moss around the wounded area of the stem, securing it with plastic wrap.
- Keep the moss moist: Check the moss regularly and mist it with water to keep it consistently moist, but not soggy.
- Wait for roots: Roots should develop within 4-6 weeks. Once you see a healthy root system, carefully cut the stem below the rooted portion and pot it up in well-draining soil.
Patience is key:
Regardless of the propagation method you choose, remember that patience is key. It can take several weeks or even months for roots to develop. Provide consistent care, including warmth, humidity, and indirect light, and you’ll be rewarded with new Tapeinosperma vieillardii plants to add to your collection or share with friends.