
Taming the Wild Vine: Propagation Techniques for Doliocarpus hispidus
Doliocarpus hispidus, a woody vine native to the tropical rainforests of South America, may not be a household name yet, but it’s steadily gaining recognition amongst plant enthusiasts. Known for its intriguing foliage and delicate flowers, this climbing beauty can add a touch of exotic allure to any garden space. But getting your hands on one can be tricky. While commercially available plants are still relatively rare, the good news is that propagating Doliocarpus hispidus is achievable with a bit of patience and the right know-how.
Understanding Doliocarpus hispidus
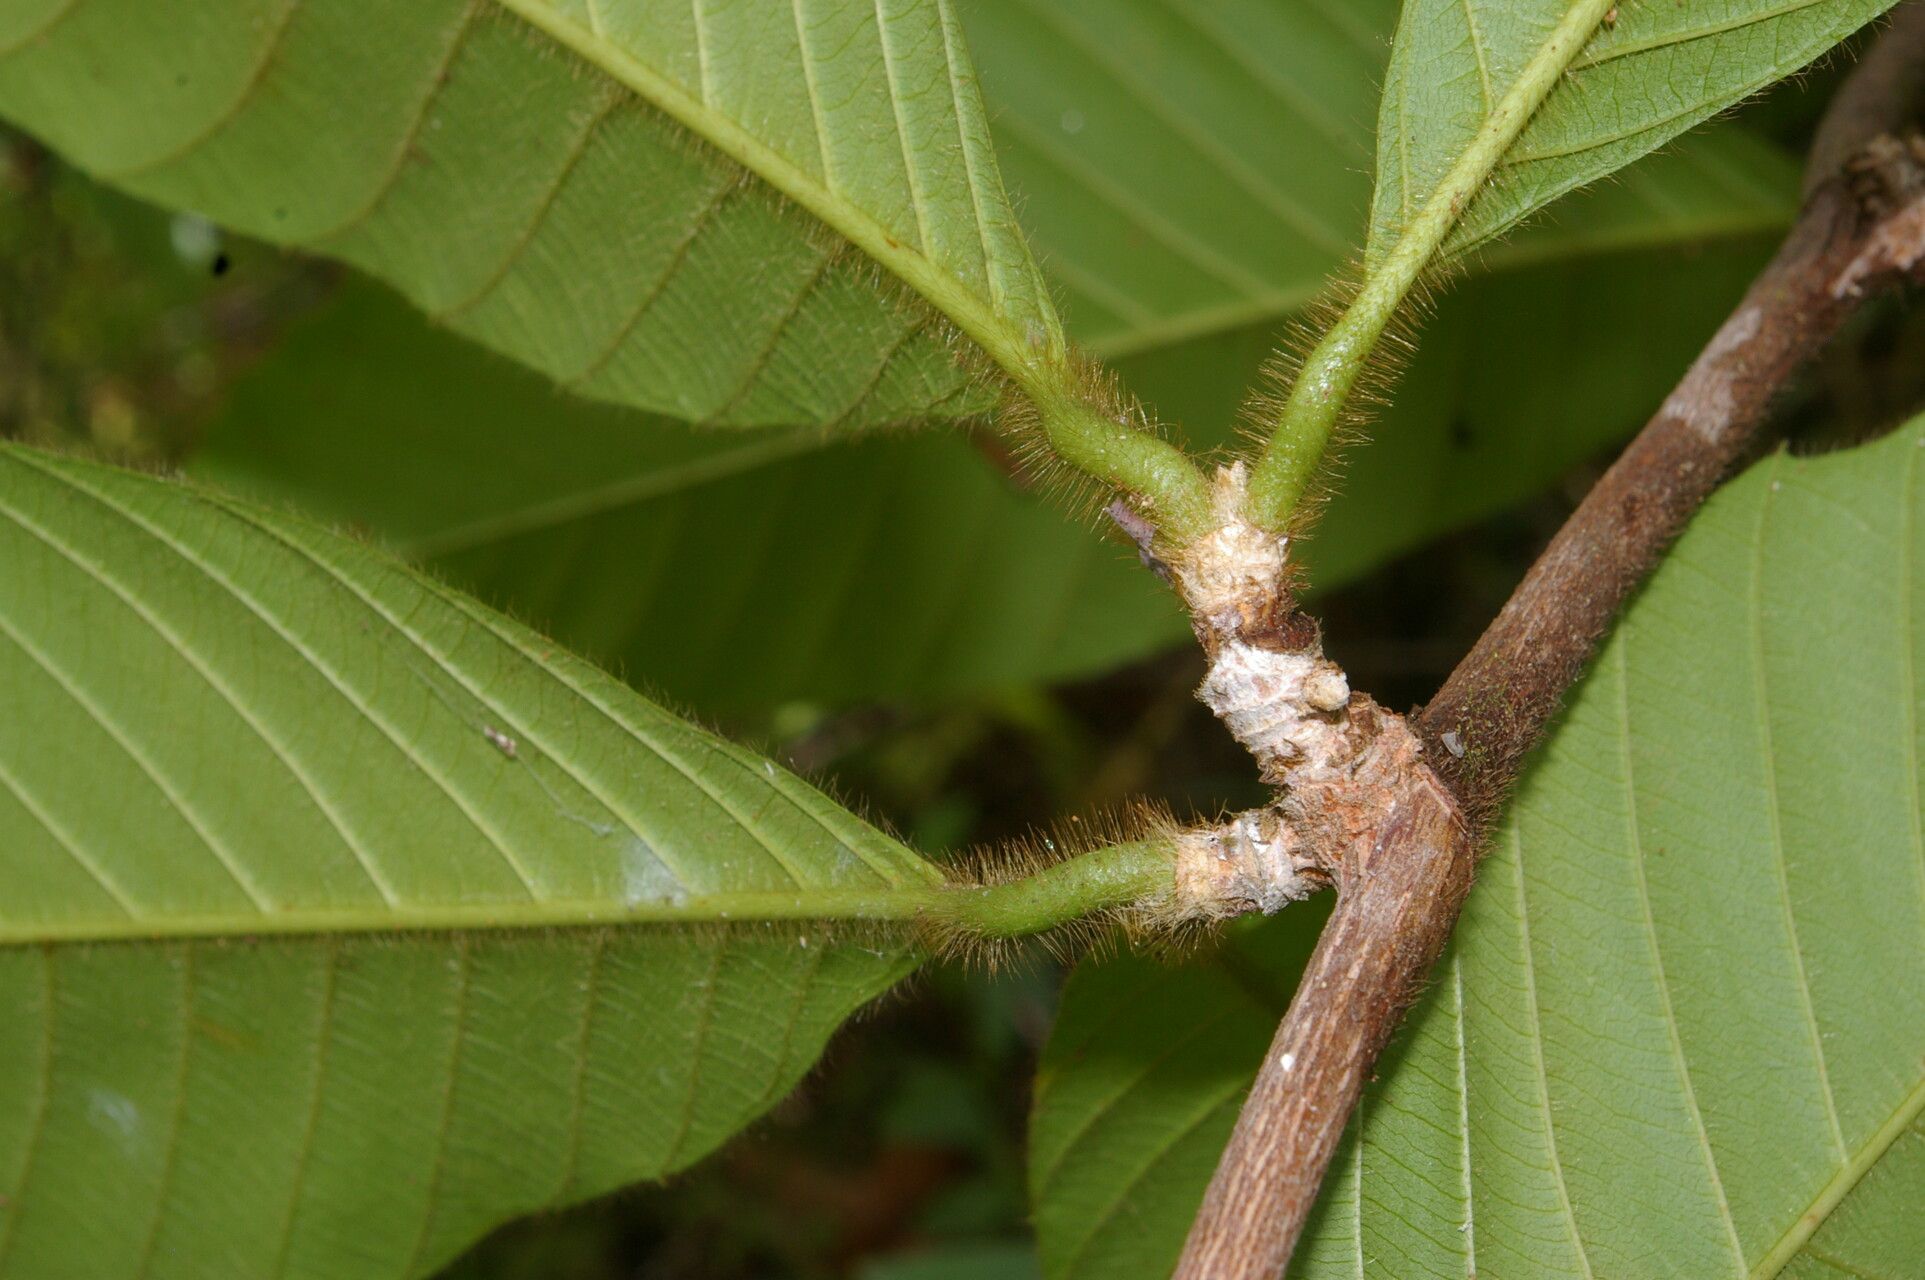
Before we delve into propagation, let’s get acquainted with this fascinating vine. Doliocarpus hispidus, sometimes referred to as the “hairy doliocarpus” due to the fine hairs covering its stems and leaves, is a climber by nature. In its natural habitat, it uses these hairy appendages to clamber up towering trees, reaching for sunlight. This climbing habit makes it a perfect candidate for trellises, arches, or even as a striking ground cover in tropical gardens.
Propagation Methods
While seed germination is possible, it can be a bit more challenging and unpredictable with Doliocarpus hispidus. Therefore, vegetative propagation, specifically using stem cuttings, reigns supreme as the most popular and successful method.
Here’s a step-by-step guide to propagating Doliocarpus hispidus from stem cuttings:
1. Timing is Key: The ideal time to take cuttings is during the plant’s active growing season, typically spring or early summer. This is when the plant’s energy is highest, increasing the chances of successful rooting.
2. Selecting the Right Cuttings: Look for healthy, non-flowering stems that are firm and haven’t started to become woody. A cutting about 4-6 inches long, with at least 2-3 leaf nodes, is ideal.
3. Preparing the Cuttings:
- Using a clean, sharp knife or pruning shears, make a clean cut just below a leaf node.
- Remove the leaves from the bottom inch or two of the cutting to prevent rotting.
- You can optionally dip the cut end in rooting hormone powder to encourage faster root development.
4. Planting the Cuttings:
- Prepare a well-draining potting mix. A mixture of peat moss and perlite works well.
- Moisten the mix and make small holes for the cuttings.
- Insert the cuttings into the holes, burying at least one leaf node.
- Gently firm the soil around the cuttings.
5. Creating a Humid Environment:
- To increase humidity and promote rooting, you can cover the pot with a clear plastic bag or place it in a propagator.
- Ensure the cover doesn’t touch the cuttings.
- Place the pot in a warm, bright location, out of direct sunlight.
6. Patience is a Virtue: Rooting can take several weeks to a couple of months. Check the cuttings periodically for signs of new growth, which indicates successful rooting.
7. Transplanting: Once the cuttings have developed a strong root system, usually after about 2-3 months, you can transplant them into individual pots filled with well-draining potting mix.
Nurturing Your New Plants:
Doliocarpus hispidus prefers a warm, humid environment similar to its natural tropical habitat. Provide it with bright, indirect light, and keep the soil consistently moist but not waterlogged. Regular fertilization during the growing season will also encourage healthy growth and development.
With a bit of effort and these simple techniques, you can successfully propagate your very own Doliocarpus hispidus and enjoy the unique beauty of this remarkable tropical vine!