Multiplying Your Daisy Bush: A Guide to Propagating Olearia Ramulosa
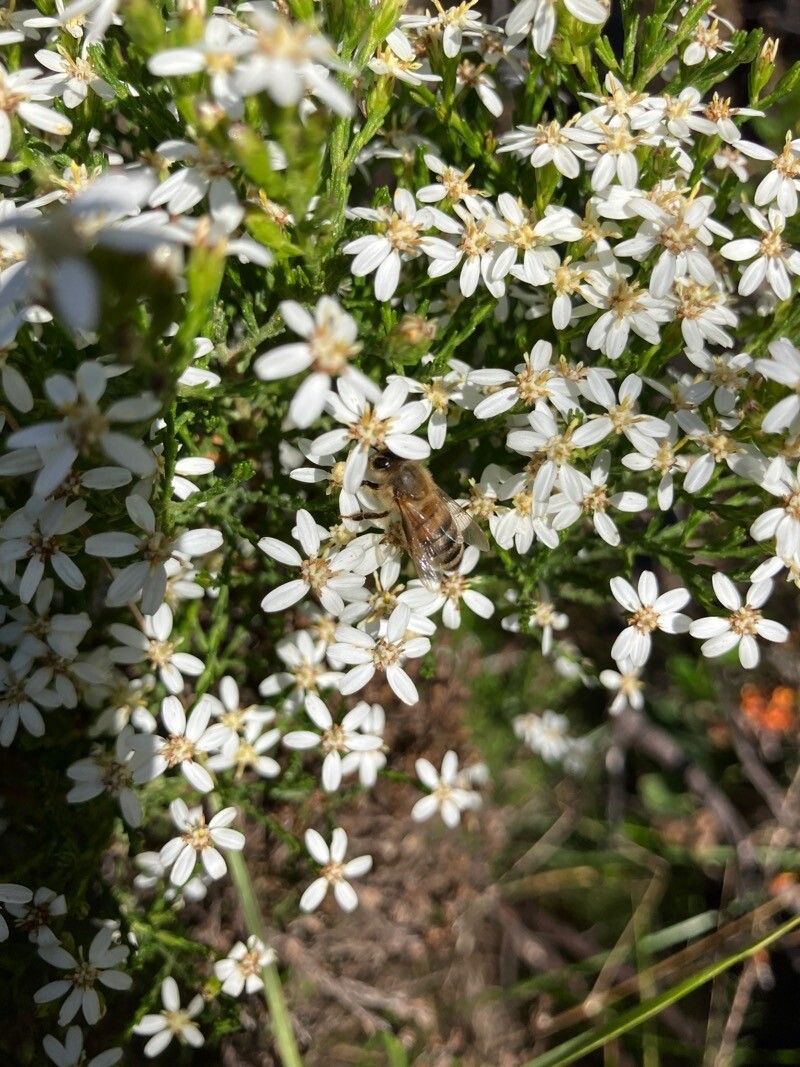
The Olearia ramulosa, more commonly known as the Daisy Bush, is a favourite amongst Australian gardeners. This hardy evergreen shrub, with its delicate, daisy-like flowers and attractive foliage, can truly brighten up a landscape. If you’re looking to expand your Daisy Bush collection or share its beauty with friends, propagation is the way to go! This comprehensive guide will walk you through the different methods of propagating Olearia ramulosa, empowering you to grow this delightful shrub with confidence.
Understanding the Basics
Before diving into the techniques, let’s familiarise ourselves with the best times for propagating Olearia ramulosa. Spring and early autumn are ideal, as the weather is mild and promotes healthy root development.
Methods of Propagation
There are two primary methods for propagating Olearia ramulosa:
1. Propagation from Cuttings:
This method is popular due to its relative simplicity and high success rate. Here’s a step-by-step guide:
- Taking Cuttings: Choose healthy, non-flowering stems from the current season’s growth. Using a clean, sharp knife or secateurs, take cuttings about 10-15cm long, making a clean cut just below a leaf node.
- Preparing the Cuttings: Remove the leaves from the bottom third of the cutting. You can dip the cut end in rooting hormone powder to encourage root development, though it’s not strictly necessary.
- Planting the Cuttings: Fill small pots or seed trays with a well-draining potting mix specifically designed for cuttings. Make a hole in the centre of the mix with a pencil and carefully insert the cutting, ensuring the bottom node is covered.
- Creating a Humid Environment: Place the pots or trays in a propagator or create a makeshift humidity tent by covering them with a clear plastic bag. Ensure adequate ventilation to prevent fungal diseases.
- Caring for the Cuttings: Keep the potting mix consistently moist but not waterlogged. Place the cuttings in a bright location but out of direct sunlight.
- Transplanting: After about 6-8 weeks, your cuttings should have developed a healthy root system. Gently tug on the cuttings; resistance indicates roots have formed. You can now transplant them into individual pots or your garden bed.
2. Propagation from Seed:
Propagating Olearia ramulosa from seed is less common but achievable:
- Collecting Seeds: Collect ripe seed heads from the plant in late summer or autumn. Allow them to dry thoroughly in a paper bag.
- Sowing the Seeds: In spring, fill seed trays with a seed-raising mix. Sprinkle the seeds over the surface and lightly cover them with a thin layer of the mix.
- Germination: Water gently and maintain a consistent moisture level. Place the tray in a warm, brightly lit location out of direct sunlight. Germination may take several weeks.
- Transplanting Seedlings: Once the seedlings have developed a few sets of true leaves, you can transplant them into individual pots or your garden.
Tips for Success:
- Use a well-draining potting mix to prevent root rot.
- Provide consistent moisture, but avoid overwatering.
- Ensure good air circulation to prevent fungal diseases.
- Be patient. Propagation can take time, and rushing the process can be detrimental.
By following these simple steps and exercising patience, you can successfully propagate your Olearia ramulosa and enjoy the beauty of this charming shrub for years to come. Whether you choose to grow from cuttings or seed, a little effort goes a long way in expanding your garden and sharing the joy of this Australian native.