Unveiling the Secrets: How to Propagate Epacris crassifolia for a Floral Fiesta
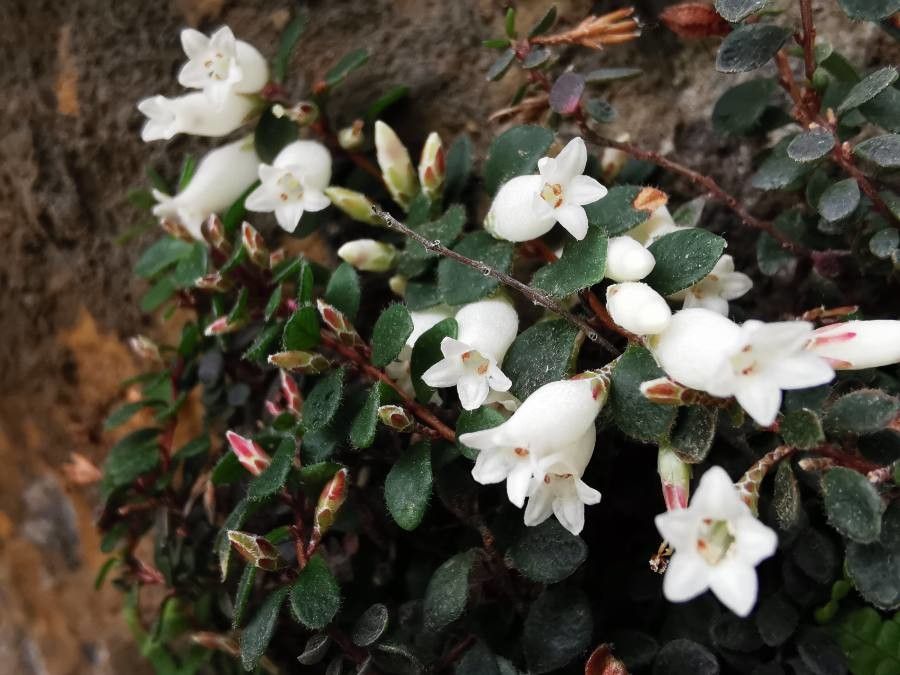
The Epacris crassifolia, also known as the Thick-leaved Heath, is a captivating Australian native shrub renowned for its vibrant, bell-shaped flowers that adorn the plant for an impressive duration. If you, like many others, are captivated by its charm and wish to have more of these beauties gracing your garden, you’ll be pleased to know that propagating Epacris crassifolia is an achievable endeavor. Let’s delve into the secrets of multiplying this floral gem.
The When and the How: Choosing the Right Propagation Method
While Epacris crassifolia can be grown from seed, it is a less reliable method due to the seeds’ low germination rates. The most effective way to propagate this beauty is through cuttings, preferably taken during the cooler months of spring or autumn.
Here’s a step-by-step guide to propagating Epacris crassifolia from cuttings:
1. Gather Your Tools:
- Sharp, sterilized secateurs or pruning shears: Cleanliness is crucial to prevent the spread of diseases to your cuttings.
- Rooting hormone powder (optional, but recommended): This helps stimulate root development and increase the success rate.
- Seed raising mix or a well-draining potting mix specifically formulated for cuttings: A light and airy mix will provide optimal drainage and aeration for the developing roots.
- Small pots or seedling trays: Choose containers with good drainage holes.
2. Take the Cuttings:
- Select healthy, non-flowering stems from the current season’s growth. The ideal cutting should be around 7-10 cm (3-4 inches) long.
- Make a clean cut just below a leaf node (where the leaf attaches to the stem).
- Remove the lower leaves from the cutting, leaving only a few leaves at the top.
3. Prepare the Cuttings:
- Dip the cut end of each cutting into the rooting hormone powder (if using).
- Gently tap the cutting to remove any excess powder.
4. Pot the Cuttings:
- Fill your pots or seedling trays with the chosen potting mix and moisten it thoroughly.
- Create a small hole in the center of each pot/cell using your finger or a pencil.
- Carefully insert the cutting into the hole, ensuring the bottom node is buried.
- Gently firm the soil around the base of the cutting.
5. Create a Humid Environment:
- Cover the pots with a clear plastic bag or place them in a propagator to maintain high humidity. This helps prevent the cuttings from drying out.
- Place the cuttings in a warm, well-lit location, but out of direct sunlight.
6. Patience is Key:
- Rooting can take anywhere from 4 to 8 weeks. Check the moisture levels regularly and keep the soil consistently damp, but not waterlogged.
- Avoid disturbing the cuttings during this period.
7. Transplanting Success:
- Once the cuttings have developed a good root system (you can gently tug on the base to check), transplant them into individual pots or your garden bed.
- Harden off the new plants gradually by slowly acclimating them to outdoor conditions before permanently planting them out.
Creating a Floral Haven: Caring for Your Epacris crassifolia
Epacris crassifolia thrives in well-drained, slightly acidic soil and prefers a sunny or partially shaded position. Water regularly, especially during dry periods, but avoid overwatering, as this can lead to root rot. To encourage bushier growth and extend the flowering season, tip prune the plants after flowering.
Propagating your own Epacris crassifolia is a rewarding experience that allows you to expand your garden’s beauty with minimal expense. With a little patience and care, you’ll be well on your way to cultivating a vibrant floral haven that will be the envy of the neighborhood.